5A.6
Section 5A
LPG Fuel Systems
LPG Carburetor - Reassembly
Impco Carburetor
1. Slide the venturi into the carburetor body, aligning
the position mark made prior to removal. Correctly
installed, the discharge holes should not be visible
from the top.
2. Secure with the venturi retaining screw. Torque
the screw to 4.0 N·m (36 in. lb.).
3. Install a new adapter gasket and mount the air
cleaner adapter onto the carburetor with the four
screws. Torque the screws to 4.0 N·m (36 in. lb.).
4. Install a new carburetor gasket onto the intake
manifold adapter, followed by the carburetor.
Install and finger tighten the mounting fasteners.
5. Connect the ‘‘Z’’ end of the throttle linkage and the
dampening spring to the throttle clamp bracket on
the throttle shaft. Attach the opposite end of
linkage and spring to the governor lever.
NOTE: The clamp brackets and stop collar
mounted on the throttle shaft should still
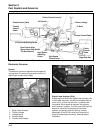
be in their original positions (See Figure
5A-2), and not require any readjustment/
resetting. Continue with steps 6 and 7. If
the mounted position of any one of these
was affected or changed, it will be
necessary to check and reset the
position of each before proceeding.
Follow the complete instructions listed
after step 7, then continue with steps 6
and 7.
6. Manually move the governor lever toward the
carburetor as far as it will go.
7. Check that the throttle plate is now fully open or
reposition the carburetor slightly on the mounting
screws so it is fully open. Torque the mounting
screws to 9.9 N·m (88 in. lb.).
Instructions for Checking/Positioning the Clamp
Brackets Mounted on the Throttle Shaft
Use only if the position or mounting of the clamp
bracket(s) has been disturbed. Figures show the
carburetor removed from the engine for clarity.
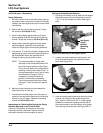
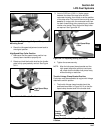
Figure 5A-8. Backing Off Idle Speed Screw.
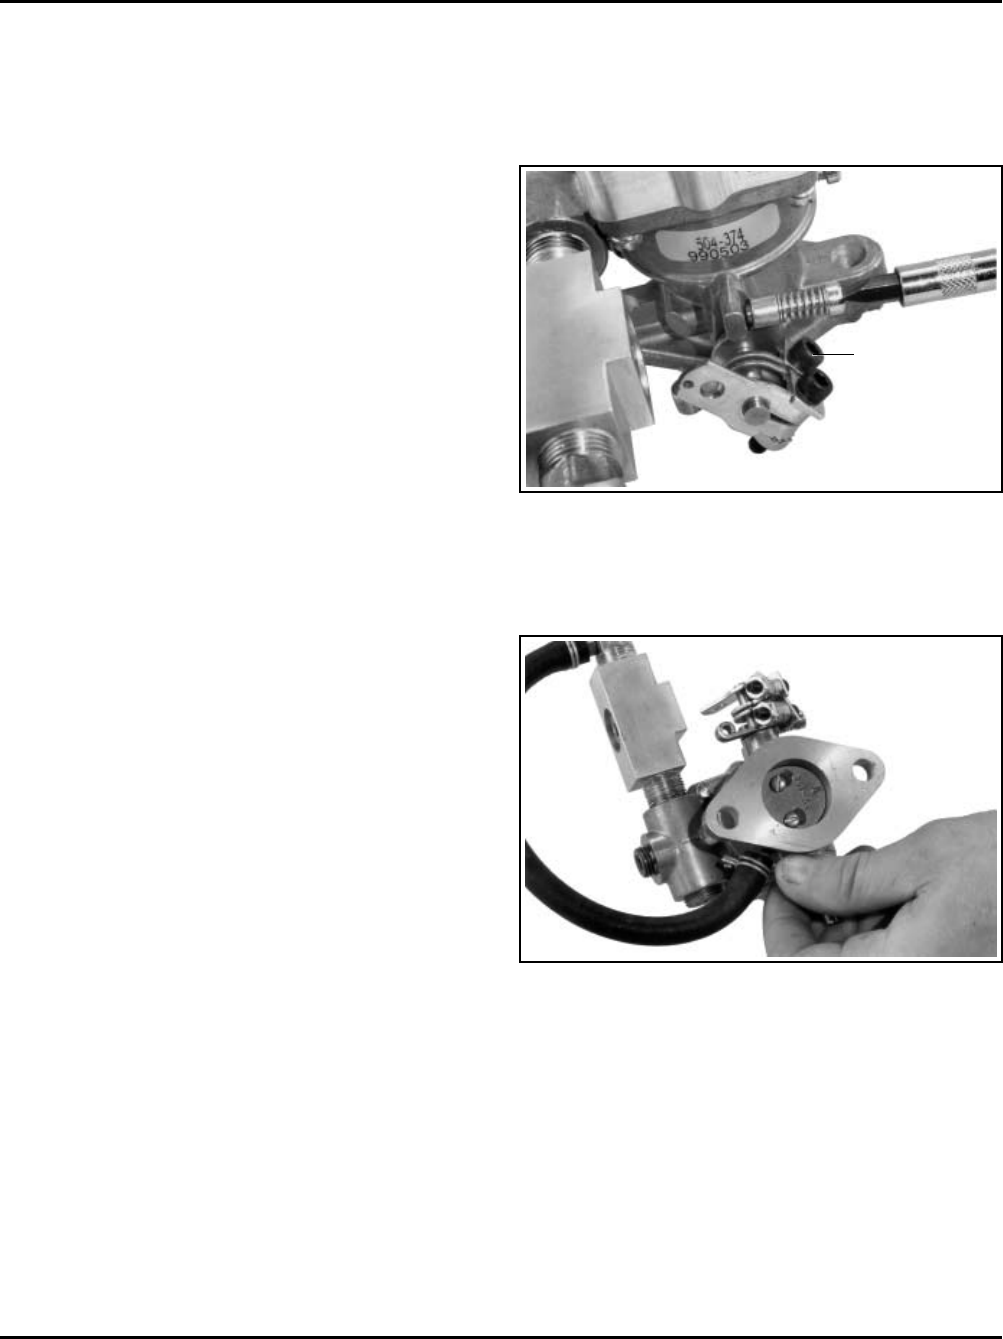
2. Loosen the clamp bracket mounting screw, and
pivot the throttle shaft to fully close the throttle
plate. See Figure 5A-9.
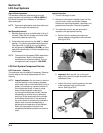
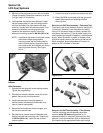
Figure 5A-9. Closing Throttle Plate.
3. Hold the throttle plate closed and rotate the clamp
bracket until the end of the screw contacts the
stop. Insert a 0.025 mm (0.001 in.) feeler gauge
between the carburetor housing and the side of
the clamp bracket to set the endplay, then tighten
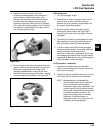
the mounting screw securely. See Figure 5A-10.
Idle Speed Clamp Bracket Position
1. Counting the number of turns, back the idle speed
adjustment screw off (counterclockwise), so only
1 to 1 1/2 of the threads are visible. See Figure
5A-8.
Idle Speed
Clamp
Bracket
Mounting
Screw


