4.4
Section 4
Air Cleaner and Air Intake System
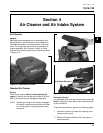
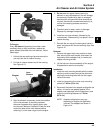
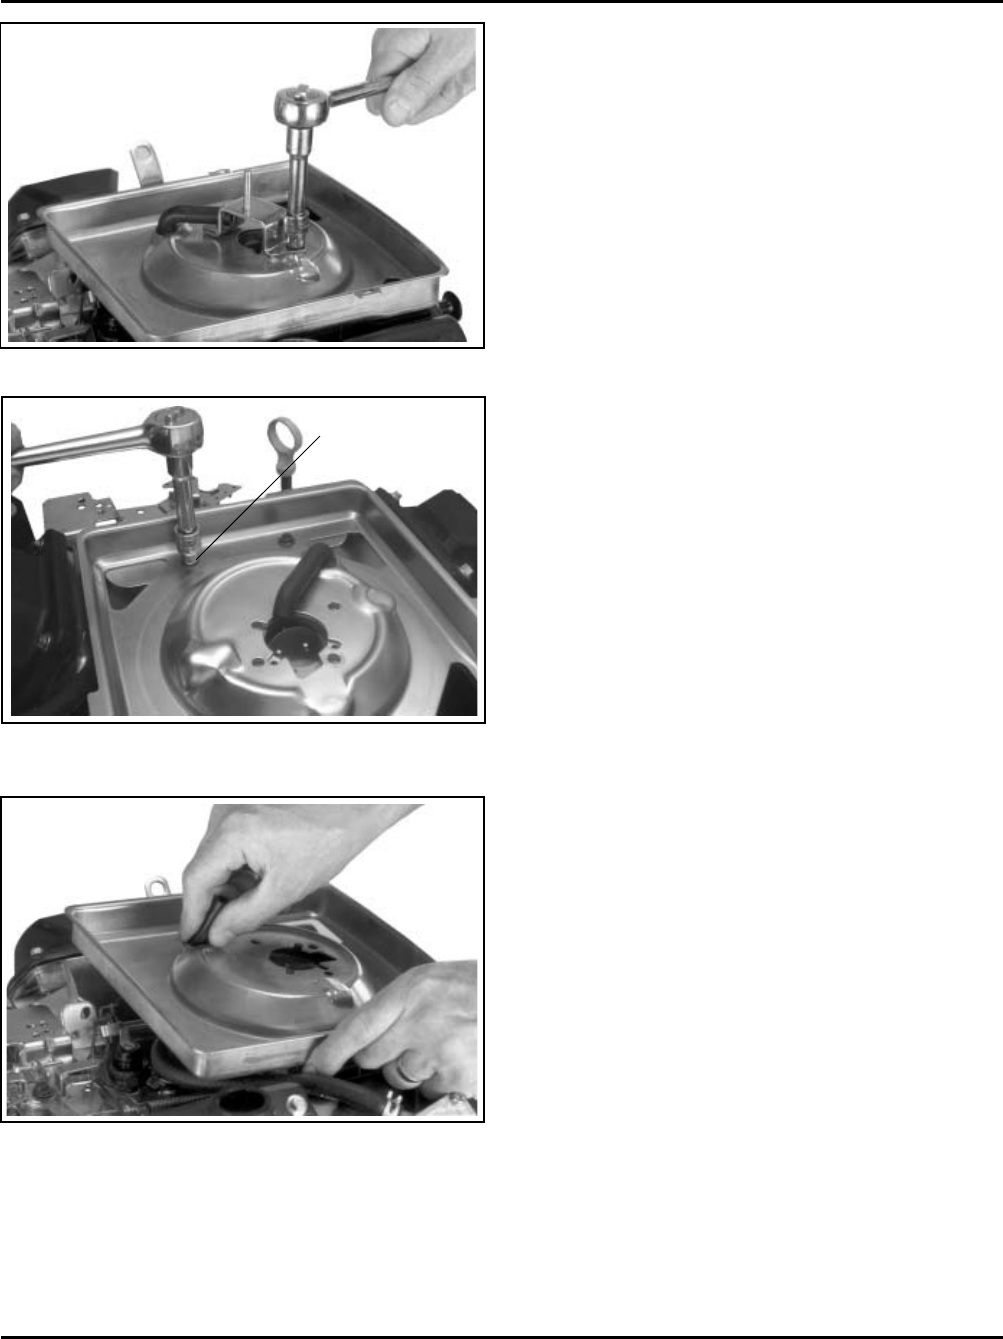
Figure 4-9. Bracket Retaining Screw.
Air Cleaner Element Cover and Seal - Make sure
element cover is not bent or damaged. Make sure the
wing nut and seal are in place to ensure the element is
sealed against leakage.
Air Cleaner Base - Make sure the base is secured
tightly to the carburetor and not cracked or damaged.
Breather Tube - Make sure the tube is attached to
both the air cleaner base and the breather cover.
NOTE: Damaged, worn or loose air cleaner
components can allow unfiltered air into the
engine causing premature wear and failure.
Tighten or replace all loose or damaged
components.
Complete Disassembly and Reassembly -
Standard Type
If the base plate on the standard type has to be
removed, proceed as follows:
1. Remove air cleaner components as described
earlier.
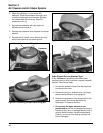
2. Remove the hex. flange screws securing the
bracket and base. See Figures 4-9 and 4-10.
Remove the bracket.
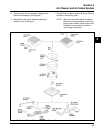
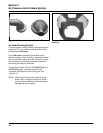
3. Pinch the sealing collar on the breather hose and
push it down through the hole in the air cleaner
base. Carefully feed the upper section of the
breather tube down through the base. See Figure
4-11.
4. Remove the base and gasket.
5. Reverse the procedure to reinstall new or serviced
components. Torque screws to 9.9 N·m
(88 in. lb.).
Heavy-Duty Air Cleaner
General
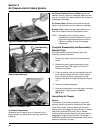
The heavy-duty air cleaner consists of a cylindrical
housing, typically mounted to a bracket off the upper
valve cover screws, and connected with a formed
rubber hose to an adapter on the carburetor or throttle
body/intake manifold (EFI units). The air cleaner
housing contains a paper element and inner element,
designed for longer service intervals. The system is
CARB/EPA certified and the components should not be
altered or modified in any way.
Figure 4-10. Rear Mounting Screws (Used with
Plastic Intake Manifold).
Figure 4-11. Breather Tube.
Air Cleaner Components
Whenever the air cleaner cover is removed, or the
paper element or precleaner are serviced, check the
following:
Rear Mounting
Screws


