11.29
Section 11
Reassembly
11
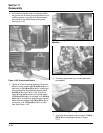
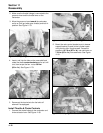
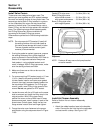
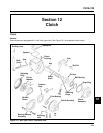
Figure 11-96. Reinstall the Dipstick in Tube.
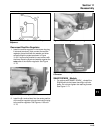
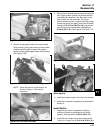
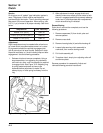
6. Make sure the O-Ring is in place then reinstall the
oil fill cap on the valve cover. See Figure 11-97.
Figure 11-97. Reinstalling Oil Fill Cap (Some Models).
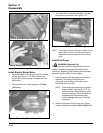
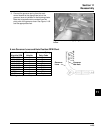
Connect Spark Plug Leads
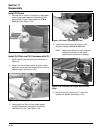
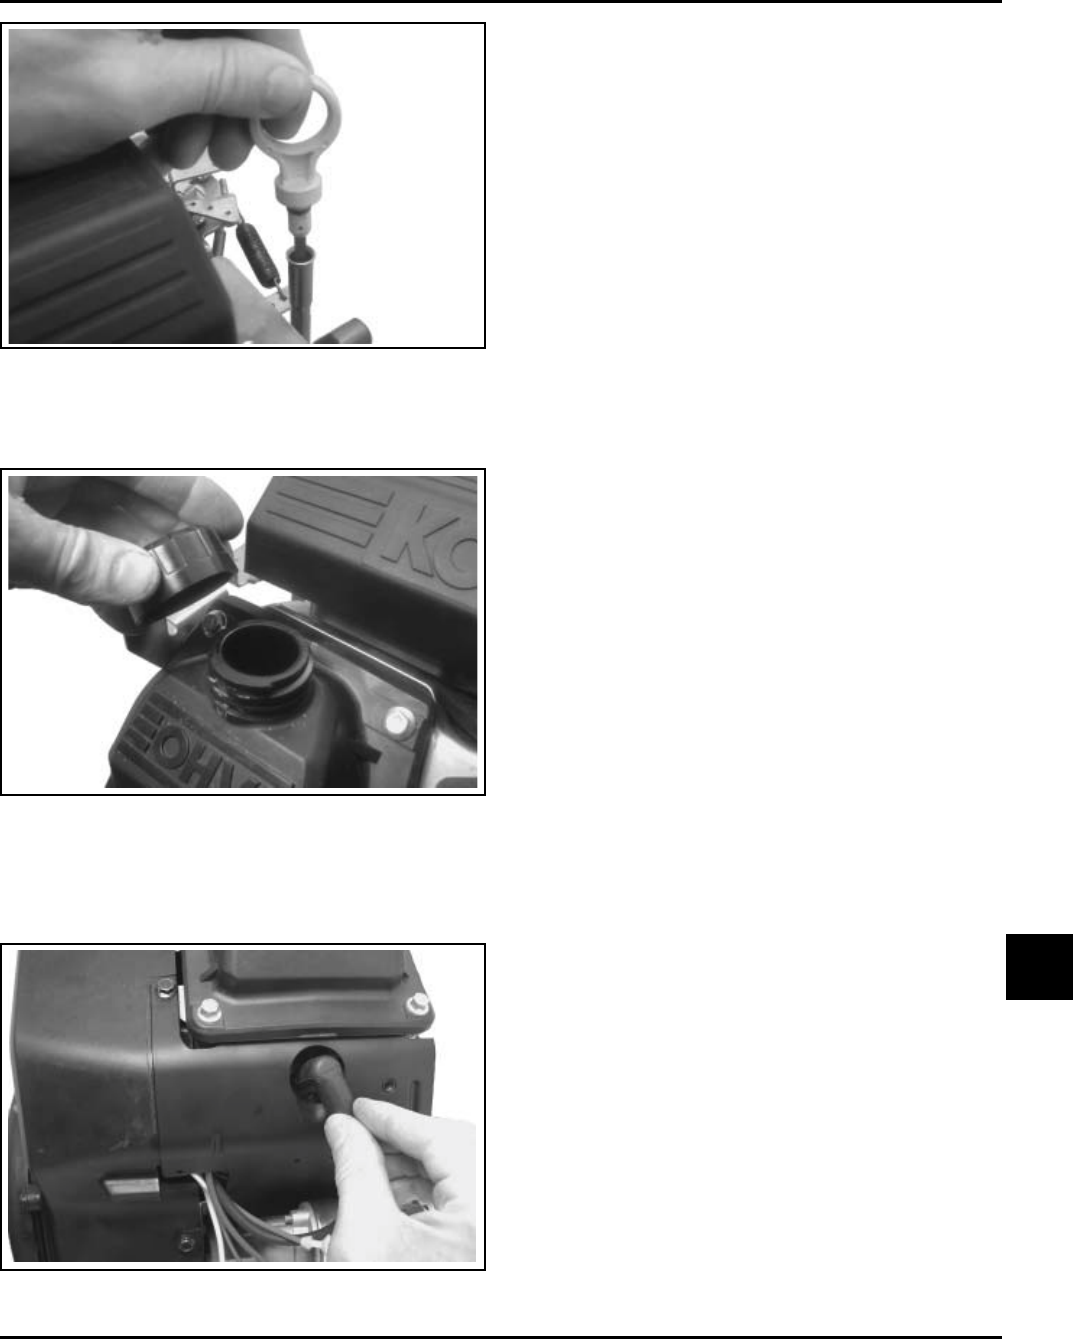
1. Connect the leads to the spark plugs. See Figure
11-98.
Figure 11-98. Connect Spark Plug Leads.
Prepare the Engine for Operation
The engine is now completely reassembled. Before
starting or operating the engine, be sure to do the
following.
1. Make sure all hardware is tightened securely.
2. Make sure the oil drain plugs, oil sentry pressure
switch, and a new oil filter are installed.
3. Fill the crankcase with the correct amount, weight,
and type of oil. Refer to oil recommendations and
procedures in the ‘‘Safety and General
Information’’ and ‘‘Lubrication System’’ sections.
4. Adjust the carburetor, idle fuel needle, or idle
speed adjusting screw as necessary. Refer to
Section 5, the "Fuel System and Governor".
Testing the Engine
It is recommended that the engine be operated on a
test stand or bench prior to installation in the piece of
equipment.
1. Set the engine up on a test stand. Install an oil
pressure gauge. Start the engine and check to be
certain that oil pressure (20 psi or more) is
present. Run the engine at idle for 2-3 minutes,
then 5-6 minutes more between idle and
midrange. Adjust the carburetor mixture settings
as necessary (as available).
2. Adjust the idle speed screw and high-speed stop
as necessary. Make sure the maximum engine
speed does not exceed 3750 RPM (no load).


