8.28
Section 8
Electrical System and Components
Starter Disassembly
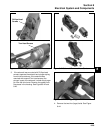
1. Disconnect the lead wire from the solenoid.
2. Remove the hex. nuts securing the solenoid, and
remove the solenoid from the starter assembly.
3. Remove the two thru bolts.
4. Remove the commutator end cap.
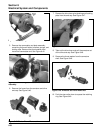
5. Remove the insulator and the brush springs from
the brush spring holder.
6. Remove the armature from the frame.
7. Remove the drive lever and the armature from the
drive end cap.
NOTE: When removing the lever and the
armature be careful not to lose the thrust
washer.
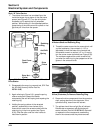
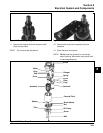
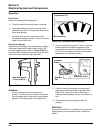
8. The stop collar consists of two similar pieces held
in place by being snapped over a retainer. The
retainer is held in place by a groove in the
armature shaft. To remove the stop collar the two
pieces must be pried off the retainer.
9. When the stop collars are removed the retainer
can be removed from the armature shaft. Do not
reuse the retainer.
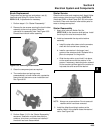
Brush Replacement
The brushes in the starter are part of the starter frame.
Brush kit, Kohler Part No. 52 221 01-S, contains four
replacement brushes and springs. If replacement is
necessary, all four brushes should be replaced.
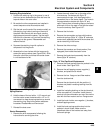
1. Remove the brushes from the brush holder, and
remove the brush holder from the frame.
2. Cut the brush lead wire at the edge of the post
with a pair of nippers.
3. File off any burrs on the post.
4. The replacement brushes have a solid portion on
them which should be crimped on the post.
5. Solder the crimped portion to the post.
6. Replace the brush holder in the frame and place
the brushes in the brush holder. Reinstall the
springs.
Starter Service
Every 500 hours of operation (or annually, whichever
comes first), solenoid shift starters must be
disassembled, cleaned and relubricated. Apply starter
lubricant (Kohler Part No. 52 357 02-S) to the lever
and shaft. Failure to do so could result in an
accumulation of dirt or debris that might prevent the
engine from starting and could cause damage to the
starter or the flywheel. Service may be necessary
more frequently under dusty or dirty conditions.
Starter Reassembly
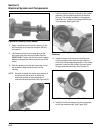
1. Insert the rear stop collar on the armature shaft.
2. Place the retainer in the groove on the armature
shaft.
NOTE: Always use a new retainer. Tighten the
retainer in the groove to secure.
3. Fit the front stop collar over the shaft and bring
the front and the rear stop collars together over
the retainer. Using two pairs of pliers apply even
force to the two collars until they snap over the
retainer and nest into one another.
4. Reassemble the remaining components of the
starter in reverse order from disassembly.
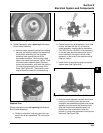
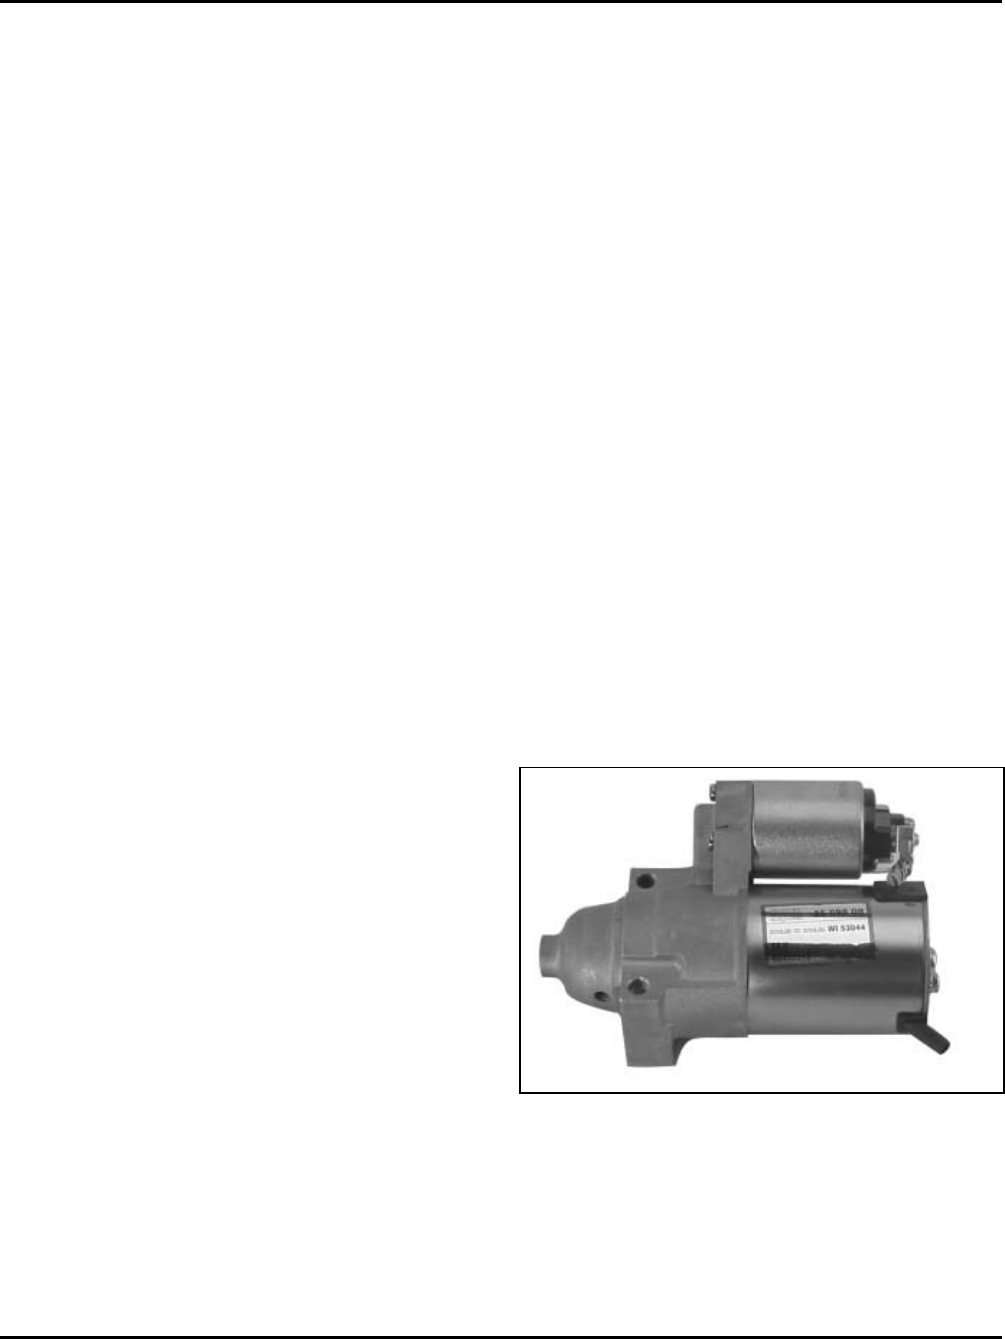
Delco-Remy Starters
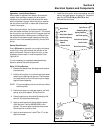
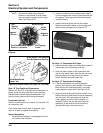
Figure 8-40. Completed Delco-Remy Starter.
Starter Disassembly
1. Remove the hex. nut and disconnect the positive
(+) brush lead/bracket from the solenoid terminal.
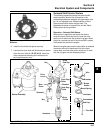
2. Remove the three screws securing the solenoid to
the starter. See Figure 8-41.


