


11.17
Section 11
Reassembly
11
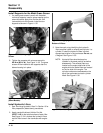
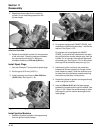
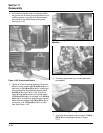
Figure 11-58. Installing Screws (Locations 3 and 4).
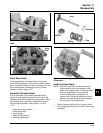
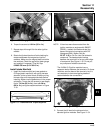
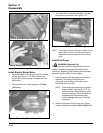
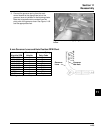
7. Install the inner baffles using the two remaining
hex. flange screws (see Figures 11-59 and 11-60)
and finger tighten. Do not torque the screws at
this time; they will be tightened after the blower
housing and outer baffles are installed.
Figure 11-59. Installing Inner Baffles.
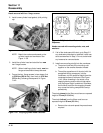
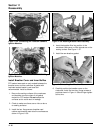
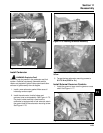
Figure 11-60. Finger Tighten Two Remaining Cover
Screws.
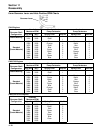
Install Blower Housing and Outer Baffles
NOTE: Do not completely tighten screws until all
items are installed to allow shifting for hole
alignment.
1. Connect the plug to the key switch in the blower
housing (if so equipped).
2. Slide the blower housing into position over the
front edge of the inner baffles. See Figure 11-61.
Start a few of the screws to hold it in place.
Figure 11-61. Installing Blower Housing.
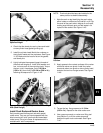
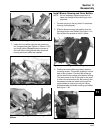
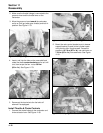
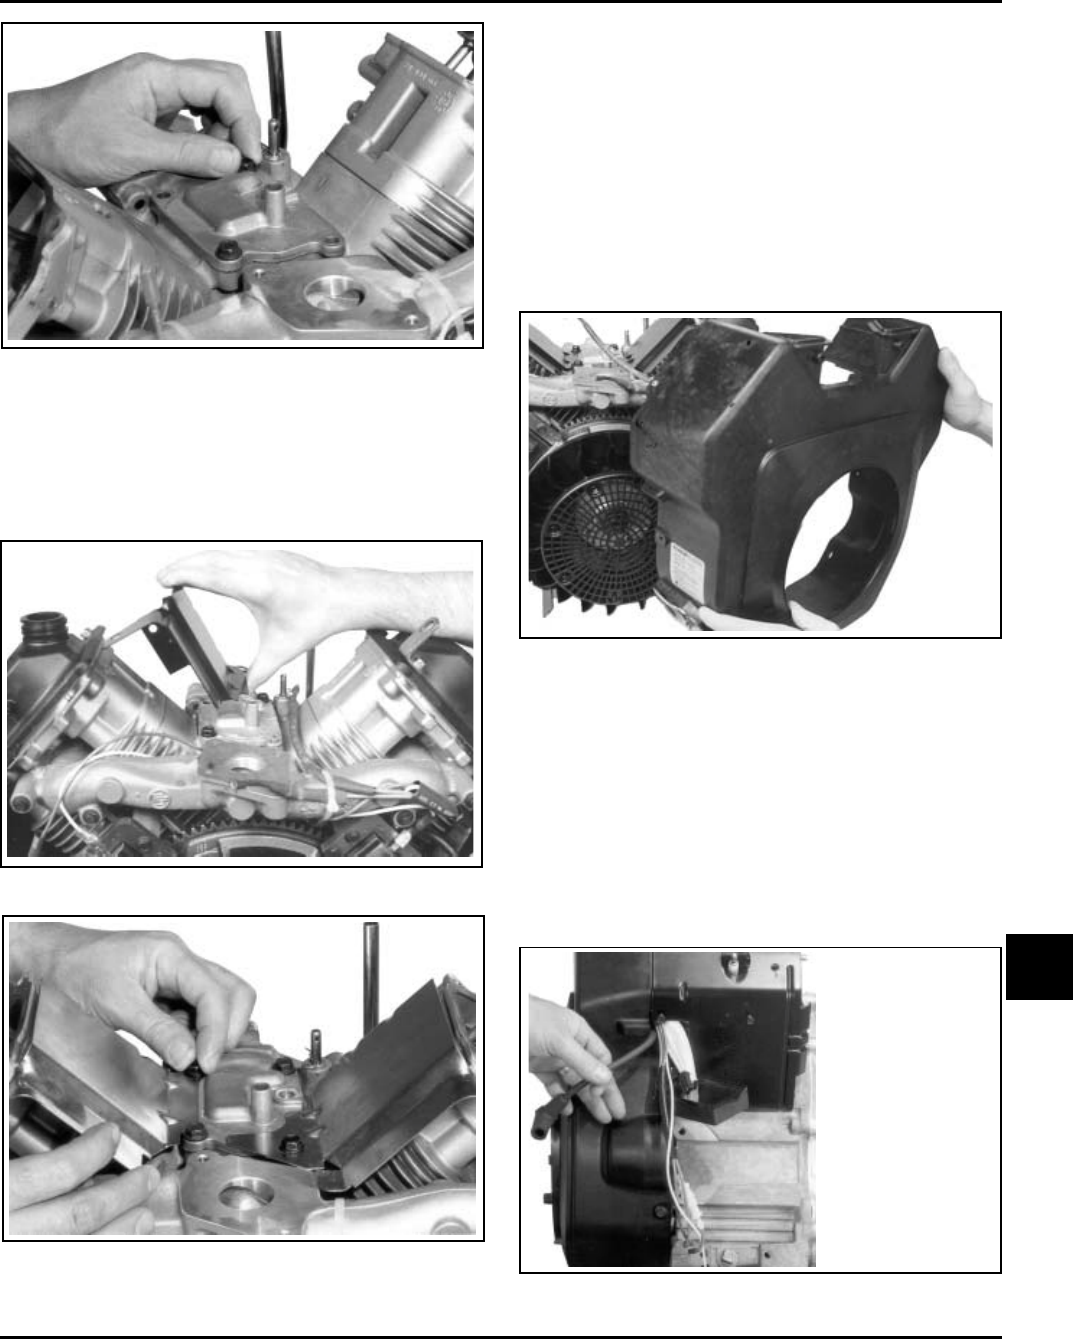
3. Position the outer baffles and loosely start the
mounting screws. The two M6 screws go into the
back of the cylinders. The short M5 screws go
into the lower holes closest to the blower housing.
The short screw on the oil filter side is also used
to mount the wire harness clip. Be sure any wire
harnesses or leads are routed out through the
proper offsets or notches, so they will not be
pinched between the blower housing and baffles.
See Figure 11-62.
Figure 11-62. Routing Wiring Harness and Leads.