


11.9
Section 11
Reassembly
11
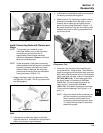
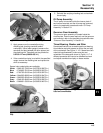
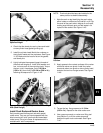
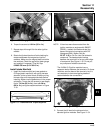
Figure 11-29. Installing and Torquing Flywheel
Fastener.
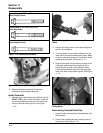
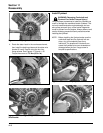
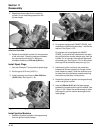
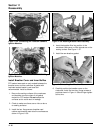
Install Flywheel Fan
1. Install the fan onto the flywheel using the four hex.
flange screws.
NOTE: Position the ears located at rear
perimeter of the fan in the recesses of
the flywheel. See Figure 11-30.
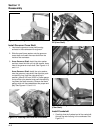
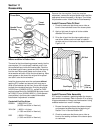
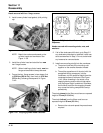
Figure 11-28. Carefully Align Keyway to Key.
NOTE: Make sure the flywheel key is installed
properly in the keyway. The flywheel can
become cracked or damaged if the key is not
properly installed.
1. Install the woodruff key into the keyway of the
crankshaft. Make sure that the key is properly
seated and parallel with the shaft taper.
2. Install the flywheel onto the crankshaft being
careful not to shift the woodruff key. See Figure
11-28.
3. Install the hex. flange screw and washer.
4. Use a flywheel strap wrench or holding tool to
hold the flywheel. Torque the hex. flange screw
securing the flywheel to the crankshaft to
66.4 N·m (49 ft. lb.). See Figure 11-29.
Figure 11-30. Installing Fan on Flywheel.
2. Torque the screws to 9.9 N·m (88 in. lb.).
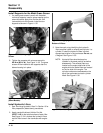
Install Plastic Grass Screen
1. If the engine has a plastic grass screen, snap the
screen onto the fan. See Figure 11-31. Due to the
possibility of damaging the posts during removal,
install the retainers on different posts from which
they were removed. Start the retainers by hand,
then push them down with a 13 mm (1/2”) socket
until they lock. If the engine has a metal screen, it
will be installed later.
Figure 11-31. Installing Plastic Grass Screen.