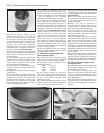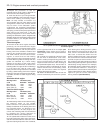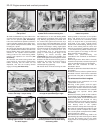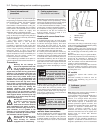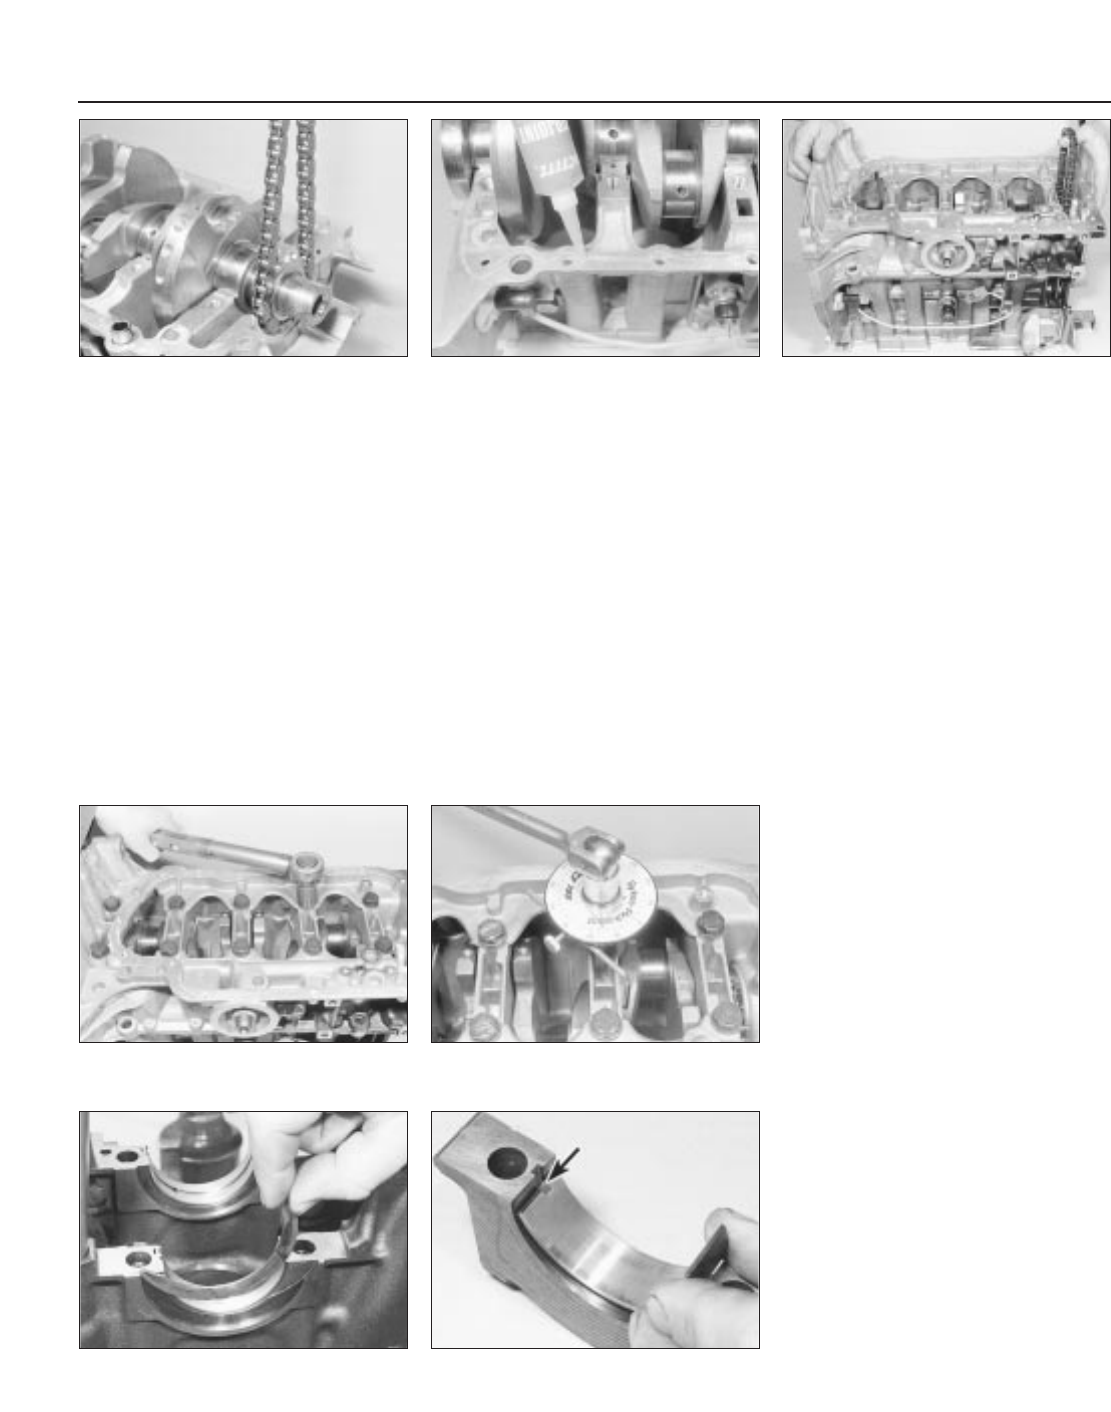
72 Refit the Woodruff key, then slide on the
oil pump drive sprocket, and locate the drive
chain on the sprocket (see illustration).
Lower the crankshaft into position so that Nos
2 and 3 cylinder crankpins are at TDC; Nos 1
and 4 cylinder crankpins will be at BDC, ready
for fitting No 1 piston.
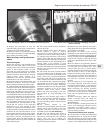
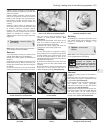
73 Thoroughly degrease the mating surfaces
of the cylinder block/crankcase and the main
bearing ladder. Apply a thin bead of suitable
sealant to the cylinder block/crankcase
mating surface of the main bearing ladder
casting, then spread to an even film (see
illustration).
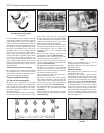
74 Lubricate the lower bearing shells with
clean engine oil, then refit the main bearing
ladder, ensuring that the shells are not
displaced, and that the locating dowels
engage correctly (see illustration).
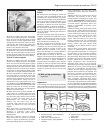
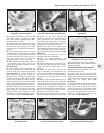
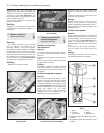
75 Install the ten 11 mm main bearing ladder
retaining bolts, and tighten them all by hand
only. Working progressively outwards from
the centre bolts, tighten the ten bolts, by a
turn at a time, to the specified Stage 1 torque
wrench setting. Once all the bolts have been
tightened to the Stage 1 setting, angle-tighten
the bolts through the specified Stage 2 angle
using a socket and extension bar. It is
recommended that an angle-measuring
gauge is used during this stage of the
tightening, to ensure accuracy (see
illustrations). If a gauge is not available, use a
dab of white paint to make alignment marks
between the bolt head and casting prior to
tightening; the marks can then be used to
check that the bolt has been rotated
sufficiently during tightening.
76 Refit all the 6 mm bolts securing the main
bearing ladder to the base of the cylinder
block, and tighten them to the specified
torque. Check that the crankshaft rotates
freely. On engines with a grooved bearing
shell fitted to the upper (cylinder block)
location of No 5 main bearing, working on one
bolt at a time starting with the centre and
working progressively outwards, loosen the
11 mm main bearing ladder retaining bolts,
and then tighten to the Stage 3 and then
Stage 4 torque wrench settings.
77 Refit the piston/connecting rod
assemblies to the crankshaft as described in
Section 14.
78 Ensuring that the drive chain is correctly
located on the sprocket, refit the oil pump and
sump as described in Part A of this Chapter.
79 Fit two new crankshaft oil seals as
described in Part A.
80 Refit the flywheel as described in Part A of
this Chapter.
81 Where removed, refit the cylinder head as
described in Part A. Also refit the crankshaft
sprocket and timing belt as described in Part
A.
TU series cast-iron block engines
82 Carefully lift the crankshaft out of the
cylinder block once more.
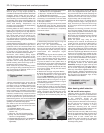
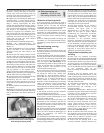
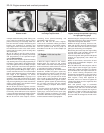
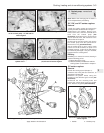
83 Using a little grease, stick the upper
thrustwashers to each side of the No 2 main
bearing upper location. Ensure that the oilway
grooves on each thrustwasher face outwards
(away from the cylinder block) (see
illustration).
84 Place the bearing shells in their locations
as described earlier (see illustration). If new
shells are being fitted, ensure that all traces of
protective grease are cleaned off using
paraffin. Wipe dry the shells and connecting
rods with a lint-free cloth. Liberally lubricate
each bearing shell in the cylinder
block/crankcase and cap with clean engine oil.
85 Lower the crankshaft into position so that
Nos 2 and 3 cylinder crankpins are at TDC;
Nos 1 and 4 cylinder crankpins will be at BDC,
ready for fitting No 1 piston.
86 Lubricate the lower bearing shells in the
main bearing caps with clean engine oil. Make
sure that the locating lugs on the shells
engage with the corresponding recesses in
the caps.
2D•22 Engine removal and overhaul procedures
13.72 Refitting the oil pump drive chain
and sprocket
13.73 Apply a thin film of sealant to the
cylinder block/crankcase mating face . . .
13.74 . . . then lower the main bearing
ladder into position
13.75a Tighten the 11 mm main bearing
bolts to the Stage 1 torque setting . . .
13.75b . . . then angle-tighten them
through the specified Stage 2 angle
13.83 Fitting a thrustwasher to No 2 main
bearing upper location - TU series cast
iron block engines
13.84 Ensure that the tab (arrowed) is
correctly located in the cap when fitting
the bearing shells


