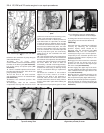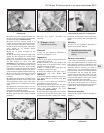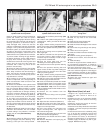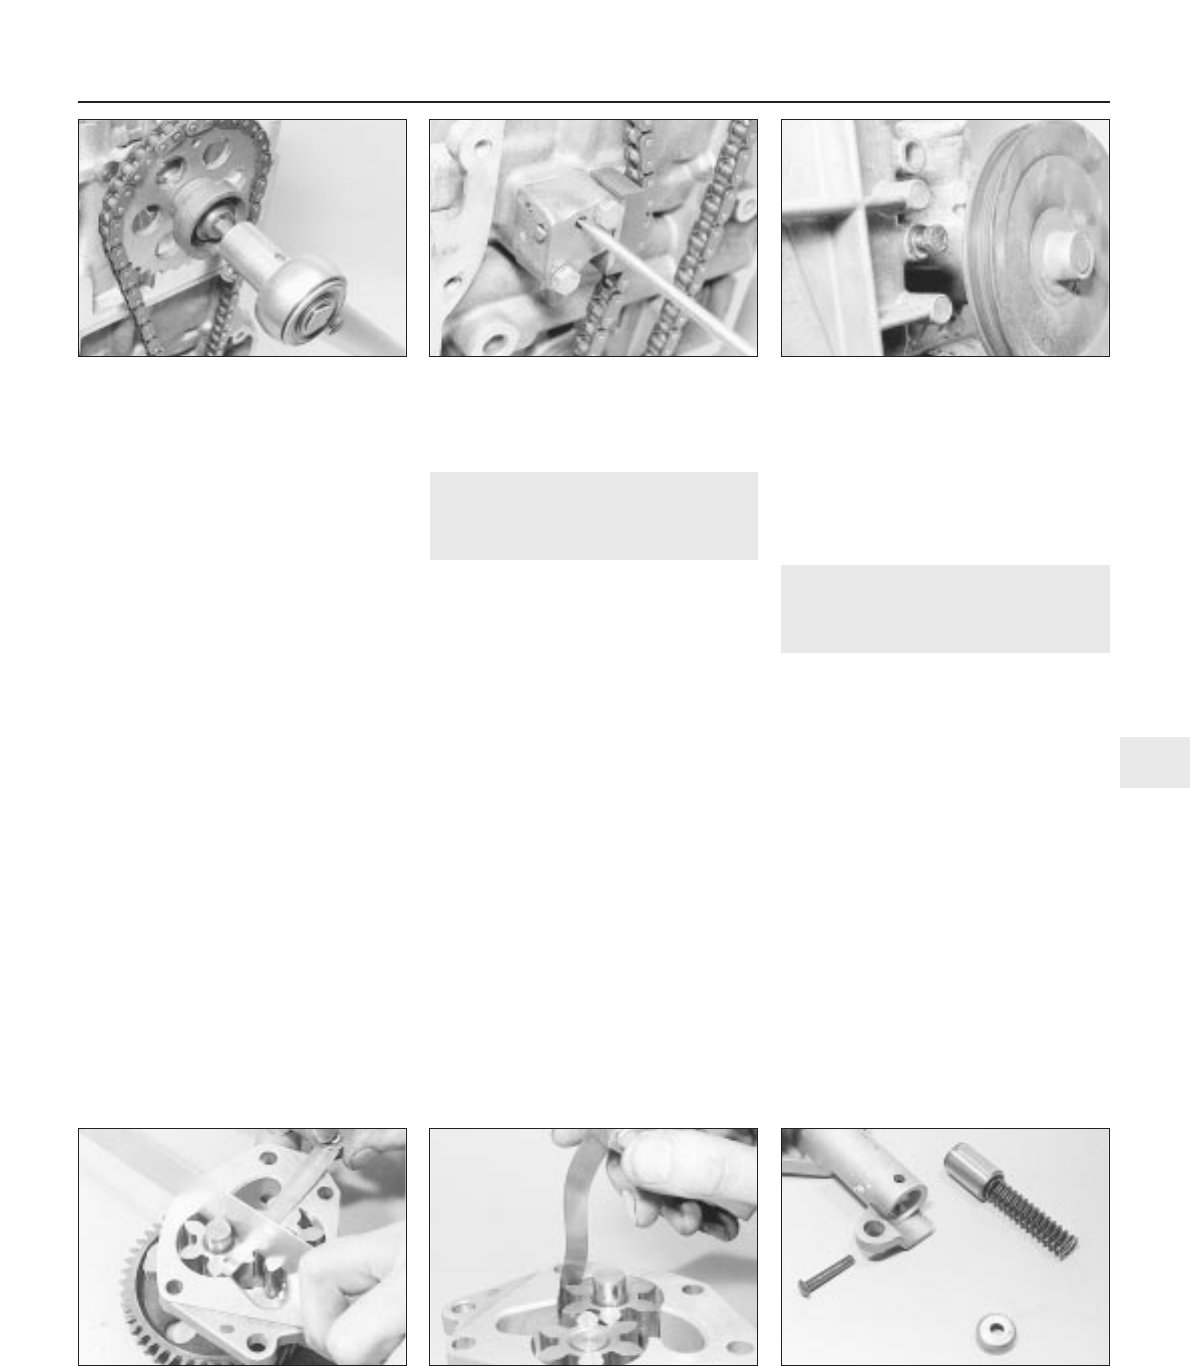
24 Using a very thin screwdriver blade, turn
the lock on the chain tensioner fully clockwise
to release the slipper (see illustration).
25 Check that the locating dowel is in
position and fit the oil pump with spacer plate.
If the pump driven sprocket is hard to turn,
release the pump mounting bolts and turn the
pump slightly on its locating dowel.
Re-tighten the bolts.
26 Fit the oil pump drivegear to the
crankshaft.
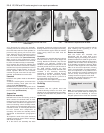
27 Bolt on the timing chain cover using a new
gasket. The bolt nearest the coolant pump
pulley must be located in the cover before
offering it up, otherwise the pulley will prevent
the bolt entering its cover hole (see
illustration). Do not tighten the cover bolts until
the crankshaft pulley has been pushed into
place to centralise the cover. Fit the coolant
hose safety rod under its cover bolts. This rod
prevents the coolant hose being cut by the rim
of the coolant pump pulley should the hose sag.
28 Fit the fuel pump operating rod and fuel
pump with reference to Chapter 4A, if
necessary.
29 Tighten the timing chain cover bolts to the
specified torque and then trim the upper ends
of the gasket flush. Fit the rocker cover using
a new gasket. Do not overtighten the securing
bolts.
30 Tighten the crankshaft pulley nut to the
specified torque, again jamming the flywheel
to prevent the crankshaft rotating.
31 Refit the starter, if removed (Chapter 5A).
32 Refit and tension the auxiliary drivebelt
(Chapter 1).
33 Lower the engine, reconnect the
mounting.
5 Oil pump - removal,
inspection and refitting
3
Removal
1 Carry out the operations described in
Section 4, paragraphs 1 to 10.
Inspection
2 The oil pump gears are exposed once the
spacer plate is removed.
3 Side movement of the gear spindles will
indicate wear in the bushes and the pump
should be renewed complete.
4 Worn or chipped gear teeth must be
rectified by renewal of the gear.
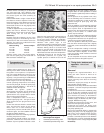
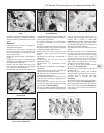
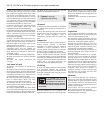
5 Check the endfloat of the gears using a
straight-edge and feeler blades (see
illustration).
6 Check the clearance between the tip of the
gear lobes and the oil pump body (see
illustration).
7 If any of these clearances exceed the
specified limit, renew the pump.
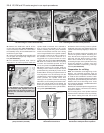
8 Remove the retaining pin from the relief
valve housing and withdraw the cup, spring,
guide and piston. Renew any worn
components (see illustration).
9 Check that the locating dowel is in position
and fit the oil pump with spacer plate. If the
pump driven sprocket is hard to turn, release
the pump mounting bolts and turn the pump
slightly on its locating dowel. Re-tighten the
bolts.
Refitting
10 Carry out the operations described in
Section 4, paragraphs 24 to 33.
6 Camshaft and rocker arms -
removal, inspection and
refitting
4
General information
1 The rocker arm assembly is secured to the
top of the cylinder head by the cylinder head
bolts. Although in theory it is possible to undo
the head bolts and remove the rocker arm
assembly without removing the head, in
practice, this is not recommended. Once the
bolts have been removed, the head gasket will
be disturbed, and the gasket will almost
certainly leak or blow after refitting. For this
reason, removal of the rocker arm assembly
cannot be done without removing the cylinder
head and renewing the head gasket.
2 The camshaft is slid out of the right-hand
end of the cylinder head, and it therefore
cannot be removed without first removing the
cylinder head, due to a lack of clearance.
Removal
Rocker arm assembly
3 Remove the cylinder head as described in
Section 7.
XV, XW and XY series engine in-car repair procedures 2A•5
2A
4.23 Tightening the camshaft sprocket
retaining bolt
4.24 Releasing the timing chain tensioner 4.27 Timing cover bolt next to coolant
pump pulley in place prior to fitting cover
5.5 Checking oil pump gear endfloat 5.6 Checking oil pump gear to body
clearance
5.8 Oil pump pressure relief valve
components


