Weekly checks 0•15
Bulbs and fuses
4 Check all external lights and the horn.
Refer to the appropriate Sections of Chap-
ter 12 for details if any of the circuits are
found to be inoperative.
4 Visually check all accessible wiring
connectors, harnesses and retaining clips for
security, and for signs of chafing or damage.
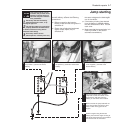
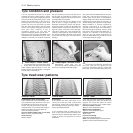
If you need to check your
brake lights and indicators
unaided, back up to a wall or
garage door and operate the
lights. The reflected light should show if
they are working properly.
If a single indicator light, stop-light or
headlight has failed, it is likely that a bulb
has blown and will need to be replaced.
Refer to Chapter 12 for details. If both stop-
lights have failed, it is possible that the switch
has failed (see Chapter 12).
If more than one indicator light or tail light
has failed it is likely that either a fuse has
blown or that there is a fault in the circuit
(see Chapter 12). The fuses are located
behind a panel on the bottom of the driver’s
side lower facia panel.
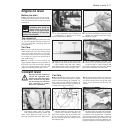
2
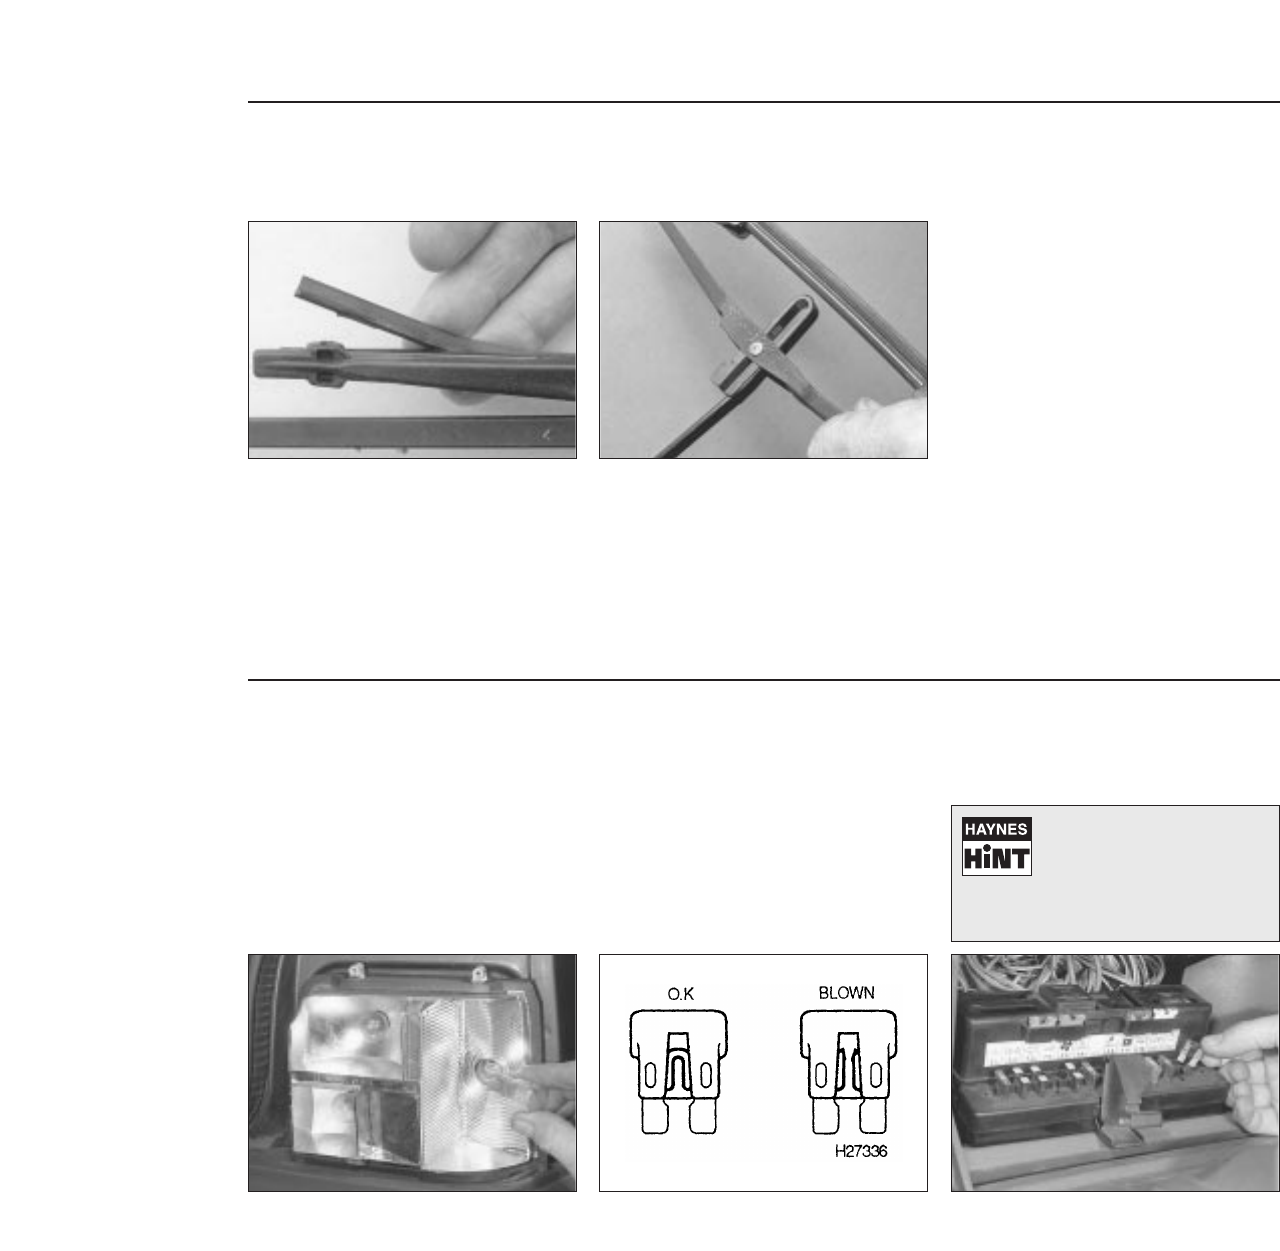
To replace a blown fuse, simply pull it out
and fit a new fuse of the correct rating
(see Chapter 12). If the fuse blows again,
it is important that you find out why - a
complete checking procedure is given in
Chapter 12.
3
1
Wiper blades
Check the condition of the wiper blades;
if they are cracked or show any signs of
deterioration, or if the glass swept area is
smeared, renew them. Wiper blades should
be renewed annually.
1
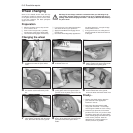
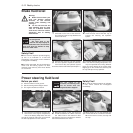
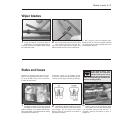
To remove a windscreen wiper blade, pull
the arm fully away from the screen until it
locks. Swivel the blade through 90°,
press the locking tab with your fingers and
slide the blade out of the arm’s hooked end.
2
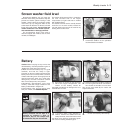
4 Don’t forget to check the tailgate wiper
blade as well. To remove the blade, depress
the retaining tab and slide the blade out of the
hooked end of the arm.


