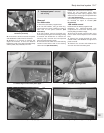
36 Unscrew the locknut nearest the pedal,
and withdraw the switch from the bracket.
37 Refitting is a reversal of removal, but
adjust the locknuts so that the distance
between the end of the switch threaded body
and the pedal (fully released) is 3.5 mm.
5 Instrument panel - removal
and refitting
2
Removal
Pre-1988 models
1 Disconnect the battery negative lead.
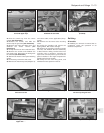
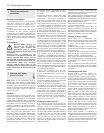
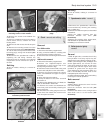
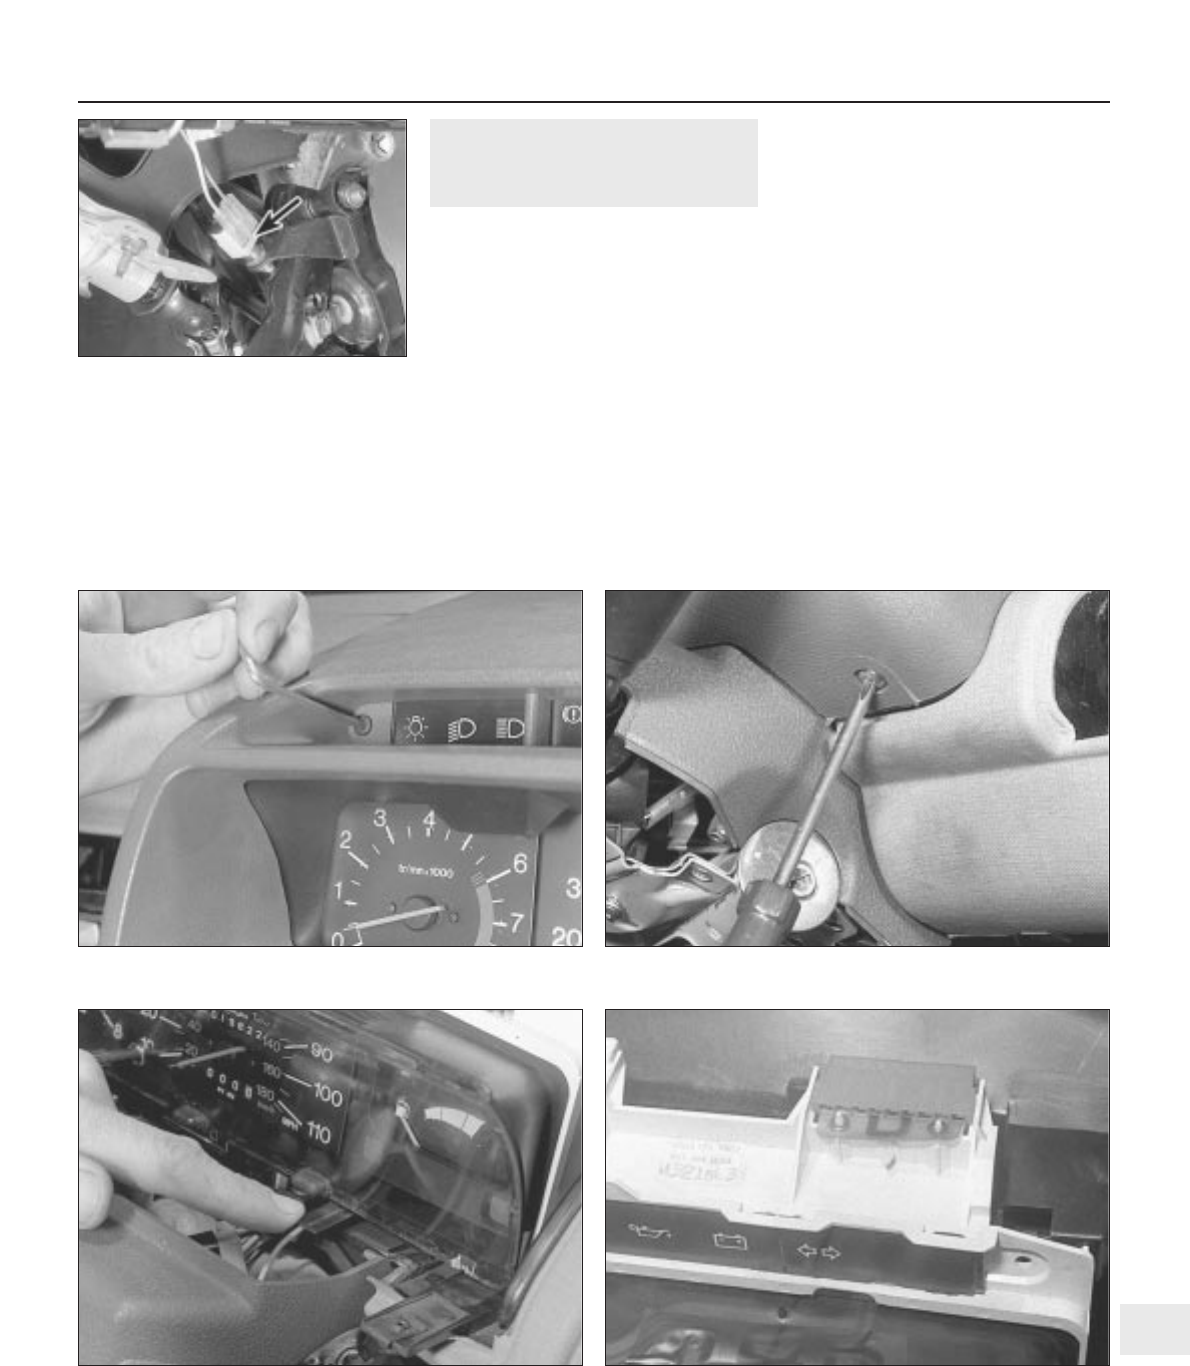
2 On non-GTI models, using an Allen key,
unscrew the two upper retaining screws at
each end of the panel surround (see
illustration).
3 On GTI models, remove the plastic tray
from the top of the panel surround by pushing
it towards the windscreen to release the
securing clips. Unscrew the now-exposed
panel surround securing screw.
4 Unscrew the two lower surround retaining
screws located either side of the steering
column shroud (see illustration).
5 Withdraw the surround from the facia.
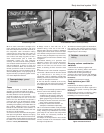
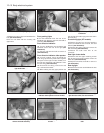
6 Pull out the instrument panel while
depressing the lower spring supports, then
disconnect the multi-plugs and speedometer
cable (see illustrations).
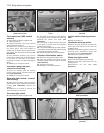
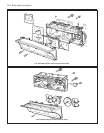
7 If necessary, the individual components can
be removed for repair or renewal (see
illustrations).
1988 models onward
8 Disconnect the battery negative lead.
9 Remove the trapezium-shaped coin
compartment or cover from the top of the
facia by lifting the bottom edge.
10 Pull off the heater control knobs, using
card or thick cloth and pliers on the central
bars.
11 Remove the screws beneath the outer
control knobs, and withdraw the upper front
panel surround.
12 Remove the screws and withdraw the
visor trim from the instrument panel.
Body electrical system 12•7
12
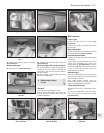
4.35 Brake stop light switch wiring
connector (arrowed)
5.6a Instrument panel spring support 5.6b Instrument panel right-hand upper multiplug
5.2 Removing the instrument panel upper . . . 5.4 . . . and lower retaining screws


