and then zero the gauge. Push the crankshaft
fully the other way, and check the endfloat.
The result can be compared with the specified
amount, and will give an indication as to
whether new thrustwashers are required.
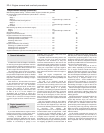
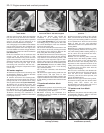
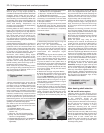
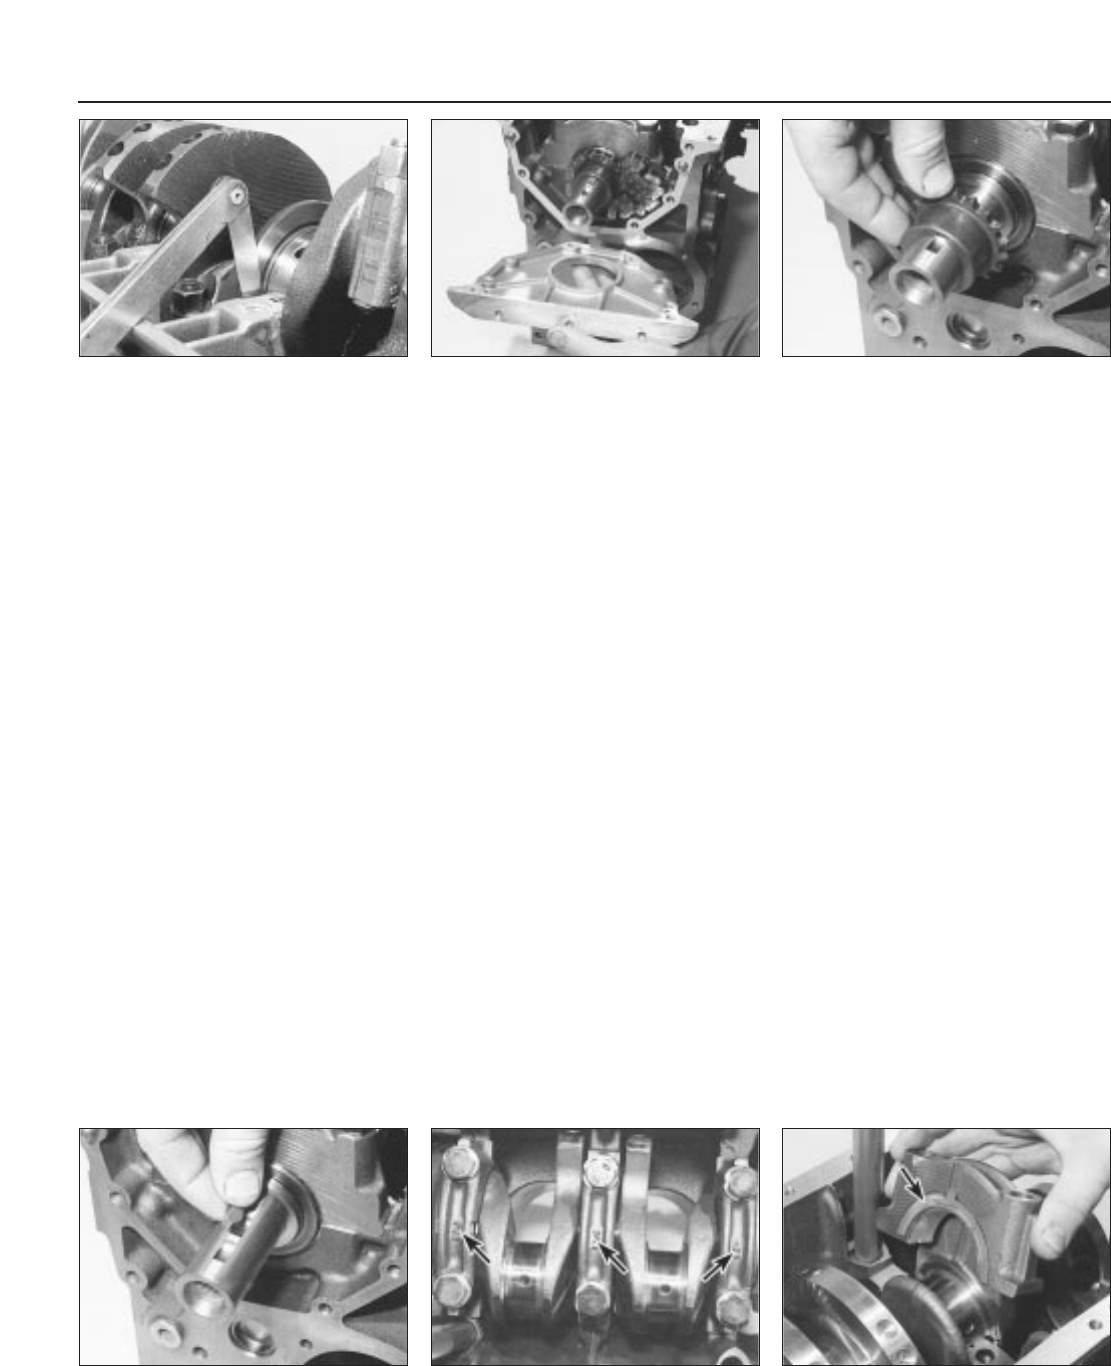
7 If a dial gauge is not available, feeler blades
can be used. First push the crankshaft fully
towards the flywheel end of the engine, then
use feeler blades to measure the gap between
the web of the crankpin and the thrustwasher
(see illustration).
8 Lift the crankshaft from its crankcase half
section, keep the shell bearings in their
original web recesses if they are to be used
again and retrieve the semi-circular thrust-
washers from either side of No 2 bearing web.
9 Loosely refit the big-end caps to the
connecting rods, and secure with the nuts -
this will help to keep the components in their
correct order.
XU series engines
10 Remove the pistons and connecting rods
as described in Section 7. (Refer to the Note
at the beginning of this Section).
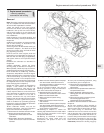
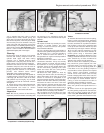
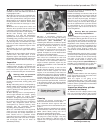
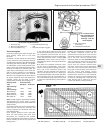
11 Slacken and remove the retaining bolts,
and remove the oil seal carrier from the front
(timing belt) end of the cylinder block, along
with its gasket (where fitted) (see illustration).
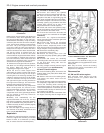
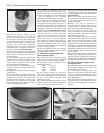
12 Remove the oil pump drive chain, and
slide the drive sprocket and spacer (where
fitted) off the end of the crankshaft. Remove
the Woodruff key, and store it with the
sprocket for safe-keeping (see illustrations).
13 Before removing the crankshaft it is
advisable to check the endfloat as described
in paragraphs 6 and 7.
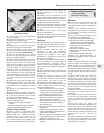
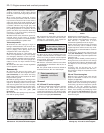
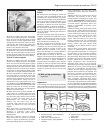
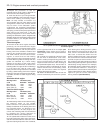
14 The main bearing caps should be
numbered 1 to 5, starting from the
transmission (flywheel/driveplate) end of the
engine (see illustration). If not, mark them
accordingly using a centre-punch. Also note
the correct fitted depth of the rear crankshaft
oil seal in the bearing cap.
15 Undo the two bolts (one at the front of the
block, and one at the rear) securing the centre
main bearing cap to the block. Remove the
bolts, along with their sealing washers.
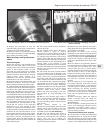
16 Slacken and remove the main bearing cap
retaining bolts/nuts, and lift off each bearing
cap. Recover the lower bearing shells, and
tape them to their respective caps for safe-
keeping. Also recover the lower thrustwasher
halves from the side of No 2 main bearing cap
(see illustration). Remove the rubber sealing
strips from the sides of No 1 main bearing
cap, and discard them.
17 Lift out the crankshaft, and discard the
rear oil seal.
18 Recover the upper bearing shells from the
cylinder block, and tape them to their
respective caps for safe-keeping. Remove the
upper thrustwasher halves from the side of No
2 main bearing, and store them with the lower
halves.
TU series aluminium block
engines
19 Remove the pistons and connecting rods
as described in Section 7. (Refer to the Note
at the beginning of this Section).
20 Before removing the crankshaft it is
advisable to check the endfloat as described
in paragraphs 6 and 7.
21 Work around the outside of the cylinder
block, and unscrew all the small (6 mm) bolts
securing the main bearing ladder to the base
of the cylinder block. Note the correct fitted
depth of both the left- and right-hand
crankshaft oil seals in the cylinder block/main
bearing ladder.
22 Working in a diagonal sequence, evenly
and progressively slacken the ten large (11
mm) main bearing ladder retaining bolts by a
turn at a time. Once all the bolts are loose,
remove them from the ladder.
23 With all the retaining bolts removed,
carefully lift the main bearing ladder casting
away from the base of the cylinder block.
Recover the lower main bearing shells, and
tape them to their respective locations in the
casting. If the two locating dowels are a loose
fit, remove them and store them with the
casting for safe-keeping.
24 Lift out the crankshaft, and discard both
the oil seals. Remove the oil pump drive chain
from the end of the crankshaft. Where
necessary, slide off the drive sprocket, and
recover the Woodruff key.
25 Recover the upper main bearing shells,
and store them along with the relevant lower
bearing shell. Also recover the two
thrustwashers (one fitted either side of No 2
main bearing) from the cylinder block.
TU series cast-iron block
engines
26 Remove the pistons and connecting rods
as described in Section 7. (Refer to the Note
at the beginning of this Section).
2D•12 Engine removal and overhaul procedures
8.7 Checking crankshaft endfloat using
feeler blades
8.11 Removing the oil seal carrier from the
front of the block - XU series engines
8.12a Slide off the oil pump drive
sprocket . . .
8.12b . . . and remove the Woodruff key 8.14 Main bearing cap identification
markings (arrowed)
8.16 Removing the main bearing cap and
thrustwashers (arrowed)


