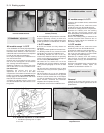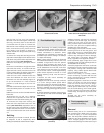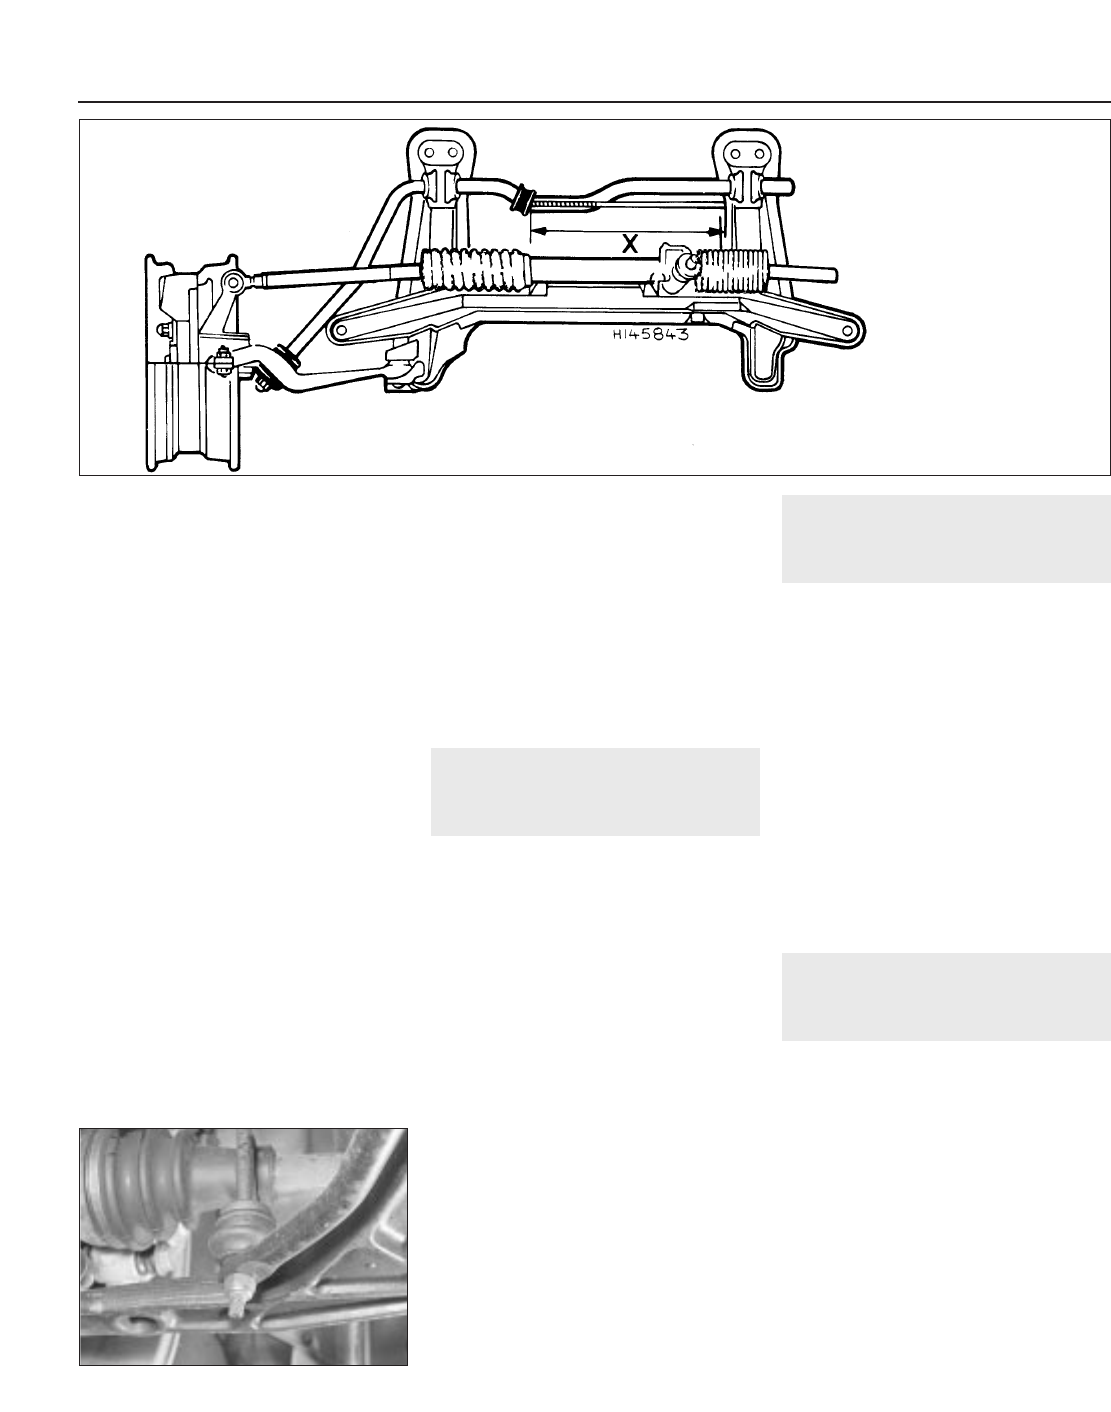
7 The guide bar length must be adjusted to
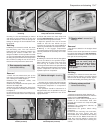
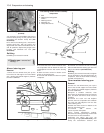
the dimension shown when refitting (see
illustration). Note that a full-circle clamp is
fitted to early models with a 6.0 mm diameter
anti-roll bar, whereas a split clamp is fitted to
later models with a 7.0 mm diameter bar. On
the later type, position the clamp centrally on
the turned-back end of the bar before
tightening the bolts.
GTI models
Removal
8 Chock the rear wheels then jack up the
front of the car and support it on axle stands
(see “Jacking and vehicle support”). Remove
the front roadwheels.
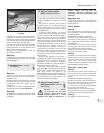
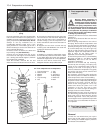
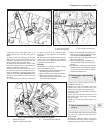
9 Unscrew the self-locking nuts from the
bottom of the link arms (see illustration) and
if necessary use a separator tool to release
the joints.
10 Unscrew the bearing clamp bolts and
withdraw the anti-roll bar over the subframe.
11 Unscrew the self-locking nuts from the
tops of the link arms and remove the arms
from the suspension struts, again using a
separator tool if required.
12 Examine the rubber bearings for damage
and deterioration and renew them if
necessary. Check the balljoints on the link
arms for excessive wear, and the rubber
boots for any damage. The balljoints cannot
be renewed separately, so if any damage is
evident the complete link arm must be
renewed.
13 The left-hand side anti-roll bar bearing
incorporates a location ring and therefore the
bearings must always be fitted to their correct
sides. The left-hand bearing is colour-coded
in grey or red and the right-hand bearing in
yellow or white.
Refitting
14 Refitting is a reversal of removal, but
delay fully tightening the mountings until the
weight of the car is on its wheels.
8 Rear hub/drum and bearings
- general information
The removal and refitting of the rear
hub/drum assembly is described in Chapter 9,
together with the inspection of the drum for
wear.
On pre-1986 models the hub/drum and
bearings are a sealed assembly and it is not
possible to renew the bearings separately. If
the bearings are worn excessively it will
therefore be necessary to renew the complete
hub/drum assembly.
If the hub/drum oil seal is worn or damaged
it can be renewed by prising it out with a
screwdriver and pressing in the new one with
a metal tube. Clean and grease the seal
contact surface on the trailing arm before
refitting the hub/drum.
Models manufactured from early 1986 are
fitted with modified rear hub/drum assemblies
which does allow separate renewal of the
bearings.
Bearing renewal requires the use of a press
in conjunction with special tools to remove the
old bearing, and this is best entrusted to your
Peugeot dealer (once removed, a bearing is
rendered unserviceable).
When renewing the oil seal, Peugeot
recommend the use of special tool No. 7.052Y
to seat the new seal. If unavailable, make a
careful note of the position of the original seal
before removing it.
9 Rear suspension
components - general
information
Although it is possible to remove the rear
suspension torsion bars, trailing arms and
anti-roll bar independently of the complete
rear axle assembly, it is essential to have
certain special tools available to complete the
work successfully.
Due to the complexity of the tasks, and the
requirement for special tools to accurately set
the suspension geometry and vehicle ride
height on refitting, the removal and refitting of
individual rear suspension components is
considered to be beyond the scope of DIY
work, and should be entrusted to a Peugeot
dealer.
Procedures for removal and refitting of the
rear shock absorbers, and the complete rear
suspension assembly are given in Sections 10
and 11 respectively.
10 Rear shock absorber -
removal and refitting
2
Removal
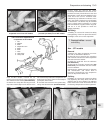
1 Position the rear of the car on ramps or
alternatively jack it up and support it beneath
the wheels. Apply the handbrake.
2 Unscrew the shock absorber bottom
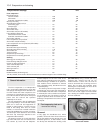
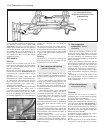
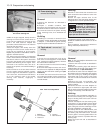
mounting nut and tap the bolt outwards until it
clears the shock absorber (see illustration). If
the bolt head fouls the handbrake cable
bracket, loosen the bracket bolt on the side of
the trailing arm and lift the bracket as
required. Do not forget to tighten the bolt after
refitting the shock absorber.
3 Unscrew the upper mounting nut, remove
the washer, and tap out the bolt.
4 Withdraw the shock absorber from under
the car.
5 A thorough check of the shock absorber
may now be made by gripping the bottom
10•6 Suspension and steering
7.9 Anti-roll bar link arm bottom mounting
on GTI models
7.7 Cross-section of front
suspension showing anti-roll bar
guide dimension
X = 330.0 mm


