33 Prior to installing the liners, thoroughly
clean the liner mating surfaces in the cylinder
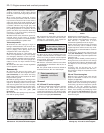
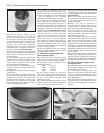
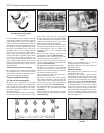
block, and use fine abrasive paper to polish
away any burrs or sharp edges which might
damage the liner base seals. Clean the liners
and wipe dry, then fit the O-ring seals to the
base of each liner. To aid installation, apply a
smear of oil to the base of the liner.
34 Insert each liner into its correct location in
the block then, using a hammer and a block of
wood, tap each liner lightly but fully onto its
locating shoulder. Wipe clean, then lightly oil,
all exposed liner surfaces, to prevent rusting.
XU and TU series engines
35 Prior to installing the liners, thoroughly
clean the liner mating surfaces in the cylinder
block, and use fine abrasive paper to polish
away any burrs or sharp edges which might
damage the liner base seals. Clean the liners
and wipe dry, then fit a new O-ring to the base
of each liner. To aid installation, apply a smear
of oil to each O-ring and to the base of the liner.
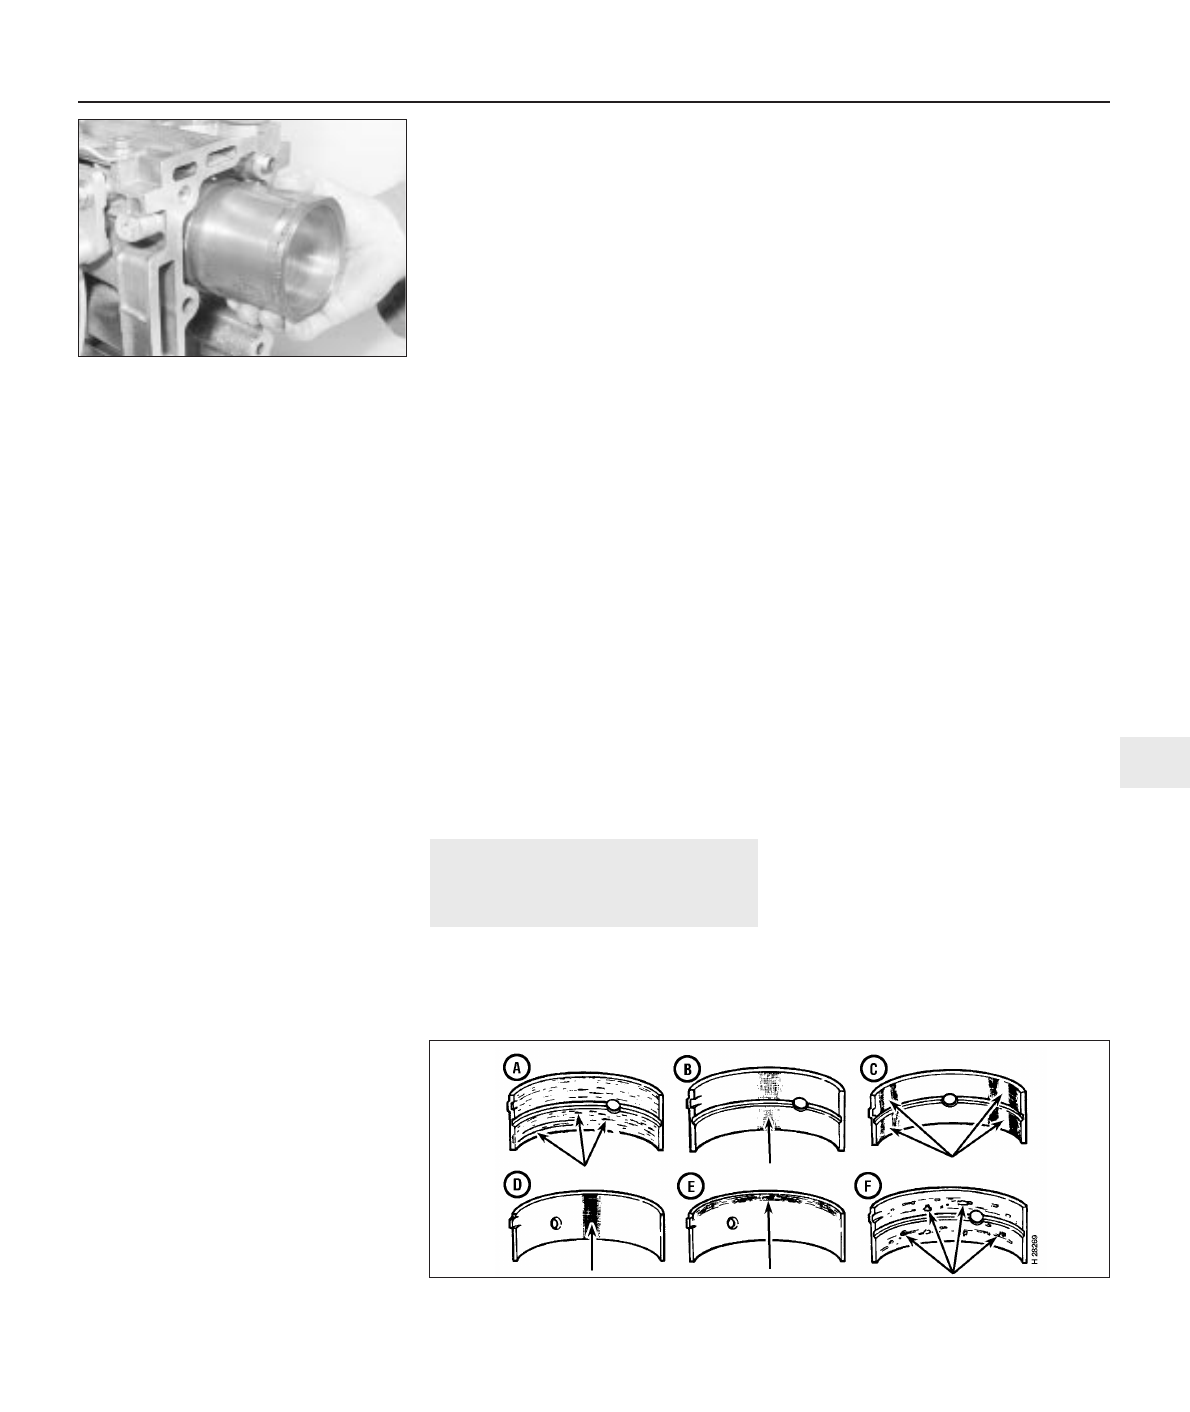
36 If the original liners are being refitted, use
the marks made on removal to ensure that
each is refitted the correct way round, and is
inserted into its original bore. Insert each liner
into the cylinder block, taking care not to
damage the O-ring, and press it home as far
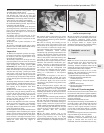
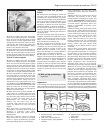
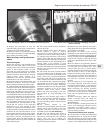
as possible by hand (see illustration). Using
a hammer and a block of wood, tap each liner
lightly but fully onto its locating shoulder.
Wipe clean, then lightly oil, all exposed liner
surfaces, to prevent rusting.
37 With all four liners correctly installed, use
a dial gauge (or a straight-edge and feeler
blade) to check that the protrusion of each
liner above the upper surface of the cylinder
block is within the limits given in the
Specifications. The maximum difference
between any two liners must not be
exceeded. Note that the liner protrusion
figures are different for later XU series
engines.
38 If new liners are being fitted, it is
permissible to interchange them to bring the
difference in protrusion within limits.
Remember to keep each piston with its
respective liner.
39 If liner protrusion cannot be brought
within limits, seek the advice of a Peugeot
dealer or engine reconditioning specialist
before proceeding with the engine rebuild.
Inspection (cast-iron cylinder
block)
40 Visually check the castings for cracks and
corrosion. Look for stripped threads in the
threaded holes. If there has been any history
of internal water leakage, it may be worthwhile
having an engine overhaul specialist check
the cylinder block/crankcase with special
equipment. If defects are found, have them
repaired if possible, or renew the assembly.
41 Check each cylinder bore for scuffing and
scoring. Check for signs of a wear ridge at the
top of the cylinder, indicating that the bore is
excessively worn.
42 If the necessary measuring equipment is
available, measure the bore diameter of each
cylinder liner at the top (just under the wear
ridge), centre, and bottom of the cylinder
bore, parallel to the crankshaft axis.
43 Next, measure the bore diameter at the
same three locations, at right-angles to the
crankshaft axis. As no tolerance figures are
actually stated by Peugeot, if there is any
doubt about the condition of the cylinder
bores, seek the advice of a Peugeot dealer or
suitable engine reconditioning specialist.
44 At the time of writing, it was not clear
whether oversize pistons were available for all
models. Consult your Peugeot dealer for the
latest information on piston availability. If
oversize pistons are available, then it may be
possible to have the cylinder bores rebored
and fit the oversize pistons. If oversize pistons
are not available, and the bores are worn,
renewal of the block seems to be the only
option.
10 Main and big-end bearings -
inspection
4
Inspection
1 Even though the main and big-end bearing
shells should be renewed during the engine
overhaul, the old shells should be retained for
close examination, as they may reveal
valuable information about the condition of
the engine.
2 Bearing failure occurs because of lack of
lubrication, the presence of dirt or other
foreign particles, overloading the engine, and
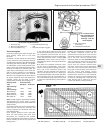
corrosion (see illustration). Regardless of the
cause of bearing failure, the cause must be
corrected (where applicable) before the
engine is reassembled, to prevent it from
happening again.
3 When examining the bearing shells, remove
them from the cylinder block/crankcase and
main bearing caps, and from the connecting
rods and the big-end bearing caps, then lay
them out on a clean surface in the same
general position as their location in the
engine. This will enable you to match any
bearing problems with the corresponding
crankshaft journal. Do not touch any shell’s
bearing surface with your fingers while
checking it, or the delicate surface may be
scratched.
4 Dirt or other foreign matter gets into the
engine in a variety of ways. It may be left in
the engine during assembly, or it may pass
through filters or the crankcase ventilation
system. It may get into the oil, and from there
into the bearings. Metal chips from machining
operations and normal engine wear are often
present. Abrasives are sometimes left in
engine components after reconditioning,
especially when parts are not thoroughly
cleaned using the proper cleaning methods.
Whatever the source, these foreign objects
often end up embedded in the soft bearing
material, and are easily recognised. Large
particles will not embed in the material, and
will score or gouge the shell and journal. The
best prevention for this cause of bearing
failure is to clean all parts thoroughly, and to
keep everything spotlessly-clean during
engine assembly. Frequent and regular engine
oil and filter changes are also recommended.
5 Lack of lubrication (or lubrication breakdown)
has a number of inter-related causes. Excessive
heat (which thins the oil), overloading (which
squeezes the oil from the bearing face) and oil
Engine removal and overhaul procedures 2D•15
2D
9.36 Fitting a liner to the cylinder block
A Scratched by dirt; dirt embedded in
bearing material
B Lack of oil; overlay wiped out
C Improper seating; bright (polished
sections)
D Tapered journal; overlay gone from
entire surface
E Radius ride
F Fatigue failure; craters or pockets
10.2 Typical bearing failures


