plastic or wood scraper to remove all traces of
gasket and carbon; also clean the piston
crowns. Refer to paragraph 32 before turning
the crankshaft. Take particular care during the
cleaning operations, as aluminium alloy is
easily damaged. Also, make sure that the
carbon is not allowed to enter the oil and water
passages - this is particularly important for the
lubrication system, as carbon could block the
oil supply to the engine’s components. Using
adhesive tape and paper, seal the water, oil
and bolt holes in the cylinder block/crankcase.
To prevent carbon entering the gap between
the pistons and bores, smear a little grease in
the gap. After cleaning each piston, use a
small brush to remove all traces of grease and
carbon from the gap, then wipe away the
remainder with a clean rag. Clean all the
pistons in the same way.
35 Check the mating surfaces of the cylinder
block/crankcase and the cylinder head for
nicks, deep scratches and other damage. If
slight, they may be removed carefully with a
file, but if excessive, machining may be the
only alternative to renewal.
36 If warpage of the cylinder head gasket
surface is suspected, use a straight-edge to
check it for distortion. Refer to Part D of this
Chapter if necessary.
37 Check the condition of the cylinder head
bolts, and particularly their threads, whenever
they are removed. Wash the bolts in suitable
solvent, and wipe them dry. Check each for
any sign of visible wear or damage, renewing
any bolt if necessary. Measure the length of
each bolt, to check for stretching (although
this is not a conclusive test, in the event that
all ten bolts have stretched by the same
amount). Although Peugeot do not actually
specify that the bolts must be renewed, it is
strongly recommended that the bolts should
be renewed as a complete set whenever they
are disturbed.
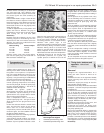
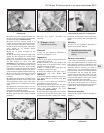
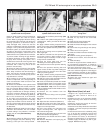
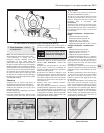
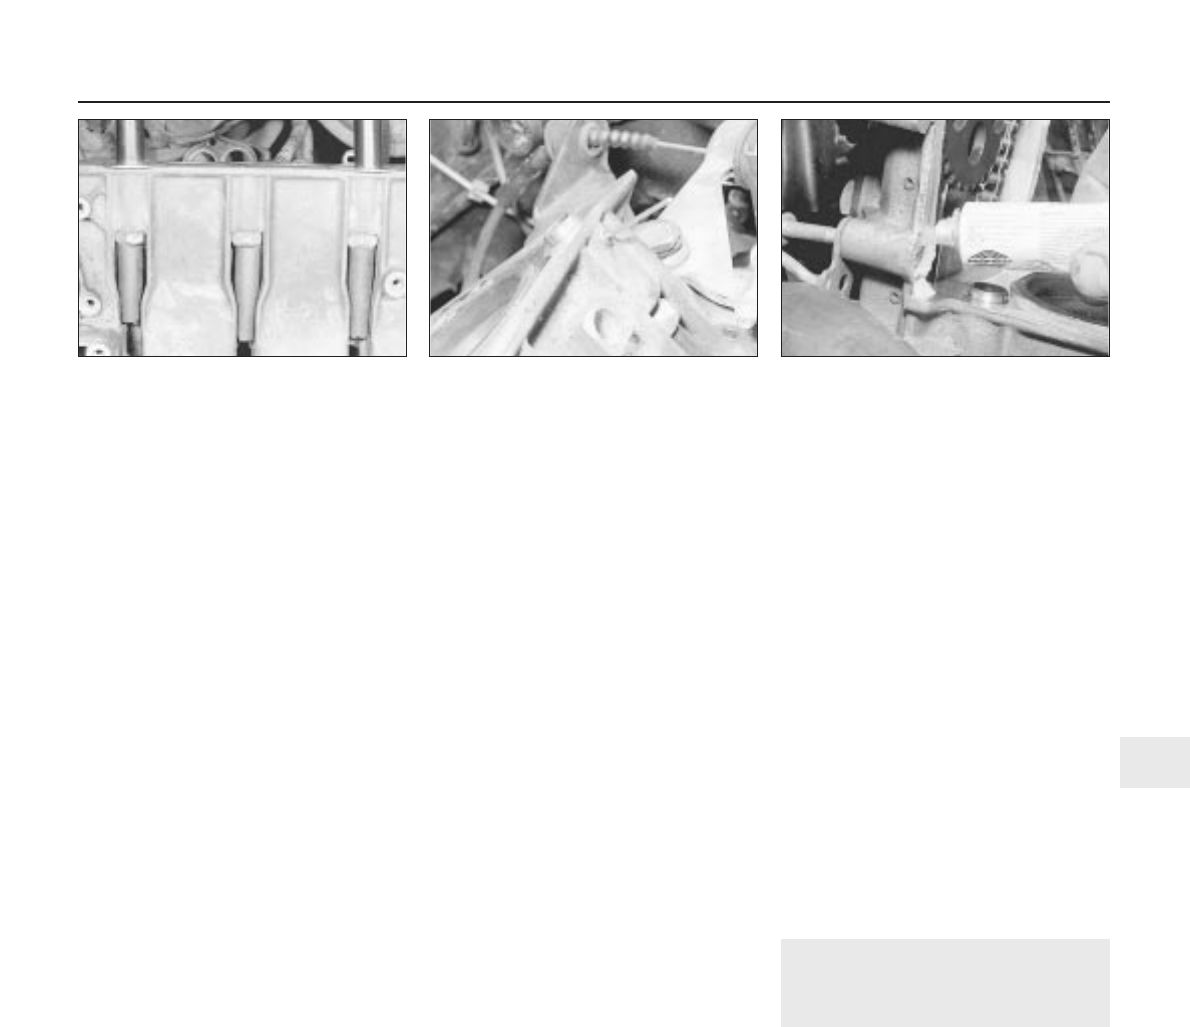
38 Before refitting the head, the nuts must be
retained in their channels. The use of rubber
or plastic tubing is very effective, or wooden
wedges may be used (see illustration).
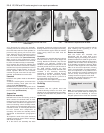
Refitting
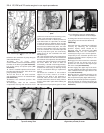
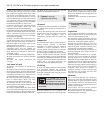
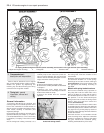
39 Commence refitting by lifting the location
dowel (paragraph 30) and retaining it by
inserting a short pin in the hole provided -
leaving room for the bolt to pass through (see
illustration).
40 Locate a new cylinder head gasket on the
cylinder block, making sure that all the holes
are aligned.
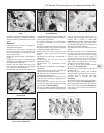
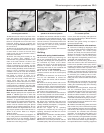
41 Apply a silicone sealing compound to the
timing cover mating surface (see illustration).
42 Lower the cylinder head into position over
the dowels.
43 Fit the four timing cover-to-cylinder head
bolts finger tight.
44 Slide the camshaft into the sprocket and
fuel pump eccentric. Slight rotation of the
eccentric may be necessary in order to align
its key with the camshaft slot.
45 Push the thrust plate fully into the
camshaft groove then tighten the bolt.
46 Unbolt and remove the sprocket retaining
tool.
47 Insert the sprocket retaining bolt and
tighten it with an Allen key while holding the
sprocket with a bar through one of the holes
resting on packing pieces.
48 Apply a silicone sealing compound to the
access plate then refit it and tighten the bolts.
49 Refit the rocker shaft assembly with the
two location pegs towards the front.
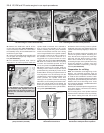
50 Insert the head bolts (threads and heads
oiled) and tighten them in two stages to the
specified torques and in the sequence shown
(see illustration 7.25). Note that washers
must be fitted beneath the bolt heads on XY7
and XY8 engines.
51 Remove the nut retainers from the
cylinder block.
52 Tighten the four timing cover-to-cylinder
head bolts.
53 Insert the fuel pump plunger in the timing
cover.
54 Adjust the valve clearances (Section 2).
55 Refit the rocker cover with a new gasket.
56 Remove the block of wood and lower the
engine to its normal position.
57 Insert and tighten the right-hand rear
engine mounting bolts, also tighten the
left-hand mounting bolts.
58 Reconnect the brake servo vacuum hose
to the inlet manifold (if applicable).
59 Reconnect the throttle and choke cables
(Chapter 4A).
60 Refit the distributor and spark plug HT
leads (Chapter 5B).
61 Reconnect the temperature sender wiring.
62 Refit the top hose to the thermostat
housing.
63 Refit the fuel pump (Chapter 4A).
64 Reconnect the heater hoses.
65 Refit the exhaust downpipe to the exhaust
manifold.
66 Reconnect the gearchange rods (Chap-
ter 7A).
67 Lower the car to the ground.
68 Refit the oil filler/crankcase ventilation cap
and hoses.
69 Refill the cooling system (Chapter 1).
70 Refit the air cleaner, inlet cowl and inlet
hoses.
71 Refit the battery.
72 After the engine has been started and run
to full operating temperature, it should be
switched off and allowed to cool for at least
two hours. Remove the rocker cover.
73 Unscrew the first cylinder head bolt one
half a turn and then retighten it to the Stage 2
torque. Repeat the operation on the remaining
bolts, one at a time in the sequence specified
(see illustration 7.25).
74 Check the valve clearances again and
readjust if necessary.
8 Crankshaft oil seals -
renewal
3
Right-hand (front) oil seal
1 Support the engine/transmission on a
trolley jack with a block of wood as an
insulator.
2 Release the nuts on the right-hand flexible
engine mounting at the base of the timing
chain cover.
3 Raise the engine just enough to clear the
side-member and anti-roll bar.
4 Remove the auxiliary drivebelt as described
in Chapter 1, and the fuel pump as described
in Chapter 4A.
5 Unscrew and remove the crankshaft pulley
nut. To do this the crankshaft must be held
against rotation by jamming the starter ring
gear. Remove the starter, as described in
Chapter 5A. Alternatively, if an assistant is
available, apply the brakes fully with a gear
engaged. Withdraw the pulley.
XV, XW and XY series engine in-car repair procedures 2A•9
2A
7.38 Using rubber tubing to hold the
cylinder head nuts in position
7.39 Using a pop rivet to retain the
cylinder head location dowel
7.41 Applying sealing compound to the
timing cover


