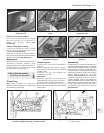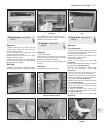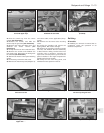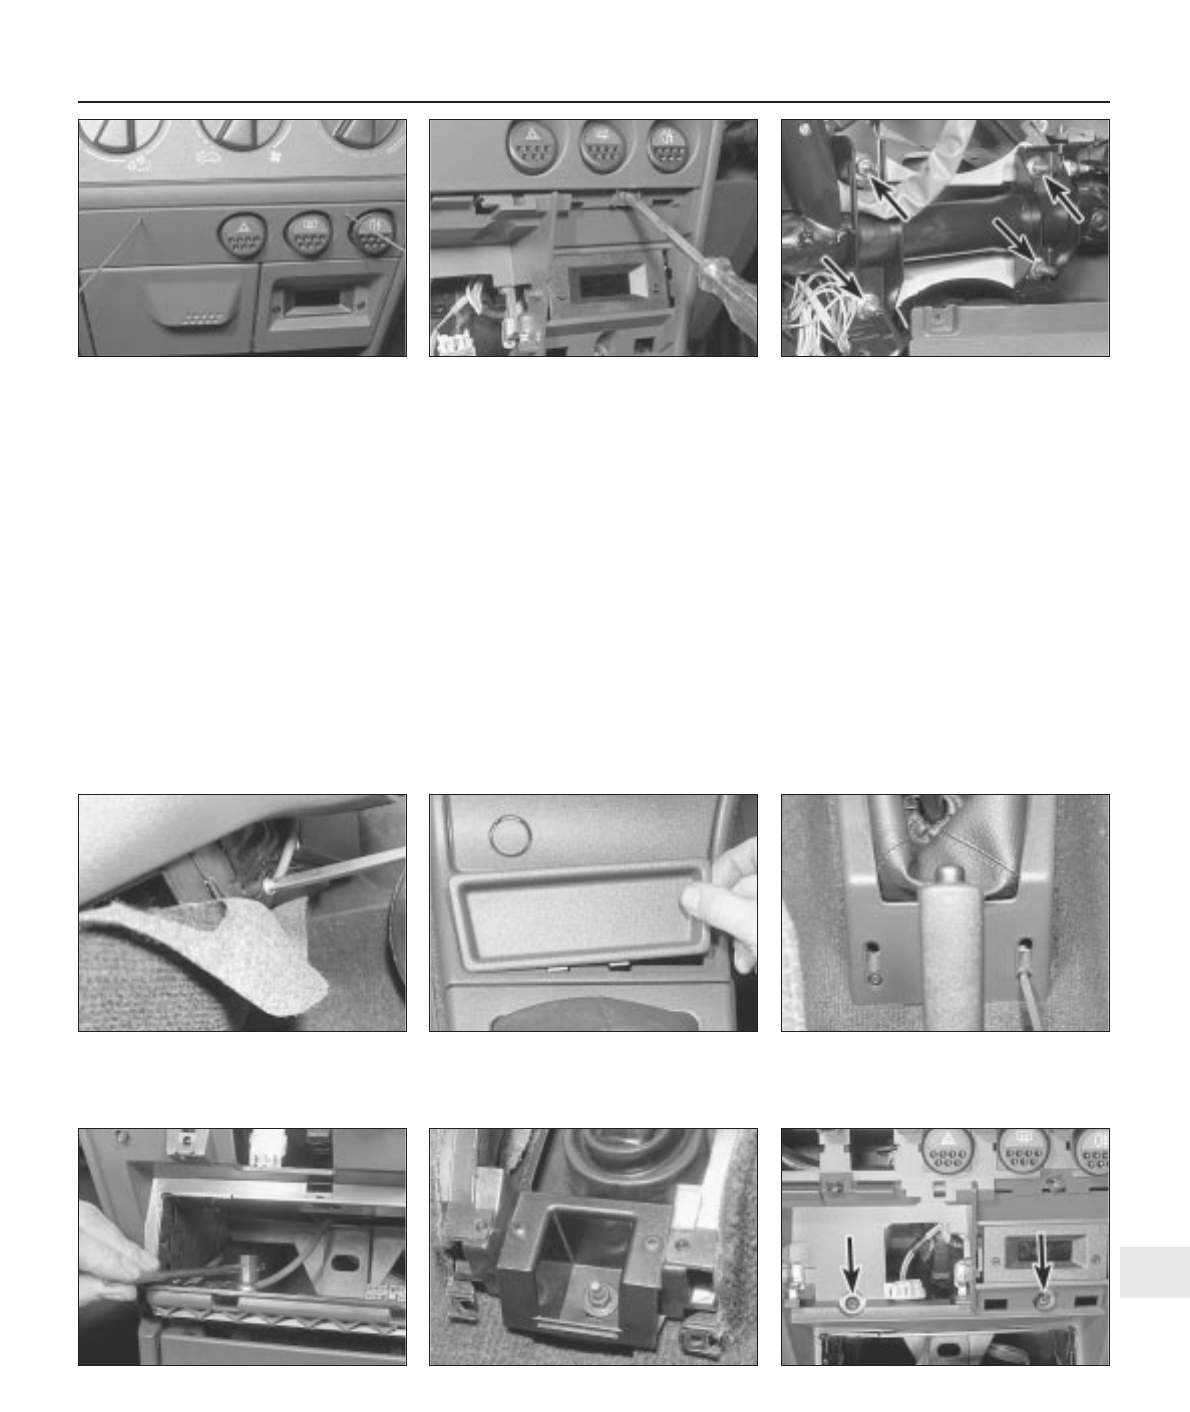
32 Prise the small tray from the centre
console (see illustration).
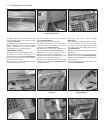
33 Remove the screws, and slide the
surround up the gear lever (see illustration).
34 Remove the upper and lower nuts, and
withdraw the centre console (see
illustrations).
35 Unclip the felt cover from under the facia.
36 Remove the screws and withdraw the
front facia panel. Disconnect the wiring from
the switches (see illustration).
37 Remove the heater control panel retaining
screws.
38 If necessary, remove the side vents.
39 Remove the instrument panel (Chapter 12)
and choke cable, where applicable (Chap-
ter 4A).
40 Remove the left lower facia mounting
screw.
41 Unclip the glovebox and remove the
lighting switch. Also remove the light.
42 Remove the remaining mounting screws
and nuts, and withdraw the facia sufficiently
to disconnect the wiring. Access to the front
mounting nuts is gained by removing the
wiper arms and the plastic guard from the
plenum chamber in the engine compartment.
Identify each wire for location.
43 Unclip the fuse and relay panel, and
withdraw the facia panel from the car.
Refitting
All models
44 Refitting is a reversal of removal, but on
completion check the operation of all
electrical components.
Bodywork and fittings 11•13
11
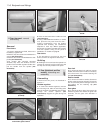
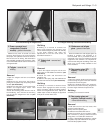
26.27a Method of releasing the switch
surround upper clips
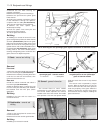
26.27b Remove the lower screws and
withdraw the surround
26.29 Steering column mounting nuts
(arrowed)
26.34a Removing the centre console
upper nuts . . .
26.34b . . . and lower nut 26.36 Front facia panel screws (arrowed)
26.31 Prise out the console vent and
remove the screw
26.32 Removing the centre console tray 26.33 Remove the screws and slide the
surround up the gear lever


