4 While an assistant supports the bonnet,
unscrew the nut and remove the bottom of the
stay from the right-hand suspension tower.
5 Place some cloth beneath the rear corners
of the bonnet, unscrew the hinge bolts and
withdraw it from the car.
Refitting
6 Refitting is a reversal of removal, but check
that the bonnet is central within its aperture
and flush with the front wings. If necessary
loosen the hinge bolts and move it within the
elongated holes to reposition it, then adjust
the bonnet lock and striker, as described in
Section 7.
7 Bonnet lock and remote
control cable - removal,
refitting and adjustment
2
Removal
1 Remove the front grille, as described in
Section 8.
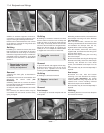
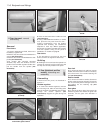
2 Unbolt the lock from the crossmember and
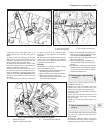
disconnect the control cable (see
illustration).
3 Working inside the car, remove the screws
from the cable release lever located below the
left-hand end of the facia.
4 Unclip the cable and withdraw it from inside
the car.
5 If necessary the bonnet striker may be
unscrewed from the bonnet and the safety
spring unclipped.
Refitting
6 Refitting is a reversal of removal, but check
that the striker enters the lock centrally and
holds the front of the bonnet level with the
front wings. If necessary loosen the lock bolts
and move the lock within the elongated holes.
Adjust the bonnet height by screwing the
striker pin in or out. Adjust the rubber buffers
to support the front corners of the bonnet.
8 Front grille - removal and
refitting
1
Removal
1 Open the bonnet and support with the stay.
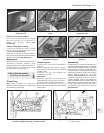
2 Remove the screws from the top of the
grille then lift it upwards from the lower
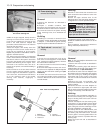
mounting holes (see illustrations).
Refitting
3 Refitting is a reversal of removal.
9 Bumpers - removal and
refitting
3
Removal
Front bumper
1 The bumper is removed complete with the
front spoiler.
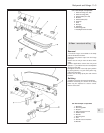
2 Working under the vehicle, unscrew the two
front bumper mounting nuts at the brackets
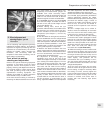
(see illustration).
3 On non-GTI models, unscrew the side
mounting nuts beneath the front wheel arches
and withdraw the bumper from the car,
together with the side mounting rubbers.
4 On GTI models, disconnect the battery
negative lead, and disconnect the wiring from
the front driving lamps.
5 Remove the clip securing the front wing
trim to the bumper.
6 Unscrew the bolts securing the driving lamp
brackets to the body, loosen the side bumper
mounting nuts beneath the front wheel
arches, and withdraw the bumper from the
car.
7 The brackets may be removed separately if
required.
Rear bumper
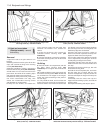
8 Unscrew the rear, side and bottom
mounting nuts and withdraw the bumper
rearwards (see illustration). On certain
models, additional fixing clips must also be
released and a lower moulding removed
before the bumper can be withdrawn.
9 The brackets may be removed separately if
required.
Refitting
10 Refitting both the front and rear bumpers
is a reversal of removal.
11•4 Bodywork and fittings
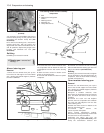
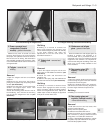
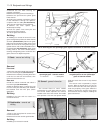
6.2 Bonnet hinge 6.3 Braided lead fitted to the bonnet 7.2 Bonnet lock retaining bolts
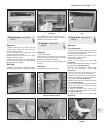
8.2a Remove the screws . . . 8.2b . . . and lift the front grille from the
outer . . .
8.2c . . . and inner mounting holes


