9 Carburettor - removal and
refitting
2
Note: Observe the precautions in Section 1
before working on any component in the fuel
system.
Removal
1 Remove the air cleaner assembly, as
described in Section 2.
2 Unscrew the bolts or nuts and remove the
air inlet duct from the top of the carburettor(s).
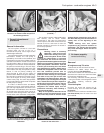
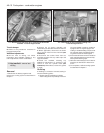
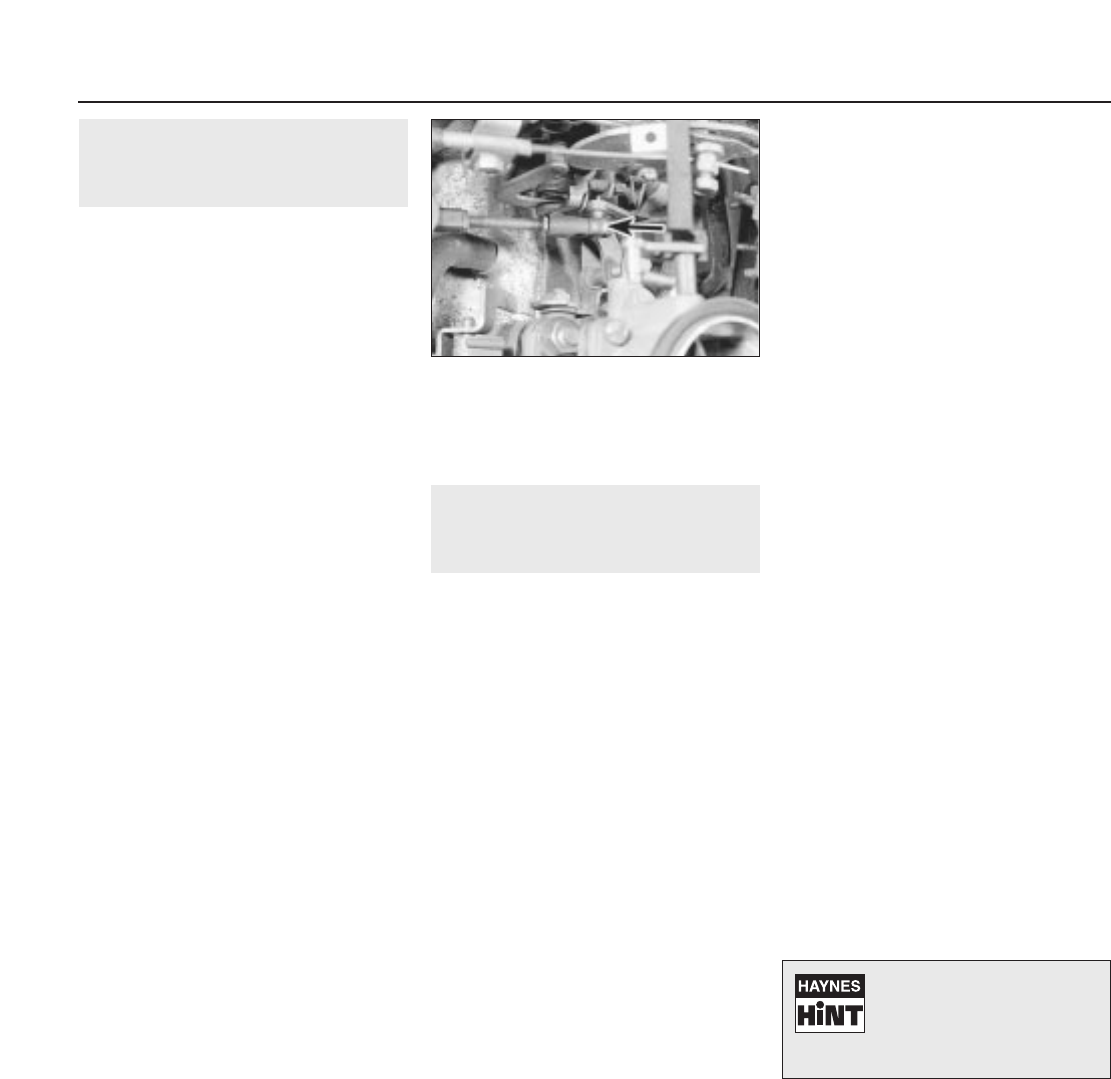
3 Disconnect the throttle cable or ball-jointed
throttle control rod from the carburettor(s)
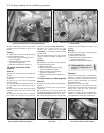
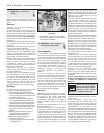
with reference to Section 3 (see illustration).
4 Disconnect the choke cable with reference
to Section 4.
5 Where fitted, remove the short hose which
runs between the oil filler cap and the
carburettor.
6 Disconnect the wiring connector from the
idle cut-off solenoid as applicable.
7 Slacken the retaining clip, and disconnect
the fuel feed hose from the carburettor. Place
wads of rag around the union to catch any
spilled fuel, and plug the hose as soon as it is
disconnected, to minimise fuel loss.
8 Make a note of the correct fitted positions
of all the relevant vacuum pipes and breather
hoses, to ensure that they are correctly
positioned on refitting, then release the
retaining clips (where fitted) and disconnect
them from the carburettor.
9 Disconnect and plug the carburettor
coolant hose(s). Plug the hoses immediately
to prevent coolant loss.
10 Unscrew the nuts and washers securing
the carburettor(s) to the inlet manifold.
Remove the carburettor assembly from the
car. Remove the insulating spacer and/or
gasket(s). Discard the gasket(s); new ones
must be used on refitting. Plug the inlet
manifold port with a wad of clean cloth, to
prevent the possible entry of foreign matter.
Refitting
11 Refitting is the reverse of the removal
procedure, noting the following points:
a) Ensure that the carburettor and inlet
manifold sealing faces are clean and flat.
Fit a new gasket, and securely tighten the
carburettor retaining nuts.
b) Use the notes made on dismantling to
ensure that all hoses are refitted to their
original positions and, where necessary,
are securely held by their retaining clips.
c) Where the original crimped-type Peugeot
hose clips were fitted, discard them; use
standard worm-drive hose clips when
refitting.
d) Refit and adjust the throttle cable and
choke cable (where applicable) as
described in Sections 3 and 4.
e) Refit the air cleaner assembly as
described in Section 2.
f) Top-up the cooling system as described
in “Weekly checks”.
g) On completion, check and, if necessary,
adjust the idle speed and mixture settings
as described in Chapter 1.
10 Carburettor - fault diagnosis,
overhaul and adjustments
3
Fault diagnosis
1 If a carburettor fault is suspected, always
check first that the ignition timing is correctly
set, that the spark plugs are in good condition
and correctly gapped, that the throttle and
choke cables are correctly adjusted, and that
the air cleaner filter element is clean; refer to
the relevant Sections of Chapter 1, Chapter 5
or this Chapter. If the engine is running very
roughly, first check the valve clearances as
described in Chapter 1, then check the
compression pressures as described in
Chapter 2.
2 If careful checking of all the above
produces no improvement, the carburettor
must be removed for cleaning and overhaul.
3 Prior to overhaul, check the availability of
component parts before starting work; note
that most sealing washers, screws and
gaskets are available in kits, as are some of
the major sub-assemblies. In most cases, it
will be sufficient to dismantle the carburettor
and to clean the jets and passages.
Overhaul
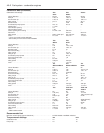
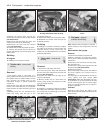
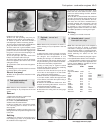
Note: Refer to the warning note in Section 1
before proceeding. The following procedures
are typical for the various carburettors
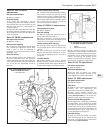
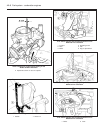
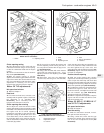
encountered on 205 models. Refer to the
accompanying illustrations for details of
specific carburettor types and component
locations.
4 Remove the carburettor from the car as
described in Section 9.
5 Unscrew the idle cut-off solenoid (where
fitted) from the carburettor body, and remove
it along with its plunger and spring. To test the
solenoid, connect a 12-volt battery to it
(positive terminal to the solenoid terminal,
negative terminal to the solenoid body), and
check that the plunger is retracted fully into
the body. Disconnect the battery, and check
that the plunger is pushed out by spring
pressure. If the valve does not perform as
expected, and cleaning does not improve the
situation, the solenoid valve must be renewed.
6 Remove the screws and lift off the
carburettor upper body.
7 Tap out the float pivot pin and remove the
float assembly, needle valve, and float
chamber gasket. Check that the needle valve
anti-vibration ball is free in the valve end, then
examine the needle valve tip and seat for wear
or damage. Examine the float assembly and
pivot pin for signs of wear and damage. The
float assembly must be renewed if it appears
to be leaking - shake the float to detect the
presence of fuel inside.
8 Unscrew the fuel inlet union and inspect the
fuel filter. Clean the filter housing of debris
and dirt, and renew the filter if it is blocked.
9 Undo the screws and remove the various
diaphragm covers and diaphragms. Remove
the diaphragm(s) and spring(s), noting which
way around all the parts are fitted. Examine
the diaphragm(s) for signs of damage and
deterioration, and renew if necessary.
10 Unscrew the jets from the upper body and
main body making notes as to their location
and arrangement.
11 Remove the idle mixture adjustment
screw tamperproof cap if fitted. Screw the
screw in until it seats lightly, counting the
exact number of turns required to do this,
then unscrew it. On refitting, screw the screw
in until it seats lightly, then back the screw off
by the number of turns noted on removal, to
return the screw to its original position.
12 Clean the jets, carburettor body
assemblies, float chamber and internal
drillings. An air line may be used to clear the
internal passages once the carburettor is fully
dismantled.
Caution: If high pressure air is directed into
drillings and passages where a diaphragm
is fitted, the diaphragm is likely to be
damaged.
13 Use a straight edge to check all
carburettor body assembly mating surfaces
for distortion.
14 On reassembly renew any worn
components and fit a complete set of new
gaskets and seals. A jet kit and a gasket and
seal kit are available from your Peugeot dealer.
15 Reassembly is a reversal of the
dismantling procedure. Ensure that all jets are
securely locked in position, but take great care
not to overtighten them. Ensure that all mating
surfaces are clean and dry, and that all body
sections are correctly assembled with their
fuel and air passages correctly aligned. Prior
to refitting the carburettor to the car, carry out
all the applicable adjustments, according to
carburettor type as described below.
4A•6 Fuel system - carburettor engines
9.3 Ball-jointed throttle control rod
(arrowed)
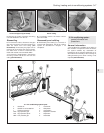
Aerosol cans of carburettor
cleaner are widely available
and can prove very useful in
helping to clear internal
passages of stubborn obstructions.


