


5.28
Section 5
Fuel System and Governor
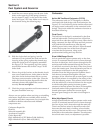
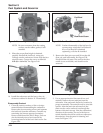
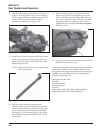
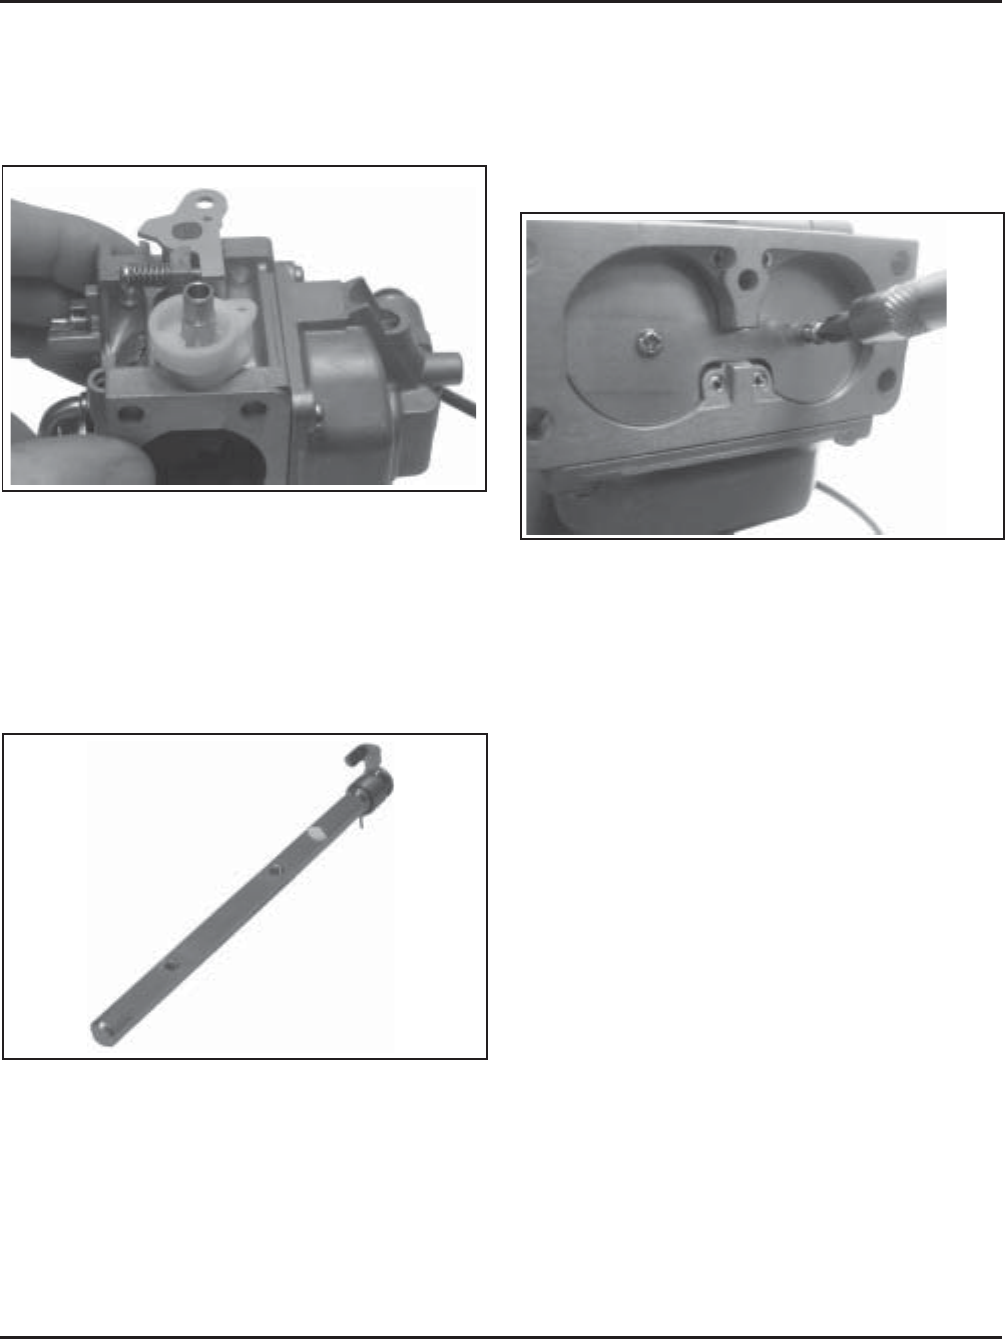
Figure 5-63. Choke Shaft and Spring Details.
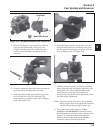
10. Slide the choke shaft and spring into the
carburetor. Pivot (preload) the shaft and set the
inner leg of the spring, against the formed stop
within the choke lever as originally assembled.
See Figure 5-60. The opposing leg of the spring
must still be between the formed “stops” of the
choke shaft.
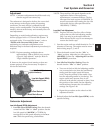
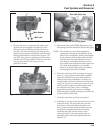
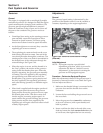
8. Turn the old bushing upside down and use it as a
driver to carefully press or tap the new bushing
into the carburetor body until it bottoms. Check
that the choke lever pivots freely without
restriction or binding. See Figure 5-62.
Figure 5-62. Installing Bushing.
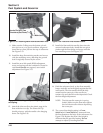
9. Install the new return spring onto the new choke
shaft, so the upper leg of the spring is between
the two formed “stops” on the end of the choke
shaft. See Figure 5-63.
NOTE: Make sure it stays in this location during
the following step.
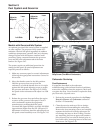
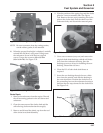
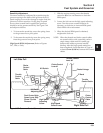
Figure 5-64. Installing Choke Plate.
12. Check for proper operation and free movement of
the parts. Install the new cap.
Always use new gaskets when servicing or reinstalling
carburetors. Repair kits are available which include
new gaskets and other components. Service/repair kits
available for Keihin BK two-barrel carburetors and
affiliated components are:
Carburetor Overhaul Kit
Float Kit
Fuel Solenoid Kit
Choke Repair Kit
Bowl Kit
High Altitude Kit (1525-3048 m/5,000-10,000 ft.)
High Altitude Kit (Over 3048 m/10,000 ft.)
11. Place a drop of Loctite
®
on the threads of each
new screw. Position and install the new choke
plate to the flat side of the choke shaft. Start the
two screws. Close the choke and check the plate
alignment within the carburetor throat, then
tighten the screws securely. Do not overtighten.
See Figure 5-64.