


5.22
Section 5
Fuel System and Governor
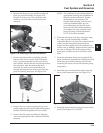
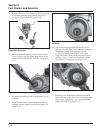
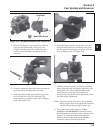
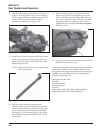
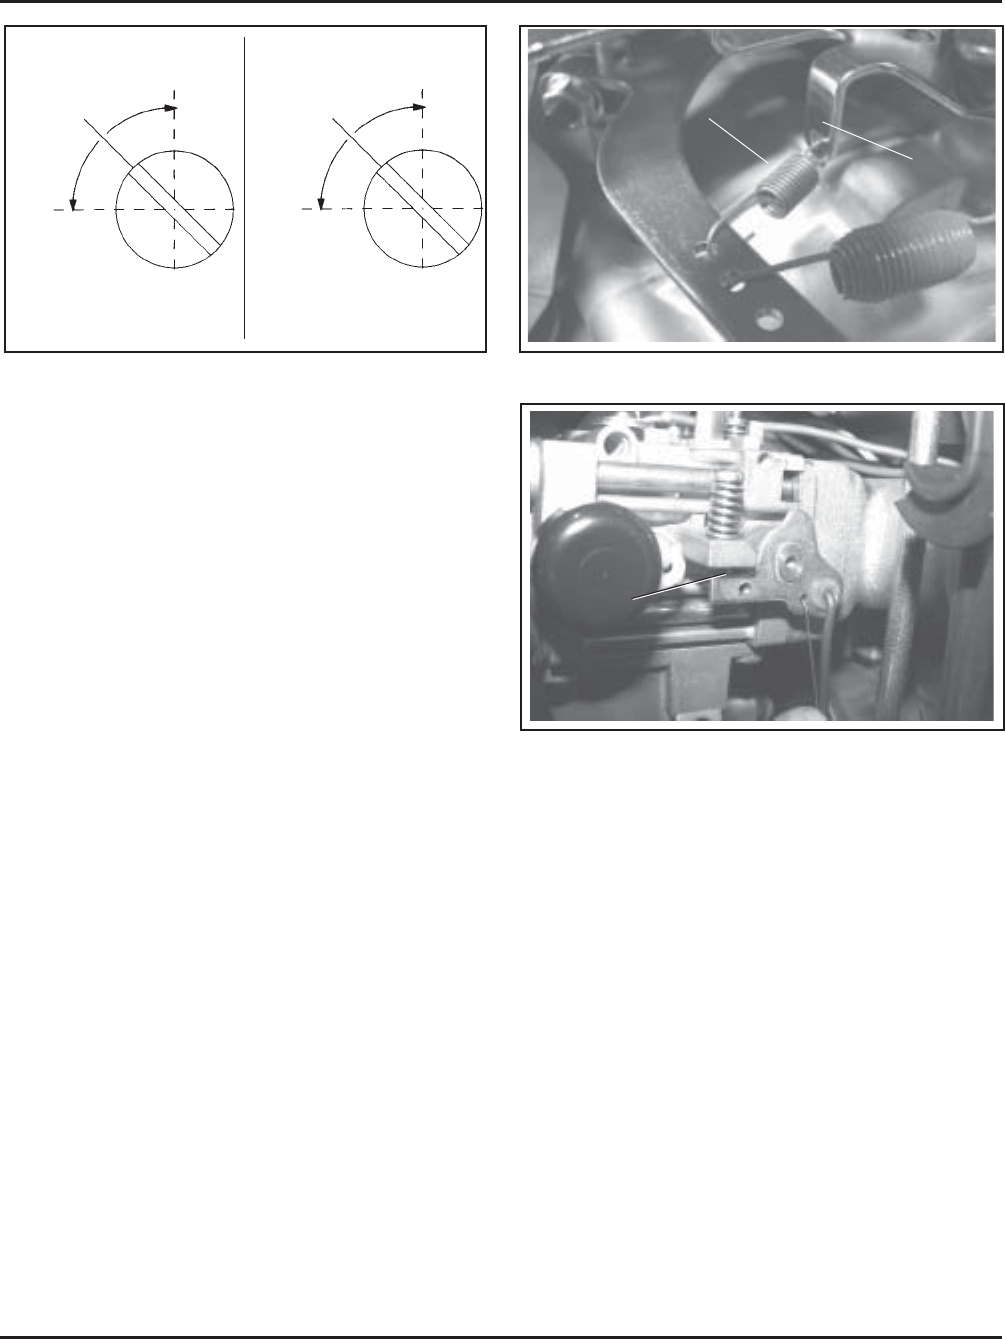
Figure 5-41. Governed Idle Spring Location.
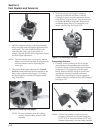
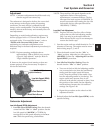
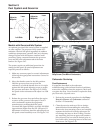
Figure 5-40. Optimum Low Idle Fuel Settings.
Models with Governed Idle System
An optional governed idle control system is supplied
on some engines. The purpose of this system is to
maintain a desired idle speed regardless of ambient
conditions (temperature, parasitic load, etc.) that may
change. Engines with this feature contain a small
secondary spring connected between the governor
lever and the lower adjustment tab of the main
bracket. See Figure 5-41.
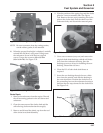
The system requires an additional procedure for
setting the idle speed. If speed adjustments are
required proceed as follows.
1. Make any necessary speed or control adjustments
following the appropriate instructions covered in
this section.
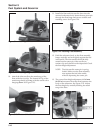
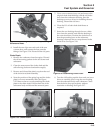
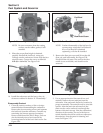
2. Move the throttle control to the idle position.
Hold the governor lever away from the
carburetor, or hold the throttle lever so it is tight
against the idle speed adjusting screw, to negate
the governor activation. See Figure 5-42. Check
the speed with a tachometer and adjust it to 1500
RPM.
3. Release the governor lever and allow the engine
to return to the governed idle speed. Check it
with a tachometer against the equipment
manufacturers recommended idle speed.
Governed Idle Speed (RPM) is typically 300 RPM
(approximate) higher than the low idle speed. If
adjustment is necessary, bend the adjusting tab on
the speed control assembly to set. See Figure 5-41.
Lean
Rich
Adjust to
Midpoint
Lean
Rich
Adjust to
Midpoint
Left Side Right Side
Governed
Idle Spring
Tab
Figure 5-42. Holding Throttle Lever Against Idle
Stop Screw (Two-Barrel Carburetor).
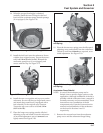
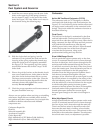
Carburetor Servicing
Float Replacement
If symptoms described in the carburetor
troubleshooting guide indicate float level problems,
remove the carburetor from the engine to check and/
or replace the float. Use a float kit to replace the float,
pin, float valve, clip and screw.
1. Perform the removal procedures for the Heavy
Duty Air Cleaner and Carburetor outlined in
Section 9 “Disassembly.”
2. Clean the exterior surfaces of dirt or foreign
material before disassembling the carburetor.
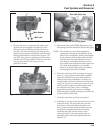
Remove the four mounting screws and carefully
separate the fuel bowl from the carburetor. Do
not damage the inner or bowl O-Ring. Transfer
any remaining fuel into an approved container.
Save all parts. Fuel can also be drained prior to
bowl removal by loosening/removal of the bowl
drain screw. See Figure 5-43.
Hold
Throttle
Lever
Against
Screw