


11.4
Section 11
Reassembly
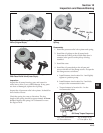
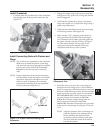
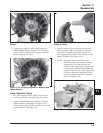
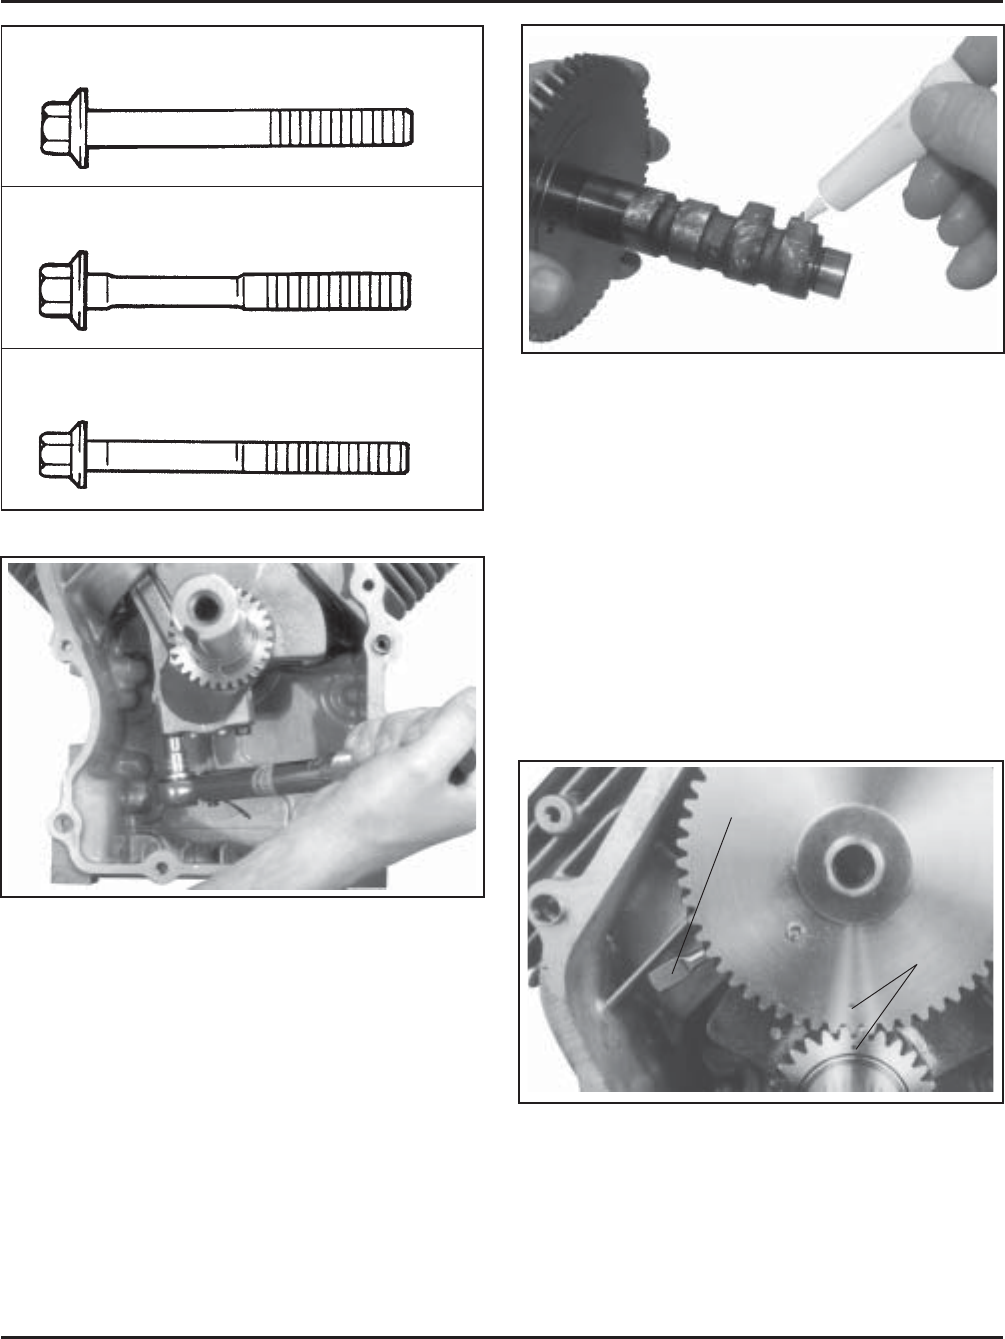
Figure 11-13. Aligning Crankshaft and Camshaft
Timing Marks.
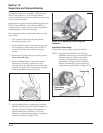
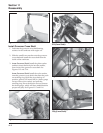
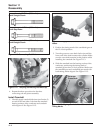
Figure 11-11. Torquing Connecting Rod End Cap.
6. Repeat the above procedure for the other
connecting rod and piston assembly.
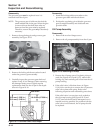
Install Camshaft
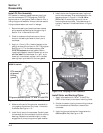
1. Liberally apply camshaft lubricant (see Section 2)
to each of the cam lobes. Lubricate the camshaft
bearing surfaces of the crankcase and camshaft
with engine oil. See Figure 11-12.
Figure 11-12. Apply Camshaft Lubricant to Cam
Lobes.
2. Position the timing mark of the crankshaft gear at
the 12 o’clock position.
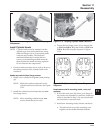
3. Turn the governor cross shaft clockwise until the
lower end of the shaft contacts the cylinder. Make
sure the cross shaft remains in this position while
installing the camshaft. See Figure 11-13.
4. Slide the camshaft into the bearing surface of the
crankcase, positioning the timing mark of
camshaft gear at the 6 o’clock position. Make sure
the camshaft gear and crankshaft gear mesh with
both timing marks aligned. See Figure 11-13.
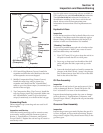
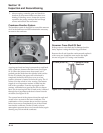
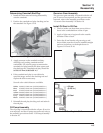
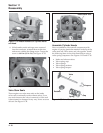
Figure 11-10. Connecting Rod Bolts.
Torque these to 22.7 N·m (200 in. lb.)
8 mm Straight Shank
Torque these to 14.7 N·m (130 in. lb.)
8 mm Step-Down
Torque these to 11.3 N·m (100 in. lb.)
6 mm Straight Shank
Governor
Cross Shaft
Timing
Marks