


11.7
Section 11
Reassembly
11
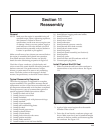
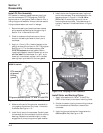
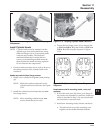
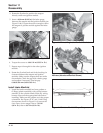
Figure 11-23. Clean and Dry Taper of Crankshaft.
Install Flywheel
WARNING: Damaging Crankshaft and
Flywheel Can Cause Personal Injury!
Using improper procedures to install the flywheel can crack
or damage the crankshaft and/or flywheel. This not only
causes extensive engine damage, but can also cause personal
injury, since broken fragments could be thrown from the
engine. Always observe and use the following precautions
and procedures when installing the flywheel.
NOTE: Before installing the flywheel, make sure the
crankshaft taper and flywheel hub are clean,
dry, and completely free of any lubricants.
The presence of lubricants can cause the
flywheel to be over stressed and damaged
when the hex flange screw is torqued to
specifications.
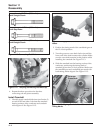
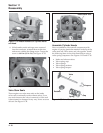
Figure 11-22. Installing Backing Plates and Stator
Wire Bracket.
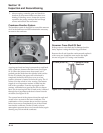
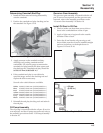
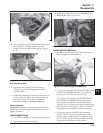
Figure 11-20. Torquing Stator Screws.
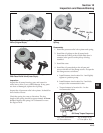
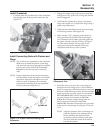
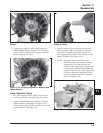
4. Route the stator leads in the crankcase channel,
then install the backing plates and stator wire
bracket (if used). Secure with the four hex flange
screws. See Figures 11-21 and 11-22. Torque the
screws to 7.3 N·m (65 in. lb.).
Figure 11-21. Route Stator Leads in Groove.
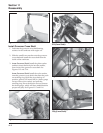
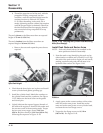
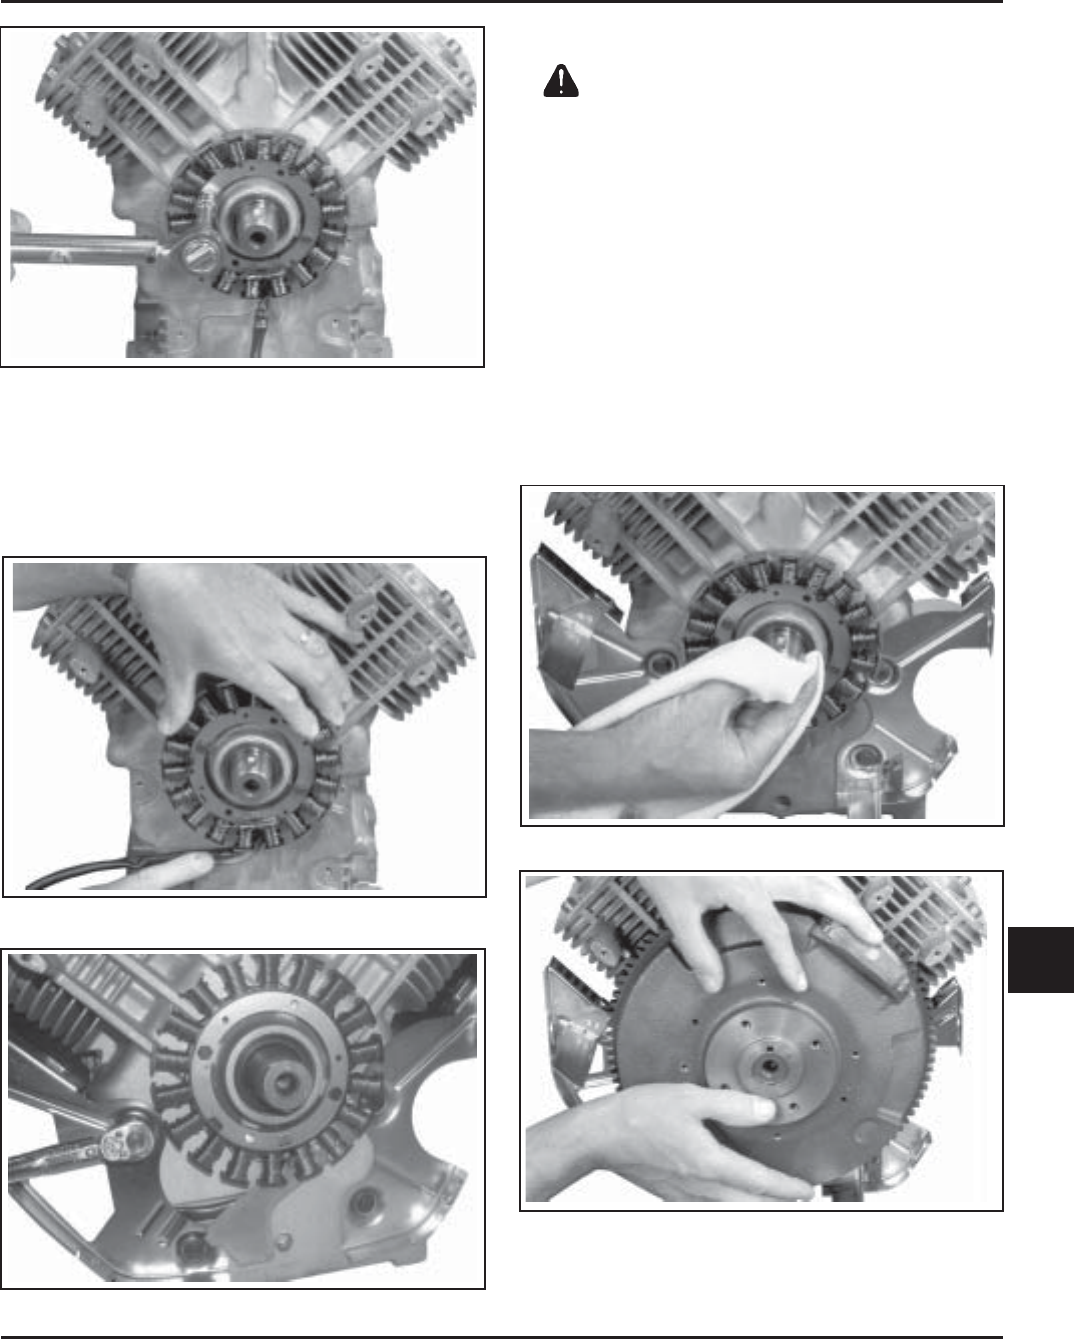
Figure 11-24. Carefully Align Keyway to Key.
1. Install the woodruff key into the keyway of the
crankshaft. Make sure that the key is properly
seated and parallel with the shaft taper.