


11.27
Section 11
Reassembly
11
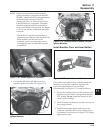
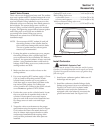
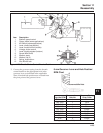
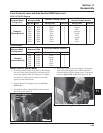
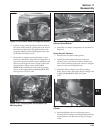
Figure 11-85. Torquing Base and Spitback Cup
Mounting Nuts.
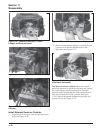
Figure 11-84. Breather Hose and Separator Details.
2. Position a new gasket and the air cleaner base on
the studs while carefully pulling the loose end of
the rubber breather hose through the base until
properly seated (collars sealed against each side
of the base. See Figure 11-85.
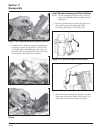
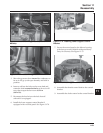
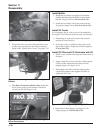
3. Secure the air cleaner base and bracket, or spit-
back cup with baffle, using the hex flange nuts. If
a lower air cleaner bracket is used, install the two
M5 screws through the lower section of the base.
Torque the hex flange nuts to 6.2-7.3 N·m
(55-65 in. lb.), and the two lower M5 mounting
screws (when applicable) to 4.0 N·m (35 in. lb.),
See Figures 11-85 and 11-86.
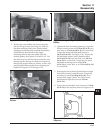
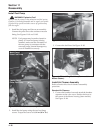
Lower Screws
Figure 11-86. Tightening Lower Base/Bracket
Screws (Some Models).
4. Install the air cleaner components as described in
Section 4.
Heavy Duty Air Cleaners
1. Install a new air cleaner base gasket.
2. Attach the main support bracket to the four
inboard valve cover screw locations. Make sure
each of the mounting holes has a loose or integral
spacer. Leave screws slightly loose.
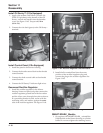
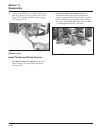
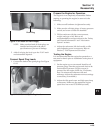
3. Install the elbow adapter onto the mounting
studs. Secure with, and torque the hex flange nuts
to 6.2-7.3 N·m (55-65 in. lb.). See Figure
11-87.
Figure 11-87. Torquing Hex Nuts (Two-Barrel Model
Shown).
4. Install and tighten the two mounting screws
securing the air cleaner mounting bracket and the
control panel to the blower housing. See Figure
11-88.
Mounting
Nuts