


OPERATING THE AT10.1
33
Setting the High DC Voltage Alarm
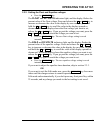
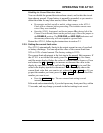
• Press the EDIT/ENTER key until the HIGH DC VOLTAGE indicator
flashes, and the display flashes the present value of the high dc voltage
alarm.
Press and release the UP or DOWN key to increase or decrease the value in
the display by one count, or press and hold the UP or DOWN key to scroll
the value in the display upward or downward. When the display shows the
high dc voltage alarm point that you want to set, release the UP or DOWN
key. If you go past the voltage you want, press the UP or DOWN key again
to reach the voltage you want to set.
• Press the EDIT/ENTER key. The new high dc voltage alarm setting is
entered into permanent memory.
Setting the low DC Voltage Alarm
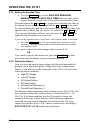
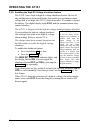
• Press the EDIT/ENTER key until the LOW DC VOLTAGE indicator
flashes, and the display flashes the present value of the low dc voltage
alarm.
Press and release the UP or DOWN key to increase or decrease the value in
the display by one count, or press and hold the UP or DOWN key to scroll
the value in the display upward or downward. When the display shows the
low dc voltage alarm point that you want to set, release the UP or DOWN
key. If you go past the voltage you want, press the UP or DOWN key again
to reach the voltage you want to set.
• Press the EDIT/ENTER key. The new low dc voltage alarm setting is
entered into permanent memory.
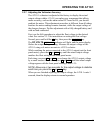
If you want to adjust the current limit setting, skip to section 2.3.5.
OR
If you want to exit the Edit mode now, press the EDIT/ENTER key again to
return the charger to normal operation.