3 - 47
CHK
ADJ
CHECKING AND ADJUSTING THE STEERING HEAD
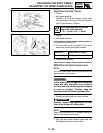
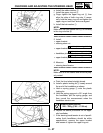
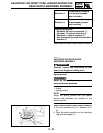
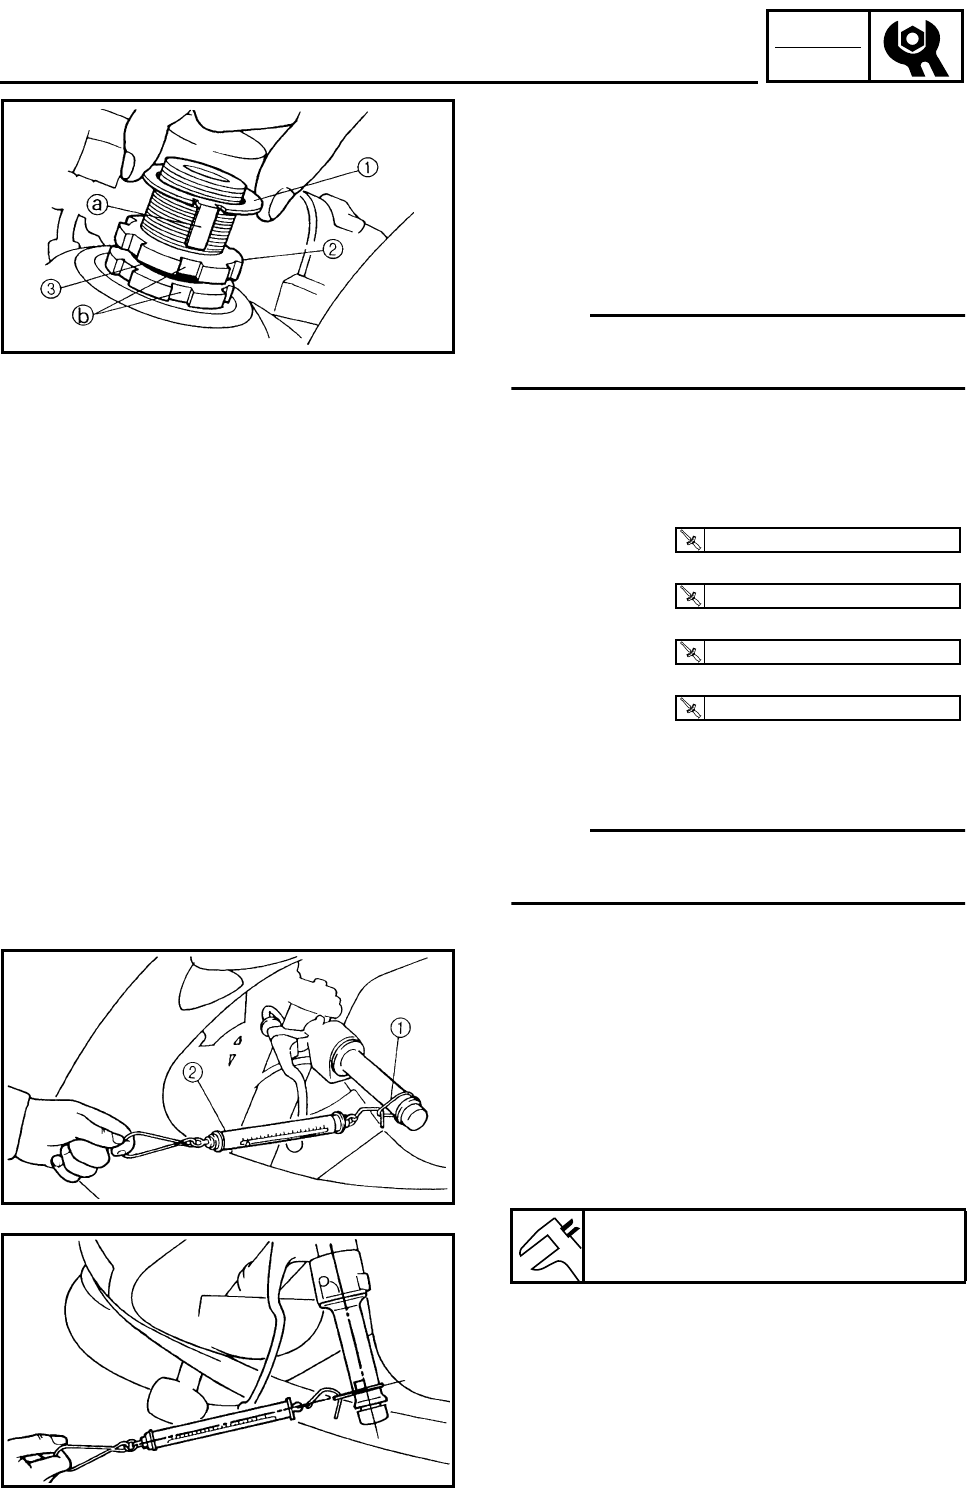
e. Install the rubber washer 3.
f. Install the upper ring nut 2.
g. Finger tighten the upper ring nut 2, then
align the slots of both ring nuts. If neces-
sary, hold the lower ring nut and tighten the
upper ring nut until their slots are aligned.
h. Install the lock washer 1.
NOTE:
_
Make sure the lock washer tabs a sit correctly
in the ring nut slots b.
▲▲▲▲ ▲ ▲▲▲▲▲▲▲▲▲ ▲ ▲▲▲▲ ▲ ▲▲▲▲ ▲ ▲▲▲▲ ▲▲▲
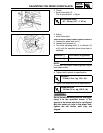
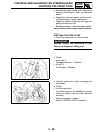
5. Install:
• upper bracket
• steering stem nut
• upper bracket bolt
• handlebar pinch bolt
• upper bracket pinch bolt
6. Measure:
• steering head tension
▼▼▼▼ ▼ ▼▼▼▼▼▼▼▼▼ ▼ ▼▼▼▼ ▼ ▼▼▼▼ ▼ ▼▼▼▼ ▼▼▼
NOTE:
_
Make sure all of the cables and wires are prop-
erly routed.
T
R
.
.
115 Nm (11.5 m · kg, 83 ft · lb)
T
R
.
.
13 Nm (1.3 m · kg, 9.4 ft · lb)
T
R
.
.
13 Nm (1.3 m · kg, 9.4 ft · lb)
T
R
.
.
26 Nm (2.6 m · kg, 19 ft · lb)
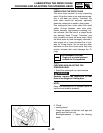
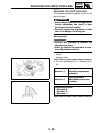
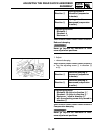
a. Point the front wheel straight ahead.
b. Install a plastic locking tie 1 loosely around
the end of the handlebar as shown.
c. Hook a spring gauge 2 onto the plastic
locking tie.
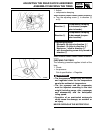
d. Hold the spring gauge at a 90° angle from
the handlebar, pull the spring gauge, and
then record the measurement when the
handlebar starts to run.
e. Repeat the above procedure on the oppo-
site handlebar.
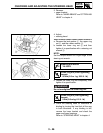
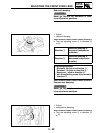
f. If the steering head tension is out of specifi-
cation (both handlebars should be within
specification), remove the upper bracket
and loosen or tighten the upper ring nut.
Steering head tension
200 ~ 500 g (7.05 ~ 17.64 oz)


