FINAL DRIVE
7.9
FRONT GEARCASE
OPERATION --
CENTRALIZED
HILLIARD)
Engaging Front Gearcase: The AWD switch may
be turned on oroff while the vehicle is moving. Initially,
the vehicle’s electronic system will not enable the
AWD until the engine RPM is below 3100. Once
enabled, the AWD remains while the front gearcase
is moving, it will not disengage until the rear wheels
regain traction.
Engage the AWD switch before getting into conditions
where the front wheel drive may be needed. If the rear
wheels are spinning , release the throttle before
switching to AWD.
CAUTION: Switching to AWD while the rear wheels
are spinning may cause severe drive shaft and
gearcase damage. Always switch to AWD while the
rear wheels have traction or are at rest.
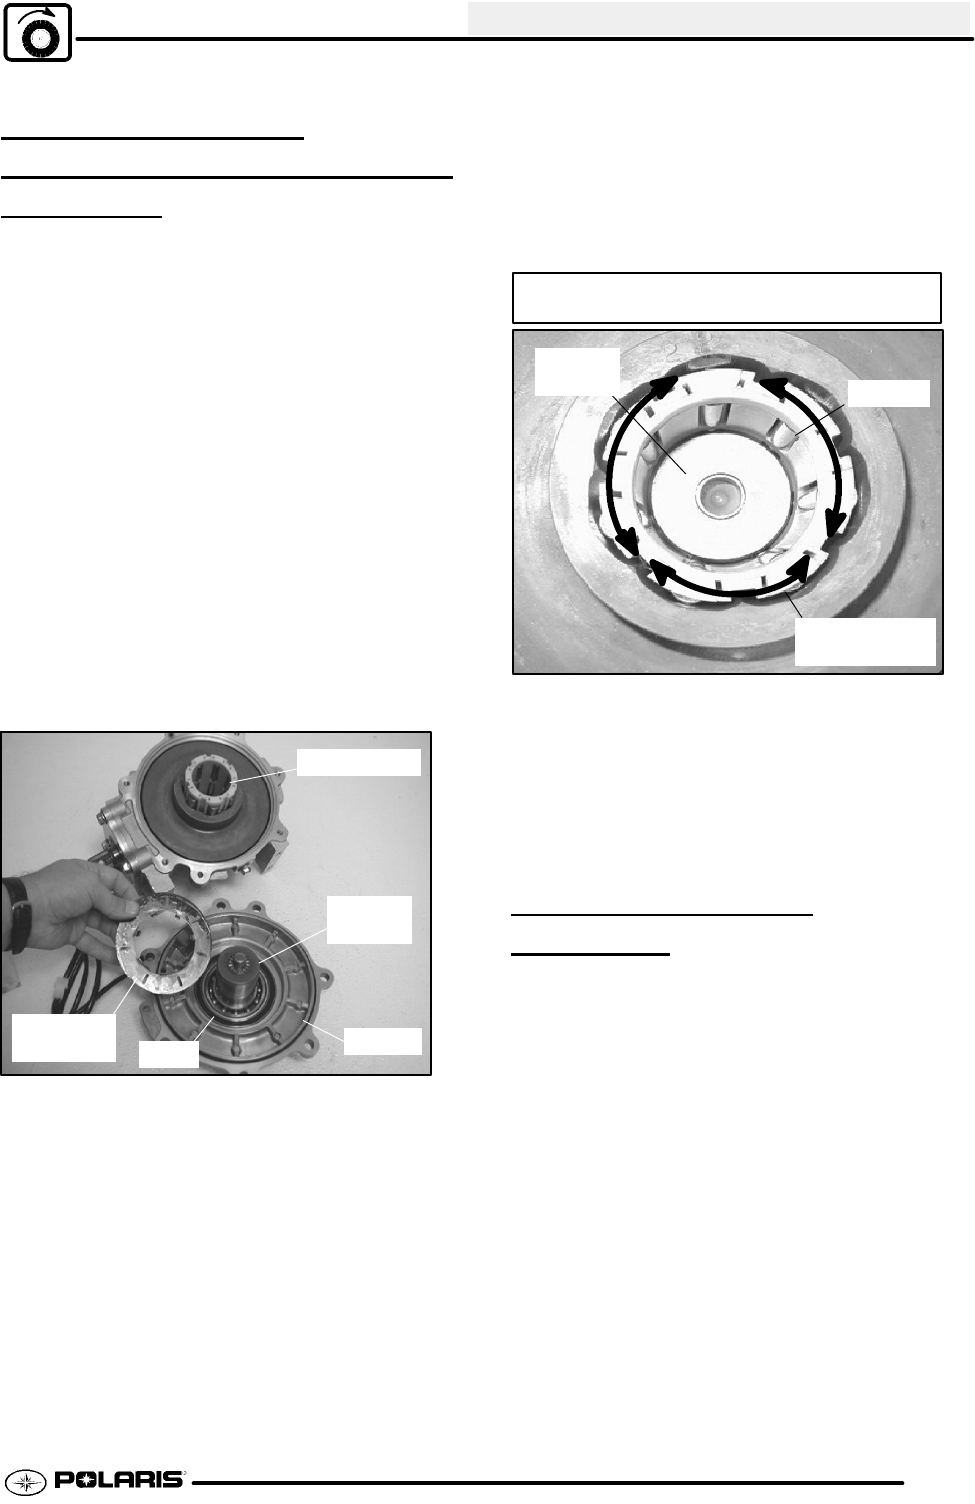
Normal Operation: With the AWD switch off the
vehicle drives only the rear wheels (2 wheel drive).
When the AWD switch is activated it engages the
Hilliard, locking both front axles into All Wheel Drive.
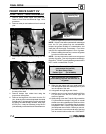
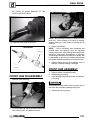
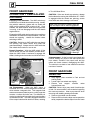
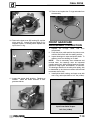
Coil
Cover
Output
Hub
Armature
Plate
Roller Cage
4x4 Engagement: When the AWD switch is
activated, a 12 VDC current charges the central coil
which creates a magnetic field. This magnetic field
attracts an armature plate keyed to a roller cage that
contains 14 rollers and roller cam. The difference in
rpm by input shaft and front axles the forces the rollers
up the external cam. The rollers engage themselves
to the output hubs that link both front axles, resulting
in True All Wheel Drive.
CAUTION: If the rear wheels are spinning, release
the throttle before turning the AWD switch on. If AWD
is engaged while the wheels are spinning, severe
drive shaft and clutch damage could result.
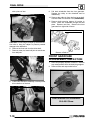
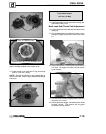
Roller Cage
& Bearings
Output
Hub
Roller Cage and Roller’s Rotate Inward and
Grip the Output Hub for AWD Engagement
Rollers
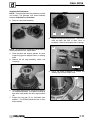
Disengagement: As the front and rear wheels gain
traction, rotating very close to the same speed, the
front wheels “overdrive” the output hubs and the
rollers are forced outward, disengaging the AWD.
The vehicle is now back to rear wheel drive until the
next loss of traction.
FRONT GEARCASE
REMOV
AL
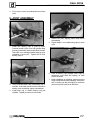
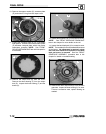
1. Stop engine, place machine in Park and set
parking brake.
2. Loosen right front wheel nuts slightly.
3. Elevate and support machine under
footrest/frame area.
CAUTION: Serious injury may result if machine tips
or falls. Be sure machine is secure before beginning
this service procedure. Wear eye protection when
removing and installing bearings and seals.
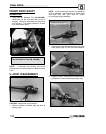
4. Remove right wheel nuts and wheel.
5. Remove the front brake caliper and suspend the
safely suspend the brake caliper from the frame


