


ENGINE
3.52
(J).
I
J
CAUTION:
The crankshaft gear is extremely hot! Severe
burns or injury can occur if the gear is not
handled with extreme care and caution. Follow
the procedure below to help ensure safety.
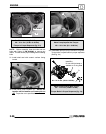
23. Use extreme caution when removing the
crankshaft gear from the hot plate. Use a pair of
pliers and leather gloves when handling the
crankshaft gear.
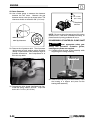
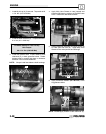
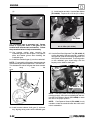
24. Install the crankshaft gear (I) onto the crankshaft.
NOTE: For assembly of the gears, the cam gearand
the crankshaft gear are stamped with “This Side Out.”
This indicates the side of the gear that faces outward
or away from the
case.
I
This Side Out
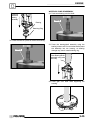
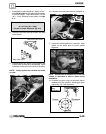
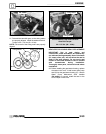
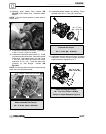
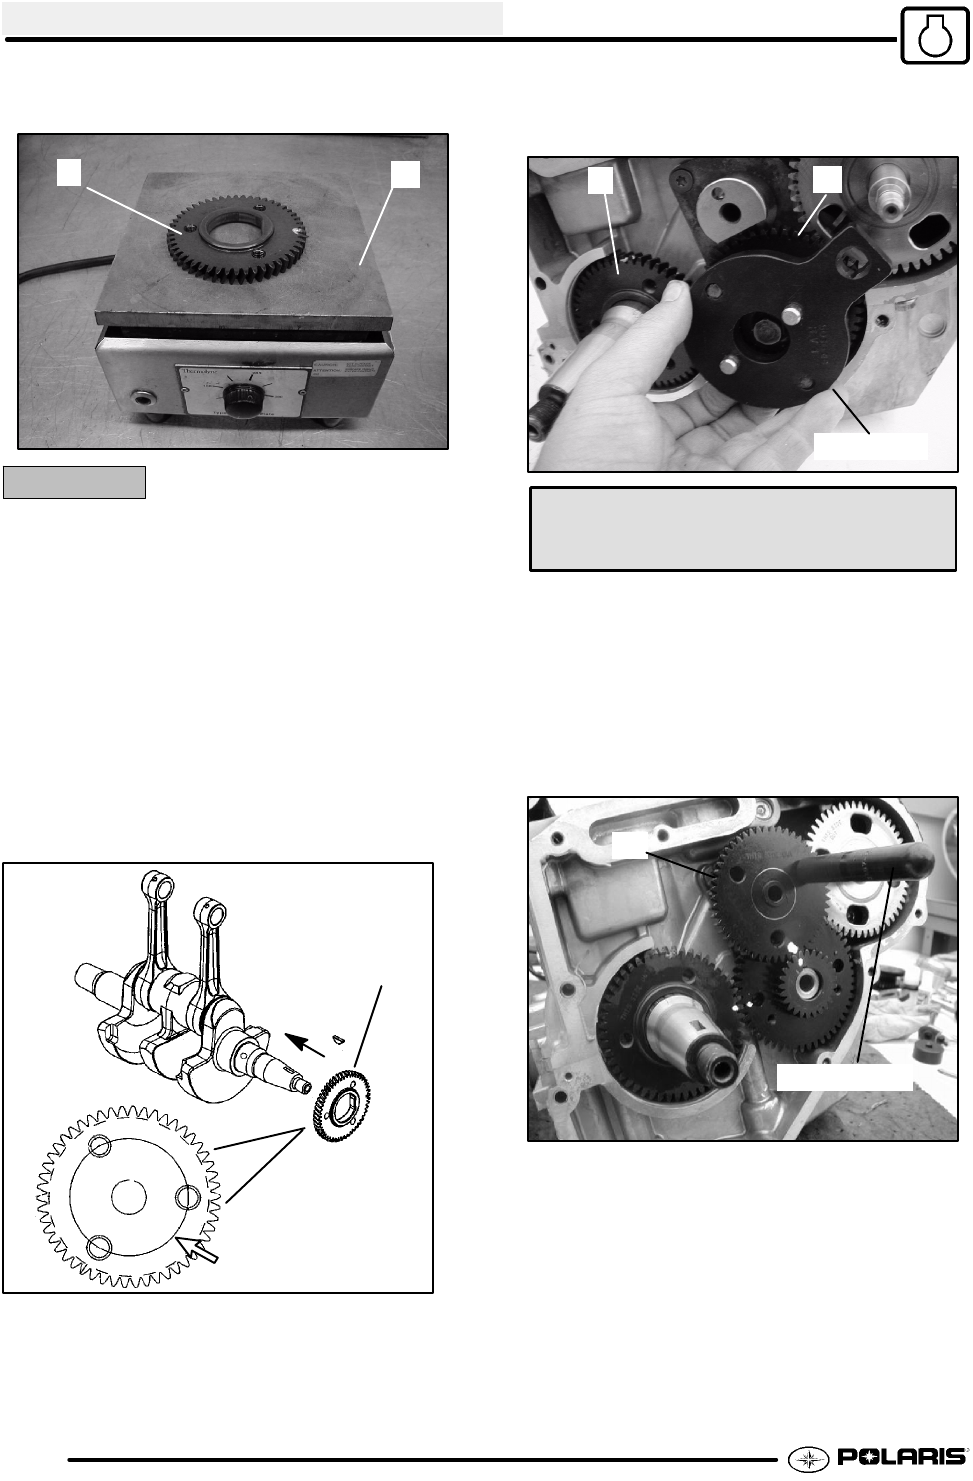
25. Install counter balance shaft gear (J) with new
key, aligning timing marks with crankshaft gear
(I). Install washer and bolt. Use the Gear Holder
(PU--45838). Torque to 22 ± 2 ft. lbs.(30 ± 3 Nm).
I
PU--45838
J
Balance Shaft Gear Bolt Torque:
22 ± 2 ft.lbs. (30 ± 3Nm)
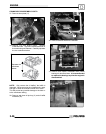
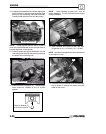
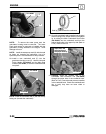
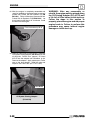
26. Usethe Cam Gear Alignment Tool(PU--45497--2)
to align the teeth of the cam gear (M). Install the
cam gear (M) (with the Cam Gear Alignment Tool
still in place) onto the camshaft. The timing marks
on the camshaft gear should align with the
keyway on the balance shaft gear.
PU--45497--2
M
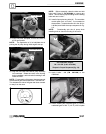
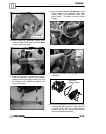
NOTE: If the timing mark on the camshaft gear does
not align properly, remove the camshaft gear andtool.
Use the Cam Spanner Wrench (PU--45498) to rotate
the cam to the proper position.
NOTE: Cam Spanner Wrench (PU--45498) is only
needed to rotate the camshaft when the entire valve
train is assembled.