


CLUTCH
6.16
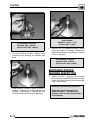
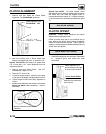
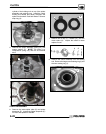
8. Reinstall cover, aligning bosses on the tower and
cover. Torque cover bolts evenly to specification
Spider Torque:
200 ft. lbs. (271 Nm)
Cover Screw Torque:
90 in. lbs. (10.4 Nm)
DRIVE BELT
REMOV
AL/INSPECTION
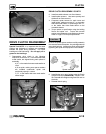
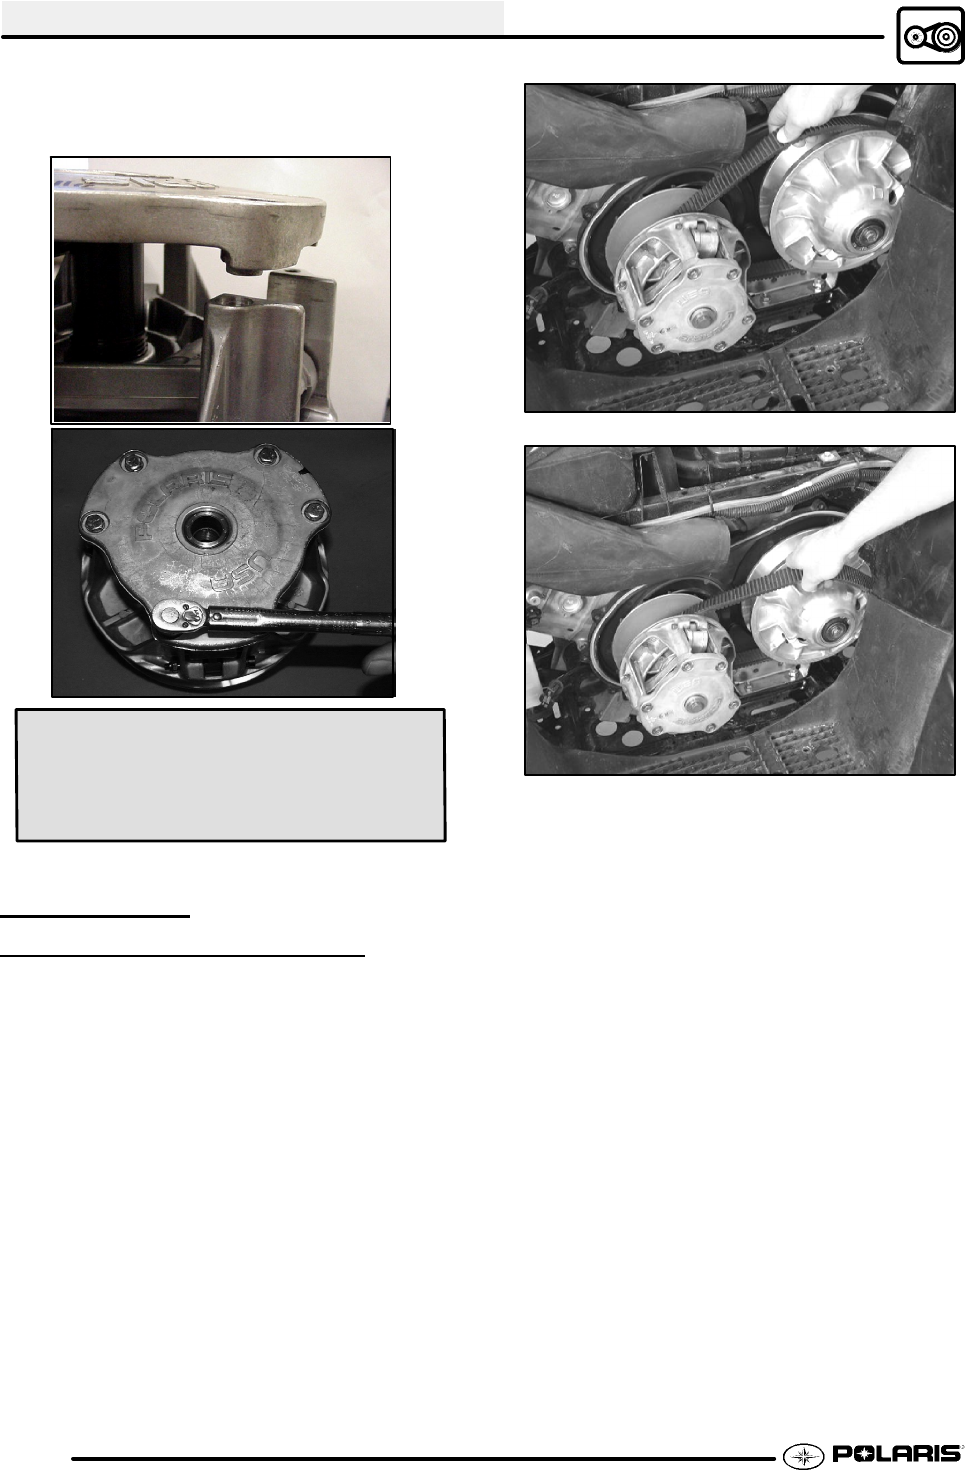
1. Remove outer PVT cover as described in PVT
Disassembly.
2. Mark drive belt direction of rotation so that it can
be installed in the same direction. NOTE:
Normally positioned so part numbers are easily
read.
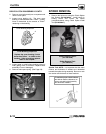
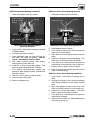
3. To remove drive belt, apply brake, pull upward
and rearward on belt to open driven clutch
sheaves, pull out and down on belt to slip over the
driven clutch outer sheave.
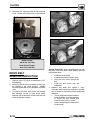
Special Tool NOTE: When reinstalling the belt with
the drive clutch and driven clutch already removed
follow these steps:
G Install the driven clutch.
G Install the belt onto the driven clutch.
G Loop the drive clutch through the
belt.
G Install the drive clutch onto the
crankshaft.
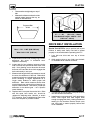
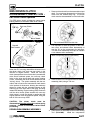
4. Measure belt width and replace if worn.
Generally, belts should be replaced if clutches
can no longer be adjusted to provide proper belt
deflection.
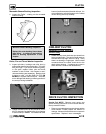
G The top edges have beentrimmed on
some drive belts. It will be necessary
to project the side profiles and
measure from corner to corner.
G Place a straight edge on each side of
the drive belt.