


5.48
BODY / STEERING / SUSPENSION
9923142 - 2011 RANGER RZR / RZR S / RZR 4 Service Manual
© Copyright 2010 Polaris Sales Inc.
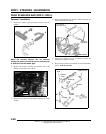
FOX™ Shock Disassembly
NOTE: Read through all of these instructions first to
familiarize yourself with the rebuild procedure. Make
sure you have a clean work area, and all of the
necessary tools are available. Always use proper
safety equipment when working on shock
absorbers.
NOTE: Clean the entire shock assembly with soapy
water. Try to remove as much dirt and grime as
possible by scrubbing with a soft bristle brush.
Never pressure wash your shock, as this can force
water and debris inside which will damage the seals.
Dry the shock assembly with compressed air, if
available, or use clean towels.
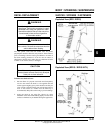
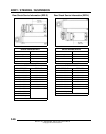
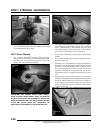
1. If your shock DOES NOT have a spring installed, skip to
Step #4.
Measure the spring set length (Fig. 1). Record this number.
2. Back the preload adjustment ring off until spring is loose
on the body. Remove the lower spring retaining clip.
3. Remove the spring.
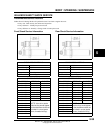
4. If the shock has spherical bearings in the body cap or shaft
eyelet, remove the reducer bushings and O-rings from both
ends of the shock. If your shock has polyurethane bushings
and sleeves, remove them from both ends of the shock
(Fig. 1).
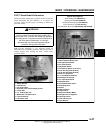
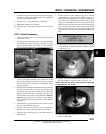
5. Note and record the setting on the Compression Adjuster
Screw. Using the Flat Blade Screwdriver, count the clicks
as you turn the adjuster clockwise until it stops (Fig. 2).
Once you have written this number down, turn the screw
all the way counterclockwise until it stops.
6. Clean the entire shock assembly with soapy water. Try to
remove as much dirt and grime as possible by scrubbing
with a soft bristle brush. Never pressure wash your shock,
as this can force water and debris inside which will damage
the seals. Dry the shock assembly with compressed air, if
available, or use clean towels.
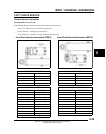
7. Use a 3/32” Hex Key to remove the button head screw from
the FOX™ air valve in the reservoir end cap.
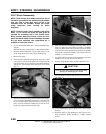
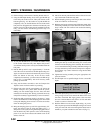
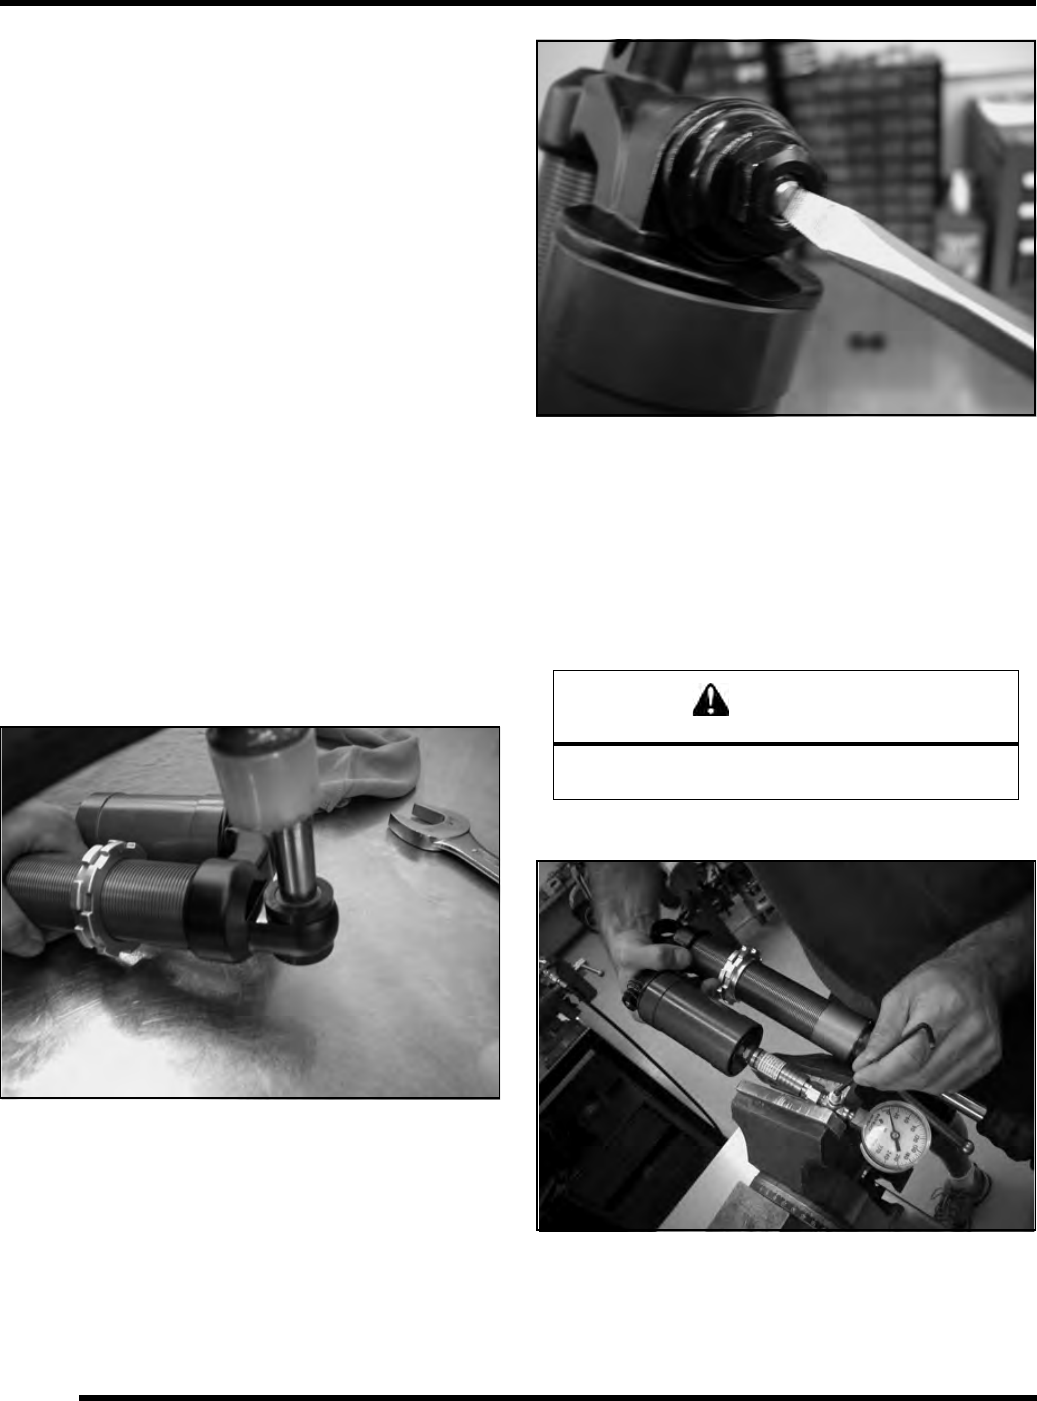
8. Securely clamp FOX™ Nitrogen Safety Needle in vise.
9. Insert the FOX™ Safety Needle squarely into center of gas
valve (Fig. 3).
10. Using a blunt object, depress the air valve core to release
pressure.
11. When the shock is fully discharged, pull reservoir away
from the FOX™ Safety Needle in a straight, smooth
motion.
Figure 1
CAUTION
Point air valve away from face and body when
charging or discharging any shock.
Figure 2
Figure 3