9
Now add the final waypoint to the route:
1. Use the K keypad to move the arrow cursor as close as possible to the
following coordinates: N24º21.777’, W077º51.424.
2. Press the C key to save the waypoint position.
3. Press C to confirm the default waypoint name, symbol and comment.
We now have a three waypoint route from our present position to
waypoint 002. To activate the route and begin navigation:
1. Press the EXIT softkey to quit the route creation mode.
2. Press the ACTIVTE softkey.
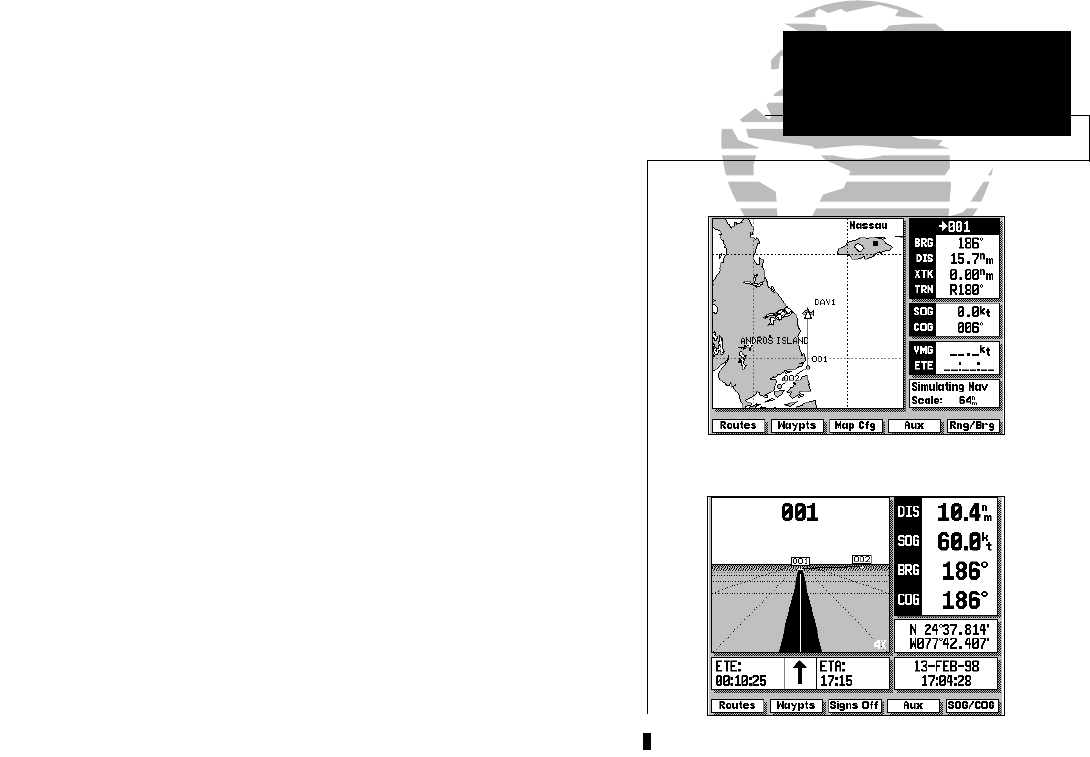
The GPSMAP will return to the Map Page, with your active route (Route 0)
shown on the map display and the ‘active to’ waypoint (001) displayed in the
destination field. The speed and course field tells us we’re getting nowhere
fast, so let’s go to the Highway Page and enter a speed for our simulated trip:
1. Press the I key to display the Highway Page.
The Highway Page provides you with a large, digital display of navigation
data and graphic steering guidance to an active destination via a three-dimen-
sional perspective of your course. As you head toward your destination, the
middle of the screen provides visual guidance on a moving “graphic” highway.
Your present position is at the bottom of the highway display. The line
down the middle of the highway represents your desired course. As you
navigate toward a waypoint, the highway will actually move—indicating the
direction you’re off course. To stay on course, simply steer toward the center
of the highway.
GPSMAP TOUR
Modifying a Route Graphically
Activating a Route
215225manb.qxd 4/27/00 9:22 AM Page 9


