


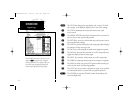

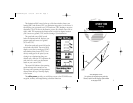
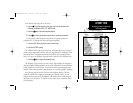
Whenever the cursor comes in close proximity
to an on-screen waypoint or navaid, it will
‘snap’ to and highlight its on-screen icon.
Once an on-screen marker has been high-
lighted, destination and position information
will be displayed in the data window.
This feature makes it easy to review waypoint
positions right from the map display.
8
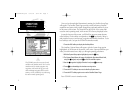
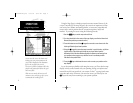
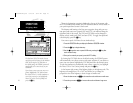
Now that you’ve marked a waypoint for your starting position, let’s make a
route to navigate using the ROUTES softkey. (For the purposes of this tour,
make sure that the current map scale is still at 64 n.m.)
1. Press the ROUTES softkey to begin creating a route.
2. Use the K keypad to highlight the Route 1 field and press C.
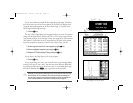
The GPSMAP system can store 20 reversible routes of up to 50 waypoints each.
Routes 1-19 are used as storage routes, with Route 0 always serving as the active
route. Although you may create a route in the Route 0 position, be aware that it will
automatically become the active route upon completion. If you want to save a route
created in the Route 0 position, be sure to copy it to another storage route, as it will
be overwritten by the next route activation (see Section 8 for more details on routes).
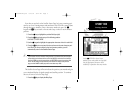
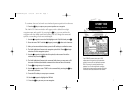
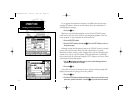
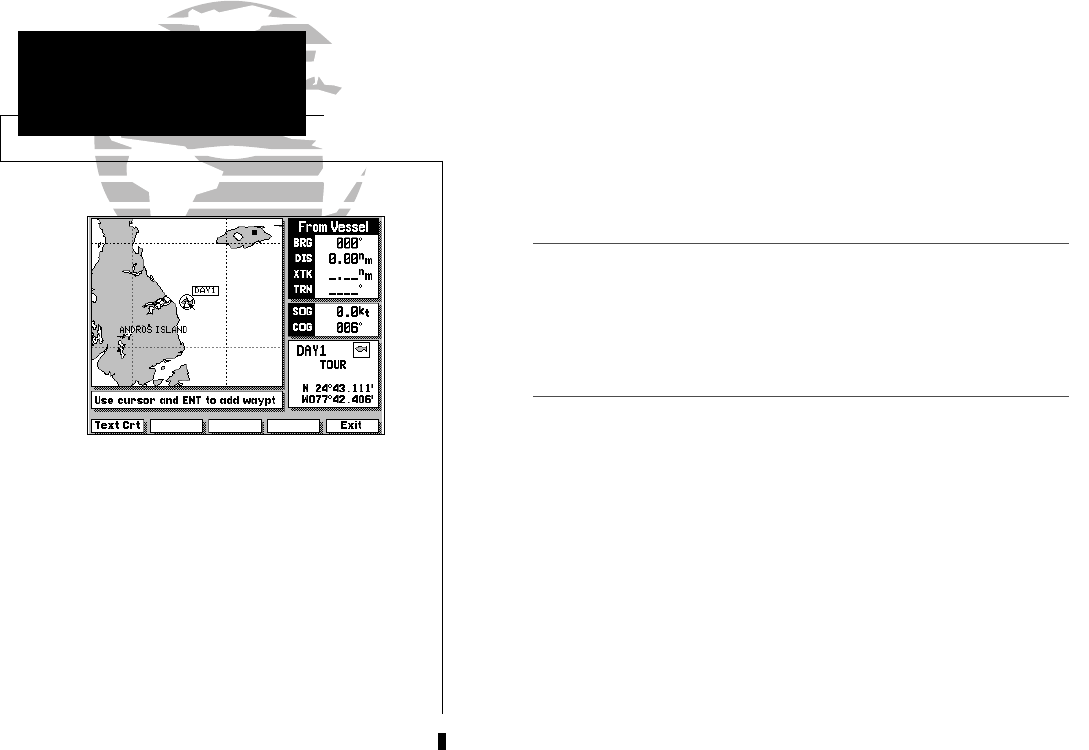
As the GPSMAP returns to the Map Page, you’ll notice several changes. The
map display will now show the cursor as an arrow at your present position,
with the prompt field indicating instructions for adding waypoints to your
route. To select the DAY1 waypoint as your first route waypoint:
1. Press the C key to add the waypoint to the route.
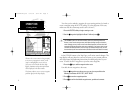
Now add the next waypoint to the route:
1. Use the K keypad to move the arrow cursor as close as possible to the
following coordinates: N 24º 27.371’, W 077º 42.407’.
2. Press C to save the waypoint position.
3. Press C to confirm the default waypoint name, symbol and comment.
GPSMAP TOUR
Creating a Route
I
215225manb.qxd 4/27/00 9:22 AM Page 8