Platform Installations and Upgrades
Replacing the PCI Riser Board
CAUTION
Before replacing any of the server boards, you must first take the
server out of service, turn off all peripheral devices connected to the
system, turn off the system by pressing the power button, and unplug
the AC power cord from the system or wall outlet or disconnect the
DC mains.
Use the following instructions to replace the PCI riser board.
1. Power down the server system and unplug all peripheral devices and the AC power
cable or the DC mains.
2. Remove the chassis cover. For instructions, see “
Removing the Chassis Cover.”
3. Disengage the power from the PCI riser assembly.
4. Remove the PCI card(s). For instructions, see “
Removing a PCI Add-in Card.”
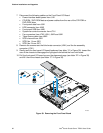
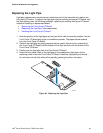
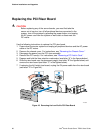
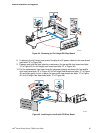
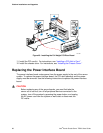
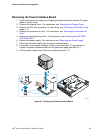
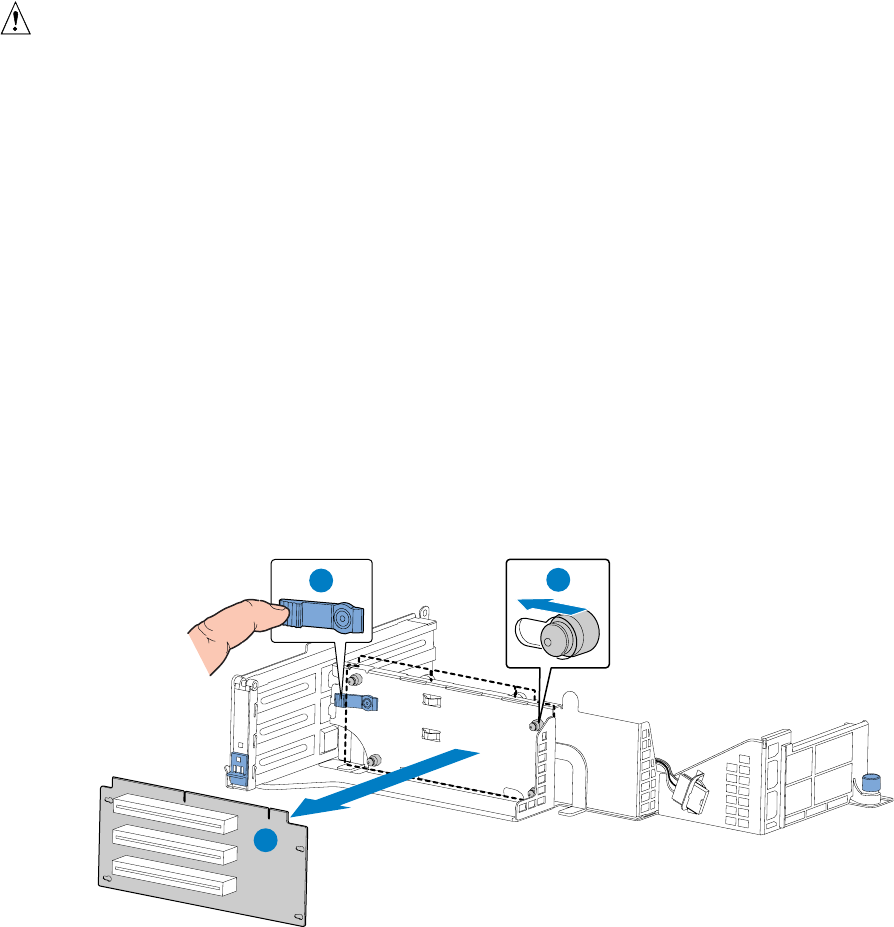
5. Depress and hold the blue retention mechanism (see letter “A” in the figures below).
6. Slide the riser board over the placement peg(s) (see letter “B” the figures below) and
remove the riser board (see letter “C” in the figures below).
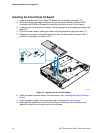
7. If replacing the full-height riser board, unplug the 5V power cable from the riser board
(see letter “D” in
Figure 44).
TP01692
A
B
C
Figure 43. Removing the Low-Profile PCI Riser Board
Intel
®
Carrier Grade Server TIGI2U User Guide
66


