


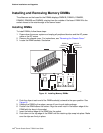

Platform Installations and Upgrades
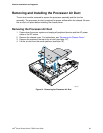
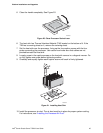
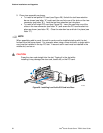
6. Close the handle completely. See Figure 20.
TP01658
Figure 20. Close Processor Socket Lever
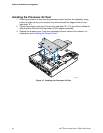
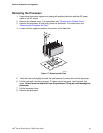
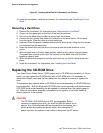
6. The heat sink has Thermal Interface Material (TIM) located on the bottom of it. If the
TIM has a covering sheet on it, remove the covering sheet.
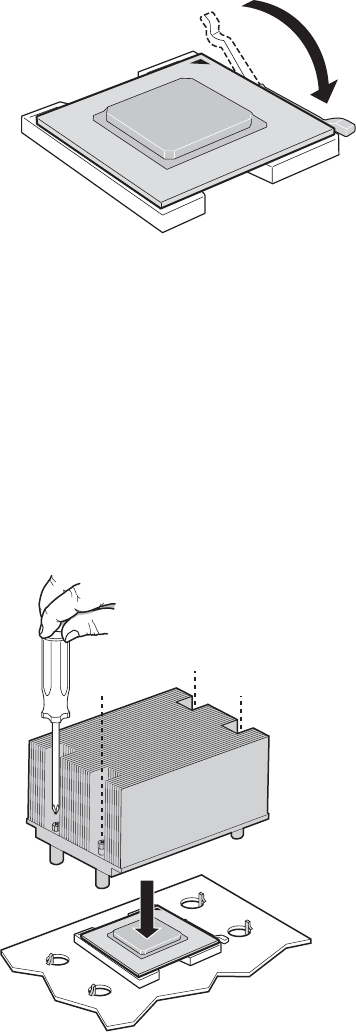
7. Set the heat sink over the processor, lining up the four captive screws with the four
posts surrounding the processor. Use caution and make sure that cables are not
pinched beneath the heat sink.
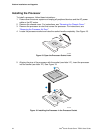
8. Loosely screw in the captive screws on the heat sink corners in a diagonal manner. Do
no fully tighten one screw before tightening another.
9. Gradually and equally tighten each captive screw until each is firmly tightened.
TP01659
Figure 21. Installing Heat Sink
10. Install the processor air duct. The air duct must be in place for proper system cooling.
For instructions, see “
Installing the Processor Air Duct.”
Intel
®
Carrier Grade Server TIGI2U User Guide 45