Platform Installations and Upgrades
Replacing the Mini-Bezel
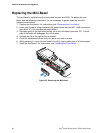
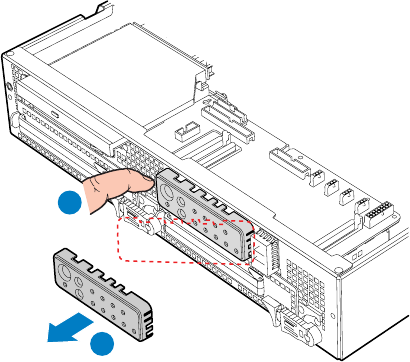
The mini bezel is installed over the front panel controls and LEDs. To replace the mini
bezel, use the following instructions. It is not necessary to power down the server to
replace the mini-bezel.
1. Remove the front bezel. For instructions, see “
Removing the Front Bezel.”
2. Insert your thumb or a finger between the power button and the NIC / USB connectors
(see letter “A”). Do not press the power button.
3. Squeeze gently to the right while pulling out on the mini bezel (see letter “B”). The left
side of the bezel will disengage from the chassis.
4. Unhook the clip at the right of the mini-bezel.
5. Press the replacement bezel firmly into place, one side at a time.
6. While pressing in, move the mini bezel from left to right to make sure it is firmly seated.
7. Install the front bezel. For instructions, see “
Installing the Front Bezel.”
TP01676
B
A
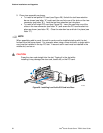
Figure 38. Removing the Mini Bezel
Intel
®
Carrier Grade Server TIGI2U User Guide
60


