


170
Utility Mode
■ Clock
Select whether or not to transmit MIDI Clock
messages to the Plug-in Board.
❏ Settings: off, on
■ DevNo (Device Number)
Set the MIDI Device Number of the Plug-in Board.
This number must match the Device Number of the
external MIDI device when transmitting/receiving
bulk data, parameter changes or other system
exclusive messages to/from it.
❏ Settings: 1 ~ 16, all, off
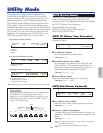
PLG1/2 System (Plug-in 1/2 System)
Set the system parameters for each Plug-in Board. Use
Knob [C]/[2] to change the parameter. The number of
screens and parameters will vary depending on the type
of Plug-in Board installed. In the following example, a
PLG150-AN Plug-in Board has been installed in the
Plug-in 2 slot.
The system settings for the PLG100-VH Plug Board
(Harmony Channel and Melody Channel) are set in
Performance Mode. Select an effect type using knob [1] in
the EFF plg screen of Common Effect. Then press the
[ENTER] key to enter the settings screen.
Part Assign (assignment) for a Single-Part Plug-in Board is
fixed as follows:
• Voice Mode: 1
• Performance Mode: PLG1:16
PLG2:15
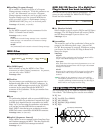
Synchronize the tempo settings of the
CS6x/CS6R and the Plug-in Board.
If you are using a Plug-in Board capable of
generating arpeggio patterns, you can synchronize
its tempo with that of the CS6x/CS6R.
1Enter Utility Mode and select either PLG1 MIDI
screen or the PLG2 MIDI screen for the respective
Plug-in Board. Then use the appropriate knob to
set the Clock parameter to “on.”
2Enter Voice Mode, select the Plug-in Voice of the
respective Plug-in Memory, then enter Voice Edit
Mode.
3Use knob [A] to select “Elem,” as shown at the
bottom left of the screen.
4Use the [PAGE] knob to select the name of the
Plug-in Board, as shown at the bottom left of the
screen. Then enter the Plug-in native part
parameter screen.
5Use the [PAGE] knob to select the Plug-in native
part parameter for the tempo. Then use the
appropriate knob to select MIDI (midi).
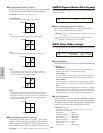
PLG2 System) Vel Curve Mrph CtrlNo
PLG150-AN norm off
Now, the tempo of the Plug-in Board is
synchronized with the MIDI clock signal received
from the CS6x/CS6R.
To synchronize with an external MIDI clock source,
enter Utility Mode and set the Sync parameter of the
MIDI Other screen to “MIDI.”
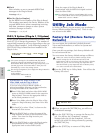
Utility Job Mode
In Utility Job Mode, you can restore your synthesizer’s
factory default settings (Factory Set). There is only
one screen in this Mode.
Factory Set (Restore Factory
Defaults)
You can restore the synthesizer’s default Internal
Voices and Performances, as well as its System and
other settings.
Once you edit any settings, their factory defaults will
be overwritten and lost.
You can restore the factory default settings as follows.
When you restore the factory default settings, all the
current settings for the all the Internal Voices and
Performances will be overwritten with the factory defaults.
Make sure you are not overwriting any important data.
You should back up any important data to Memory Card,
or to some external device beforehand.
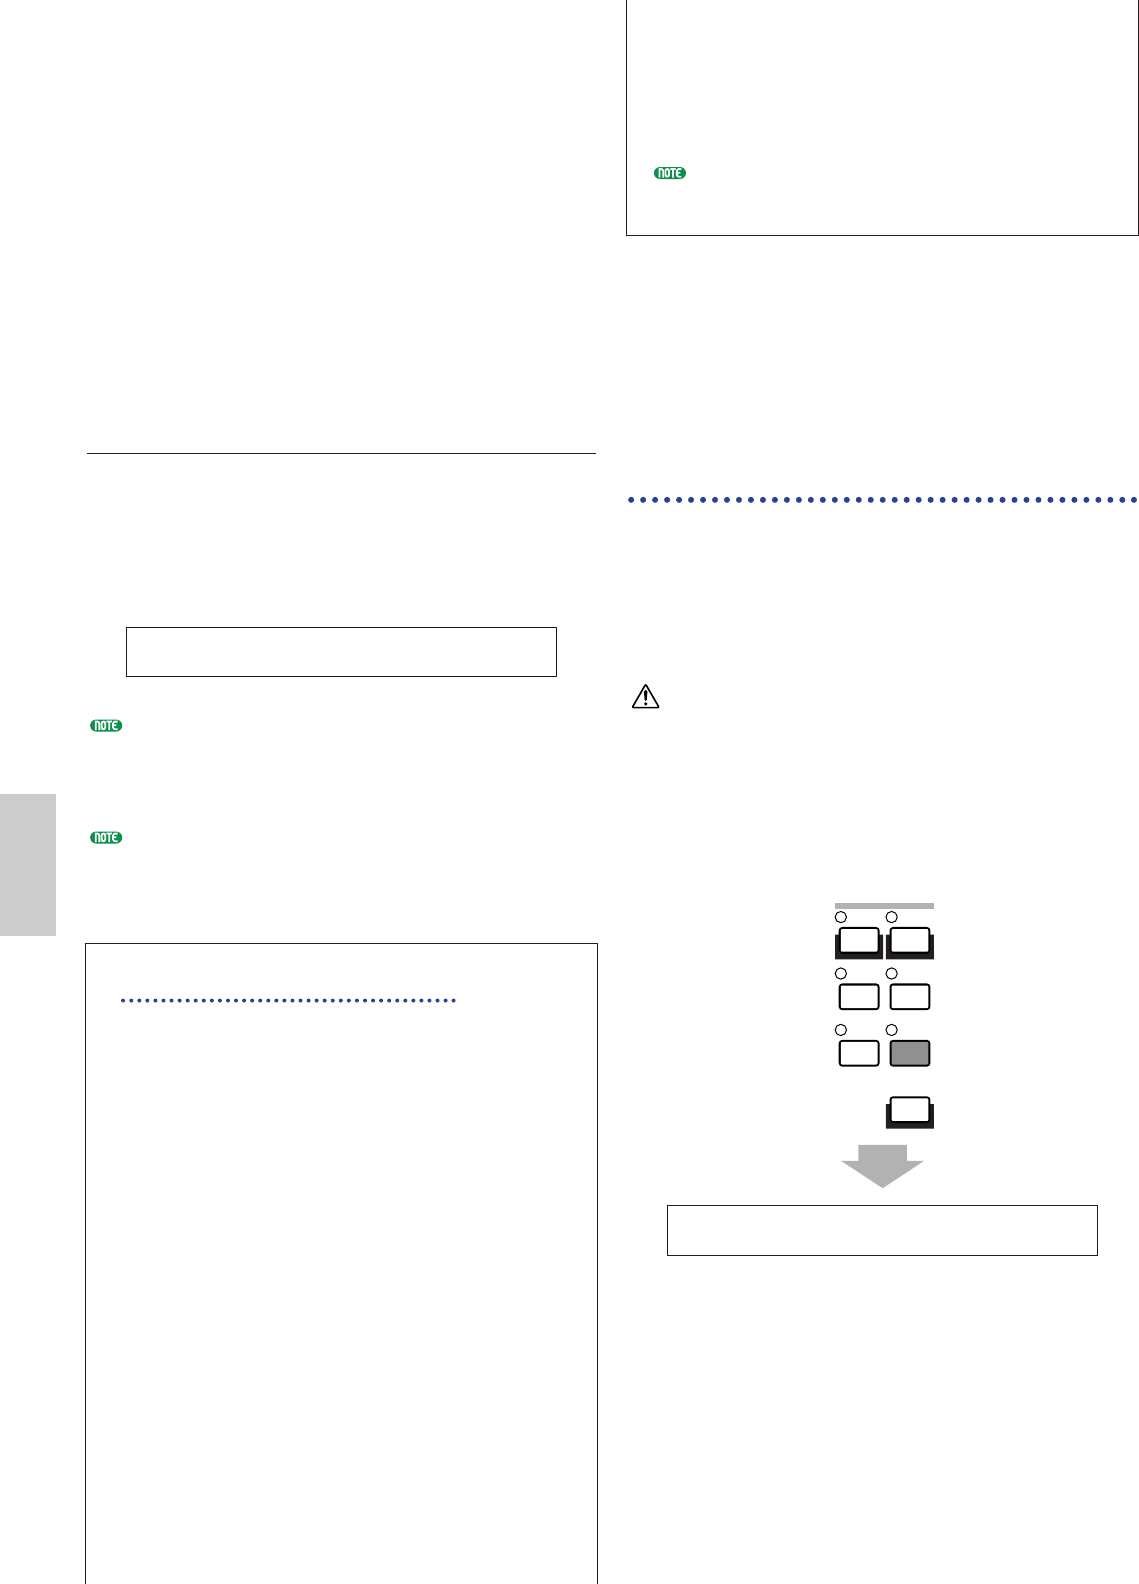
1Press the [JOB] key in Utility Mode. You will see the
Factory Set screen.
2When you press the [ENTER] key, you will see a
confirmation message.
3Press the [INC/YES] key to execute the Factory Set
job. You will see the “Completed.” message
displayed after the job has completed. You can
cancel a job while it is being executed by pressing
the [DEC/NO] key.
4Press the [EXIT] key to return to Utility Mode.
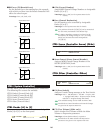
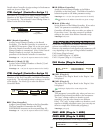
UTIL Factory Set)
Job
VOICE PERFORM
UTILITY CARD
EDIT
COMPARE
JOB
STORE
MODE