


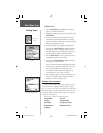

Adding a Route Waypoint
to an end point on the
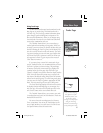
Route Map Page
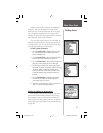
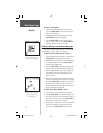
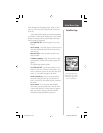
Moving a Route Waypoint
by clicking and dragging.
To move a route point:
1. Select the point from the Route Points List and
press the CLICK STICK IN to access the Options
Menu for the waypoint.
2. Highlight the ‘Move’ option and press IN on the
CLICK STICK to select the waypoint.
3. Use the CLICK STICK to move the point up or
down in the list. Press IN on the CLICK STICK to
leave the waypoint in the new list order.
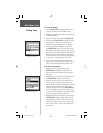
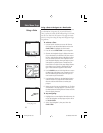
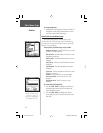
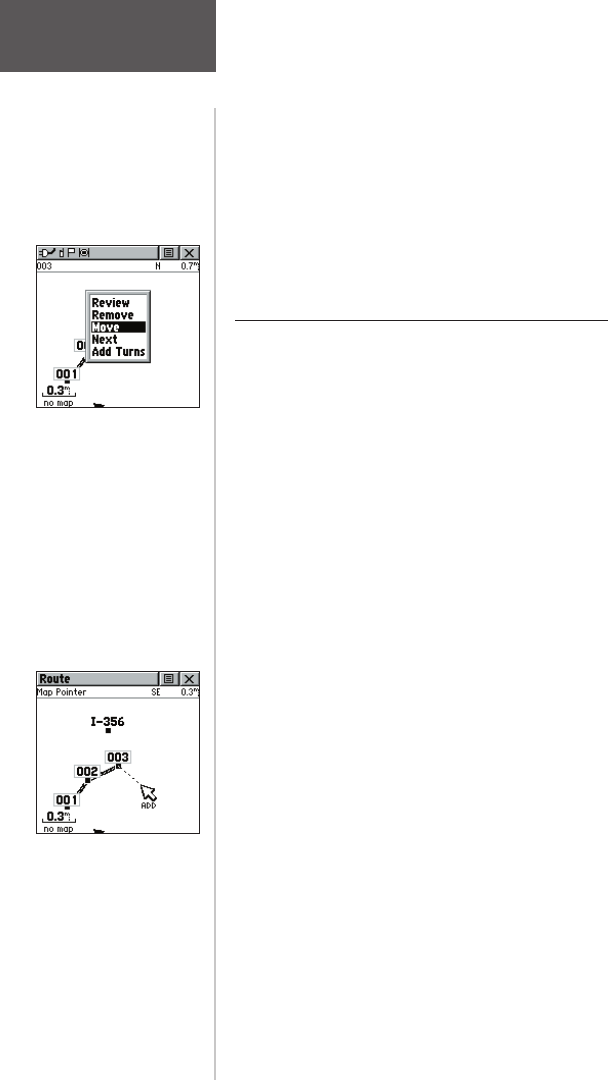
Adding or Editing from the Route Map Page
You can use the panning arrow with the Route Map
Page displayed to add or edit route waypoints.
To add a point at either end of a route:
1. Select the Route from the Routes List and press the
CLICK STICK IN to display the Route Page.
2. Highlight the on-screen ‘Map’ button at the bottom
of the page and press IN on the CLICK STICK to
display the Route Map Page.
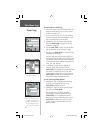
3. Use the CLICK STICK to move the panning arrow
to either end of the displayed route until the end
point is highlighted. Then press it IN to display the
map Options Menu and select ‘Add Turns’. This
option appears only when highlighting the end
point of a route.
4. Move the panning arrow to a map item or location
where you would like to extend the route and press
IN on the CLICK STICK to display the Information
Page for the new point. Press the on-screen ‘Use’
button to return to the map page and then press it
again to place the new waypoint.
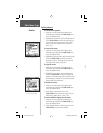
To add a route point within a route:
1. Follow steps 1 and 2 in the previous instruction.
2. Use the CLICK STICK to move the panning arrow
to a route line. When the arrow touches the line, the
line becomes thin. Press IN on the CLICK STICK to
display the word ‘ADD’ next to the line.
3. Drag the line to a map item or other location where
you want to establish a new waypoint and then
press IN on the CLICK STICK to place the new
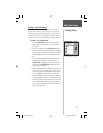
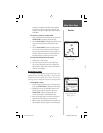
Main Menu Page
Routes
42
rino120_10.indd 42 9/13/2002, 3:28:02 PM