The Mark (Waypoint) Page
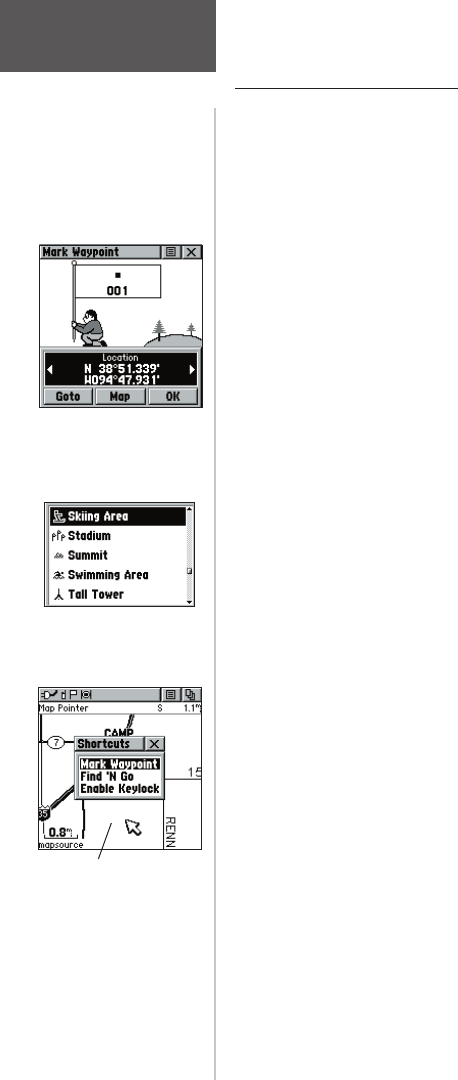
The Mark Waypoint Page allows you to mark and
record your current location as a waypoint and appears
with a graphic name block (man with a fl ag) that displays
the assigned number for that waypoint and a waypoint
symbol.
To mark your current location as a waypoint:
1. Press IN and hold the CLICK STICK to access the
Shortcut Menu, then highlight ‘Mark Waypoint’ and
press IN. You can also access this page by highlight-
ing the Mark Icon on the Main Menu Page and then
pressing IN on the CLICK STICK. It is automatically
assigned a 3-digit number.
2. To change the name of the waypoint, use the
CLICK STICK to highlight the waypoint name field.
3. To assign an identifying symbol to a waypoint, use
the CLICK STICK to highlight the symbol block just
above the waypoint name.
4. To view the waypoint details, highlight the details
field and press LEFT or RIGHT on the CLICK STICK
to change to the next data field.
5. To save the waypoint, highlight ‘OK’ and press IN
on the CLICK STICK.
6. If you do not want to save it as a new waypoint,
press the PAGE button before pressing any other to
cancel.
To create a waypoint using the map panning
arrow:
1. With the Pan Map feature active, move the panning
arrow (map pointer) to the map item you want and
highlight it.
2. Press IN and release the CLICK STICK to display
the item information page.
3. With the Information Page displayed, highlight the
Options Menu button at the top of the page and
then press the CLICK STICK to open the menu.
4. Highlight the ‘Save As Waypoint’ option and press
the CLICK STICK to save the map item as a
waypoint.
Mark Waypoint Page
Map Symbol List
Main Menu Page
Marking
Waypoints
Marking a Waypoint with
the Panning Arrow.
28
rino120_10.indd 28 9/13/2002, 3:27:49 PM
