


Rev. D 4 — Creating Waypoints and Routes
4 — Creating Waypoints and Routes4 — Creating Waypoints and Routes
4 — Creating Waypoints and Routes Page 47
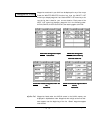
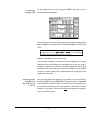
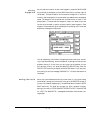
As waypoints are entered, the distance and bearing of each leg of your
route are displayed on the
NEW ROUTE
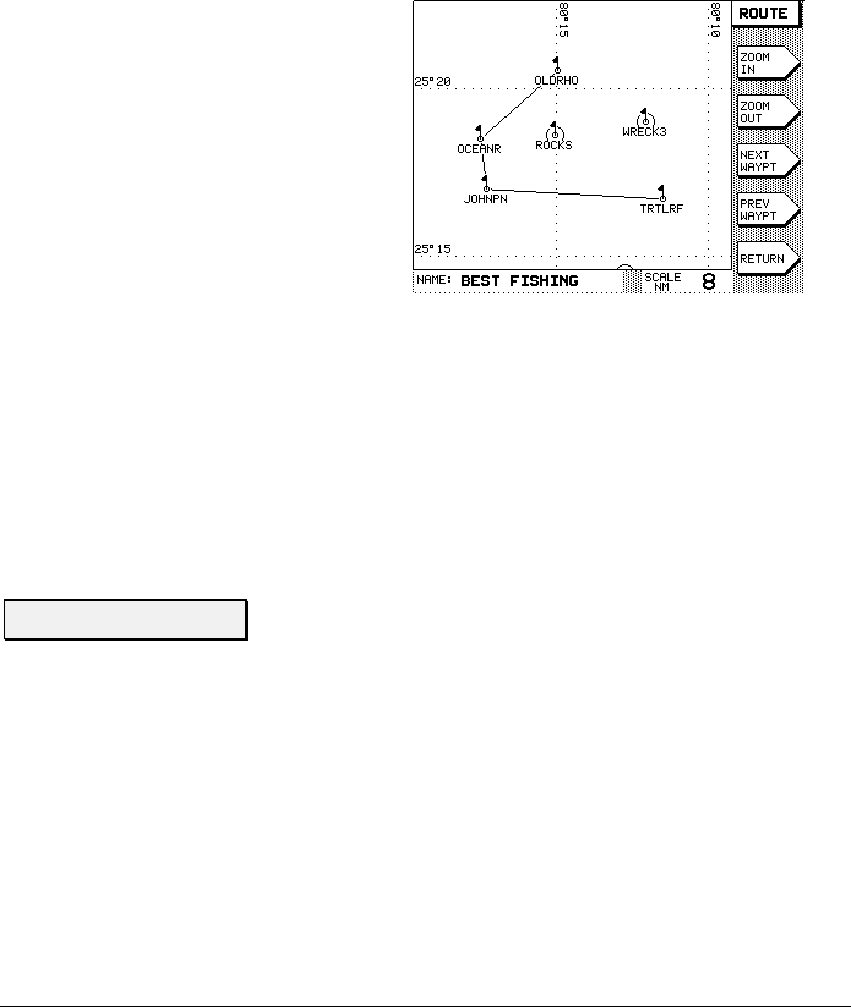
screen. To see an overhead plot
of the entire route, press the
QUICK PLOT
menu key. It is good practice
to use these two features to check that the route matches your expecta-
tions, ensuring that no errors were made in selecting waypoints.
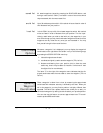
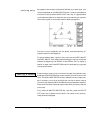
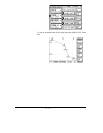
The entire route is displayed, with the plotter scale automatically ad-
justed to show all of the waypoints.
To see more detail about a portion of the route, use the
NEXT WAYPT
and
PREV WAYPT
menu keys to advance along the route or move back
towards the beginning. Use
ZOOM IN
and
ZOOM OUT
to display a
smaller or larger area. Press
RETURN
when finished viewing, to go back
to the previous screen.
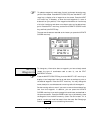
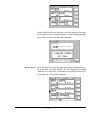
A second way to create a route is to travel the length of the desired route,
pressing the
SAVE/MOB
button at each location you wish to store in the
route. The 941X's
SAVE ROUTE
function makes this a very simple proc-
ess. In summary, you first tell the 941X that you wish to save a route as
you travel, then press the
SAVE/MOB
button as you pass each waypoint,
and then tell the 941X to stop saving the route when you come to the end
of the route.
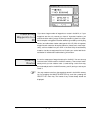
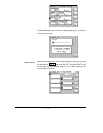
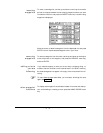
First, press the
WAYPTS/ROUTES
key, and then press the
ROUTE
LIST
menu key to access route functions. The names of any routes al-
ready stored are displayed:
verifying entry
Saving a Route