


33
Reference
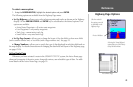
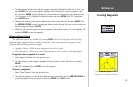
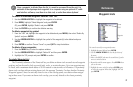
Creating Waypoints
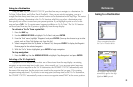
3. To select another location from which to project a waypoint, highlight the field next to ‘From’ and
press ENTER. The ‘Find’ screen appears. Highlight the desired type of location (waypoints, cities,
etc.) and press ENTER. Use the submenus to narrow down your search (for more information see
‘Find’ on pages 51-52). Highlight the desired location and press
ENTER. With ‘OK’ highlighted,
press ENTER again.
4. Highlight the distance and/or bearing fields below ‘From Current Position’ and press
ENTER. Use
the ARROW KEYPAD to enter the projected distance and/or bearing from your current position for
the new waypoint and press ENTER.
5. Make any other desired changes to the new waypoint data (name, symbol, etc.), then highlight ‘OK’
and press ENTER to save the waypoint.
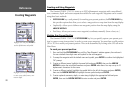
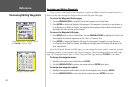
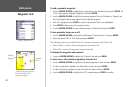
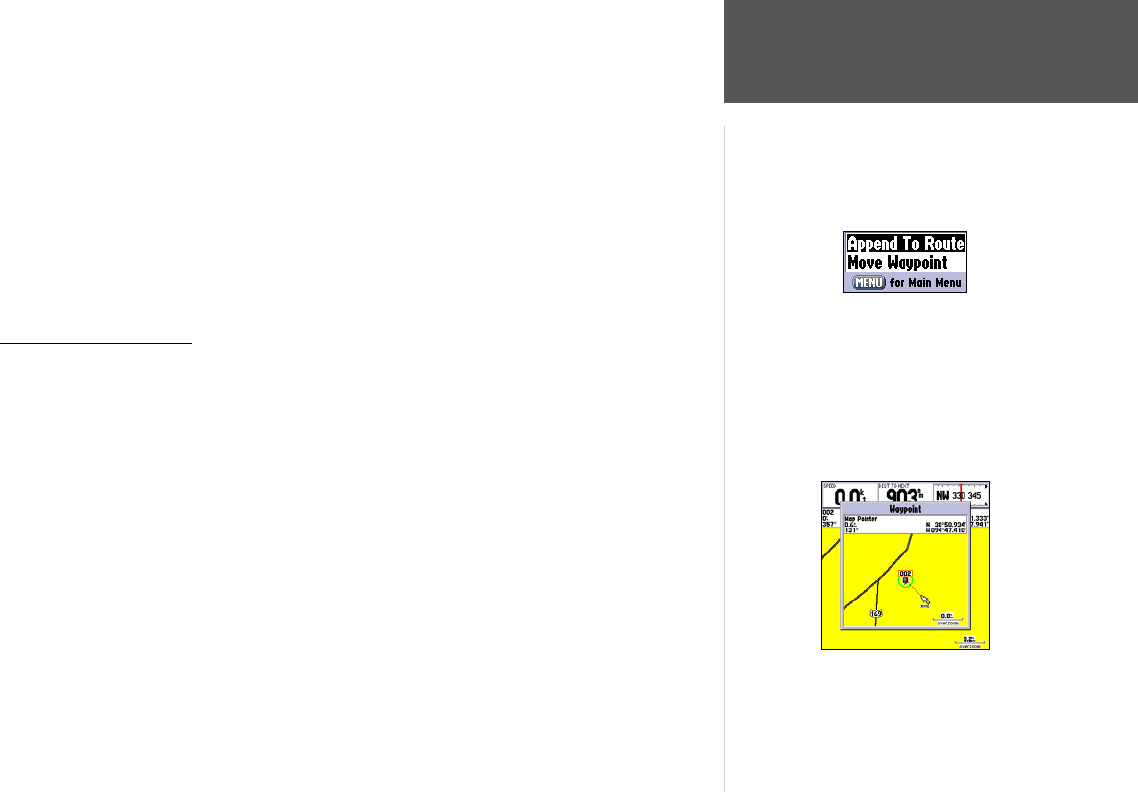
Waypoint Menu Options
Two additional options are available by pressing MENU on the New Waypoint and New Map
Waypoint Pages: Append To Route and Move Waypoint. (these menu options also appear on the
Waypoint Edit and Waypoint Review pages).
• Append to Route— Adds the new waypoint to the end of a route.
• Move Waypoint— Allows you to move the waypoint to a new location on the map display.
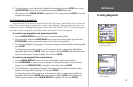
To append a new waypoint to a route:
1. Select ‘Append To Route’ from the options menu.
2. The ‘Select Route’ screen appears. Highlight the desired route or select ‘New Route’ and press
ENTER.
3. With ‘OK’ highlighted, press
ENTER to save the waypoint.
To move a waypoint:
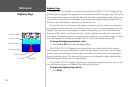
1. Select ‘Move Waypoint’ from the options menu.
2. The selected waypoint is centered and highlighted on a map display. Use the ARROW KEYPAD
to
move the waypoint to the new position and press
ENTER. Press QUIT to exit.
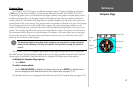
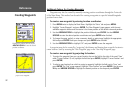
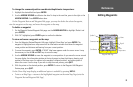
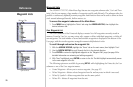
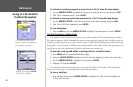
Waypoint Options Menu
Use the ARROW KEYPAD to move the
waypoint to a new position on the map.