


34
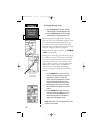
To change the map scale:
1. Press the ZOOM IN key to select a smaller
scale and display a smaller geographic area.
2. Press the ZOOM OUT key to select a larger
scale and display a larger geographic area.
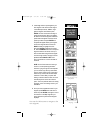
Nearby waypoints are depicted on the map
with any one of over 40 different symbols, with
the waypoint name displayed directly above
the symbol. To help you understand this fea-
ture, let’s create a waypoint directly on the map
and then navigate to this new waypoint.
Select a five mile scale by pressing the ZOOM IN
or OUT key repeatedly.
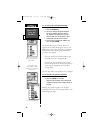
Working from the map page involves the use of
the “Reference Arrow”. The arrow is controlled
by the arrow keypad and is an important tool
in allowing you to pan to other areas on the
map to create waypoints, view waypoint infor-
mation and to create routes. To familiarize
yourself with the map page and reference
arrow and waypoints, perform the following
exercise:
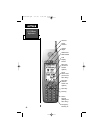
1. Use the ARROW Rocker Pad to move the
arrow. Try following a highway (or other fea-
ture) near your position. To move more
quickly, press and hold the arrow on the key
pad. A data field appears above the map,
showing the bearing and distance from your
present position to the cursor (arrow) along
with the latitude and longitude of the arrows
position.
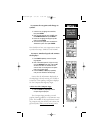
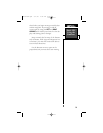
2. Use the ARROW Rocker Pad to move the
arrow any direction five miles from your pre-
sent position then press ENTER. This cre-
ates a waypoint at the arrow location and
displays the Mark Waypoint Page.
NOTE: Map redraw must be completed before a new
waypoint can be created.
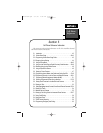
Basic GPS
Using the
Simulator
SECTION 4
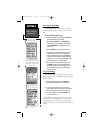
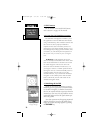
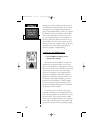
Map Page Zoomed in to 5
mile scale with
“Present Position”
centered on map.
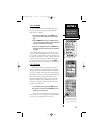
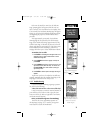
“Mark Wyapoint” Page
NavTlkOM.qxd 2/1/00 2:45 PM Page 44