


58
59
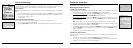
3. Press MENU.
4. Use the arrow keypad to highlight Delete Route and press ENTER. The route is deleted.
To Delete All Routes
1. From the Routes Page, press MENU.
3. Use the arrow keypad to highlight the Delete All Routes option and press ENTER.
To Edit the Route Settings
1. From the Routes Page, press MENU.
2. Use the arrow keypad to highlight the Edit Route Settings option and press ENTER.
3. To change the calculation method, use the arrow keypad to highlight the Calculation Method
drop-down list and press ENTER. Then, use the arrow keypad to select Direct or Road and
press ENTER.
4. To change your back-on-track status, use the arrow keypad to highlight the Back on Track
drop-down list and press ENTER. Then, use the arrow keypad to select On or Off and press
ENTER.
Note: The back-on-track threshold function recalculates your route when you stray off course
beyond the threshold distance specified (see step the next step).
5. To change your back-on-track threshold, use the arrow keypad to highlight the Back on Track
Threshold drop-down list and then press ENTER. Then, use the arrow keypad to select the
threshold distance and press ENTER.
6. To change the compass navigation arrow setting for direct routes, use the arrow keypad to
highlight the Compass Navigation Arrow drop-down list and press ENTER. Select Direct to
Next Waypoint or Back on Course and press ENTER.
7. To restore the route edit settings to their factory-set defaults, use the arrow keypad to highlight
the Restore Defaults button and press ENTER.
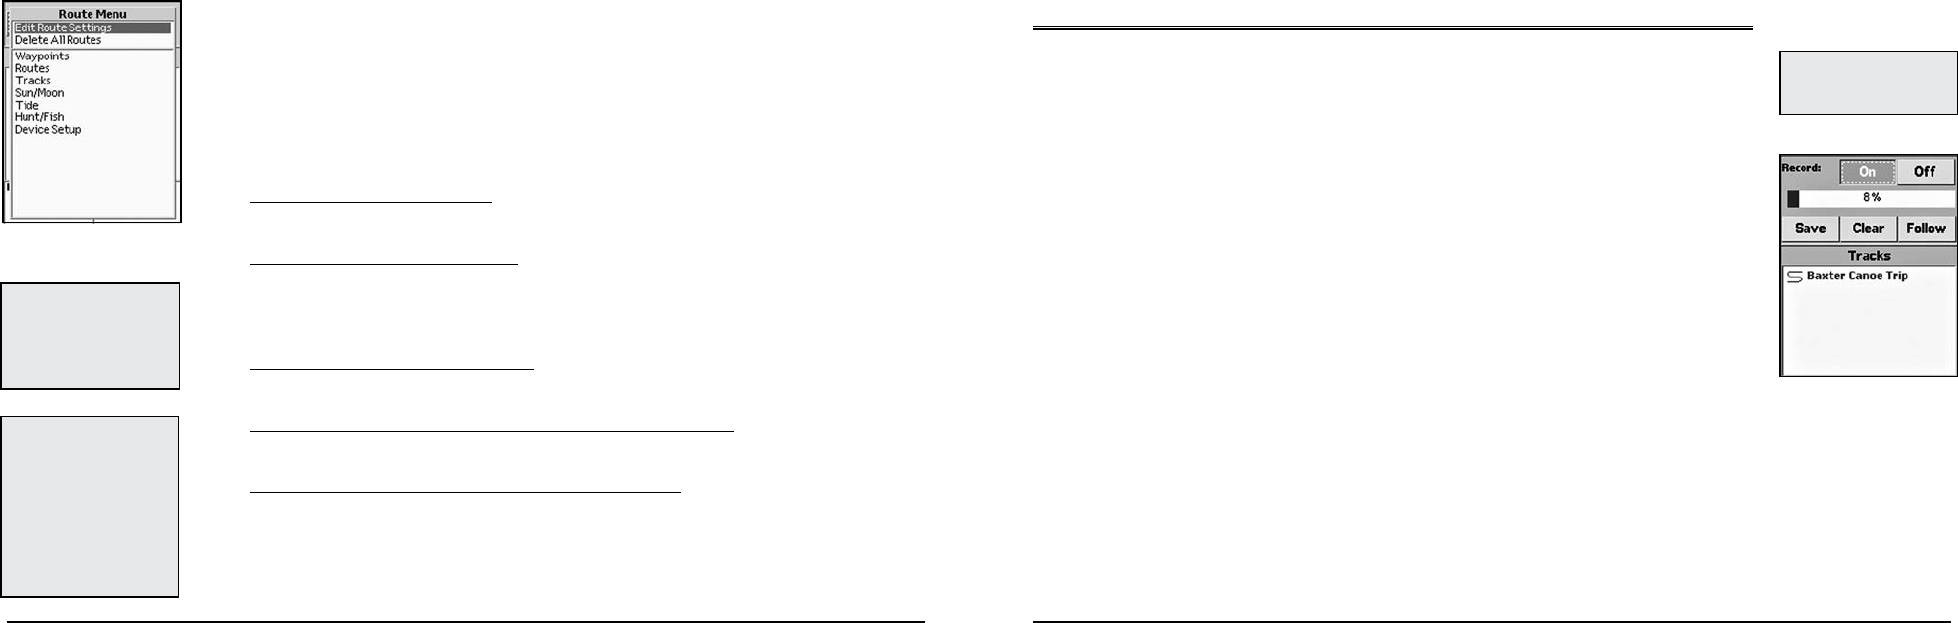
The Tracks Page
Using the Tracks Page
Your Earthmate GPS PN-20 is set by default to record GPS tracks. That means the device creates a
track, or “breadcrumb trail,” of your travels until you turn recording off. The breadcrumb trail displays
differently based on your GPS status.
• Whenyouhavea3-Dx,yourtrackdisplaysasagreenline.
• Whenyouhavea2-Dx,yourtrackdisplaysasayellowline.
• WhentheGPScannotacquireax,nopointsareplacedonthemap.Pointsareagainplaced
once a 2-D or 3-D fix is established. If a GPS connection was established and lost, a red line
indicates the last GPS location.
The Tracks Page lets you save, clear, or follow the current track, or view/follow an existing track.
To Turn GPS Track Recording On/Off
From the Tracks Page:
To turn GPS track recording on, highlight the On button and press ENTER. The button appears
indented.
OR
To turn GPS track recording off, highlight the Off button and press ENTER.
To Save the Active Track
Once you save the active track, a new track is created.
1. From the Tracks Page, use the arrow keypad to highlight the Save button and press
ENTER. The Track Details Page displays.
2. To rename the track (the default name is in the date/time format: DD-MON-YY, HHMMSS
and ends with “A” for AM or “P” for PM), highlight the Track field and press ENTER. Use
the keyboard to enter the track name text. Then, highlight OK and press ENTER.
3. To change the track display color, highlight the Color field and press ENTER. Select a color
with the arrow keypad and press ENTER.
Tip: Direct to Next Waypoint
points the compass arrow in
the direction of the next way-
point; thisis thebest option
when you are trying to get to
the next waypoint with the
shortest distance. Back on
Course points the compass
arrow to the highlighted route.
This is the best option when
you are trying to stay on the
route highlight.
Note: Visible tracks display in
the Tracks Page with red text.
You can view only one track at
a time.
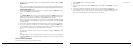
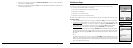
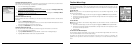
Tracks Page
Tip: Setting the back-on-track
threshold to a large value pre-
vents excessive prompts. Set-
ting the back-on-track thresh-
old to a small value provides a
quicker notication when you
are off course.
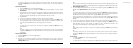
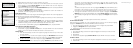
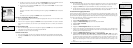
Routemenu