14
10
TURBOCHARGER
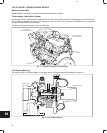
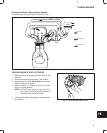
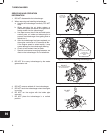
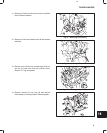
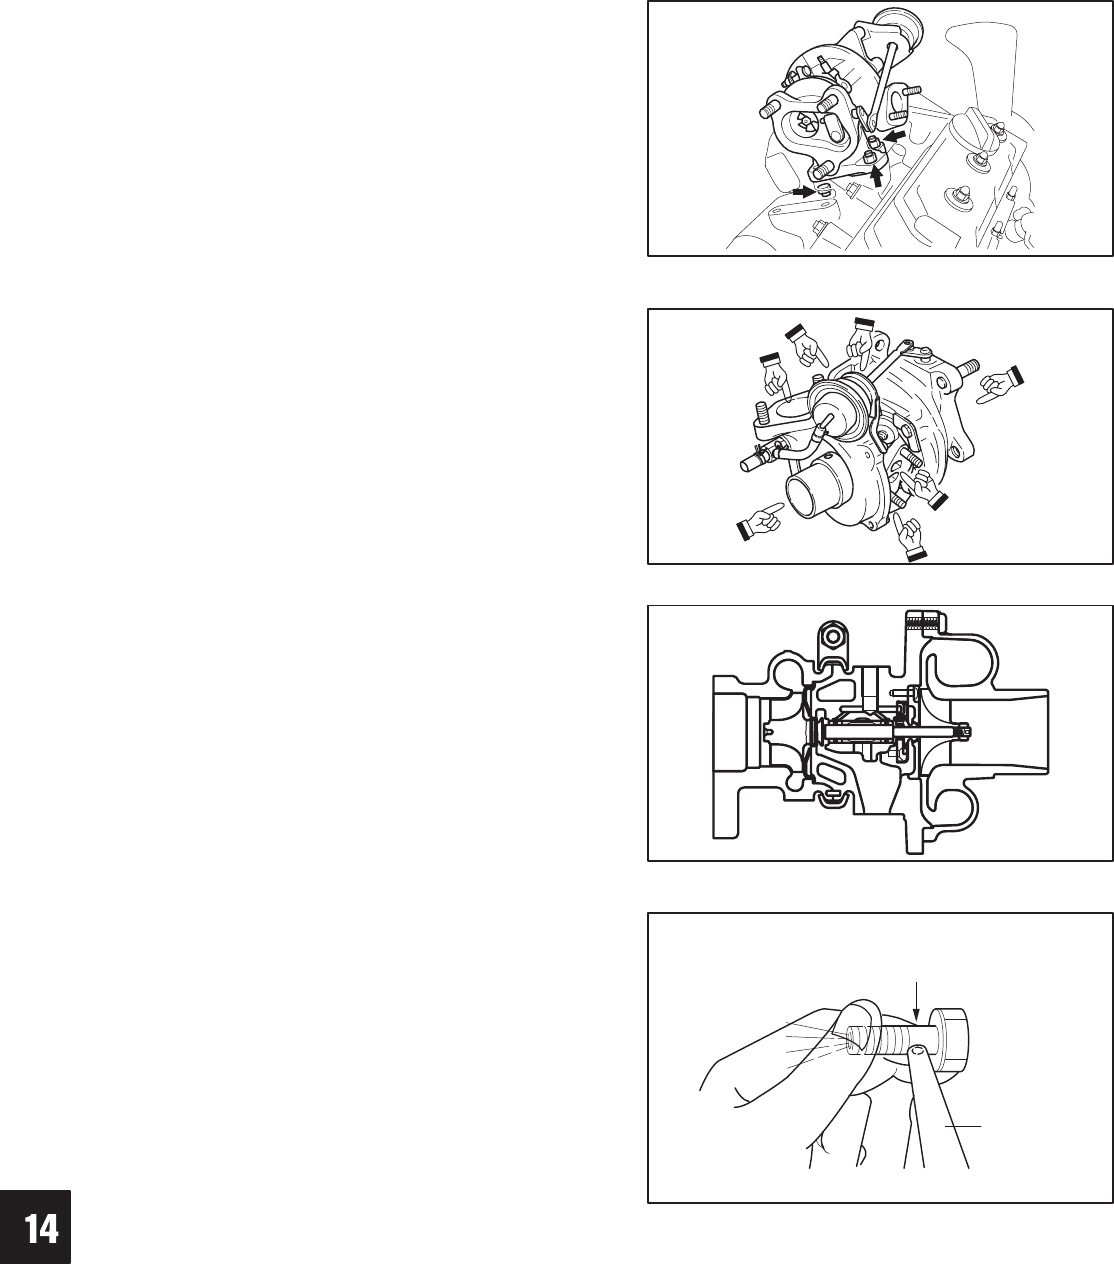
15. Remove nuts (3), and remove the turbocharger
assembly from the exhaust manifold.
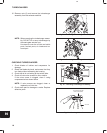
NOTE: When removing the turbocharger assem-
bly, DO NOT lift or carry turbocharger by
the waste gate actuator rod.
Use tape to cover the oil inlet and outlet
ports, coolant ports, air intake and ex-
haust port.
Fig. 25 – Removing Turbocharger Assembly
Fig. 26 – Removing Turbocharger Assembly
CHECKING TURBOCHARGER
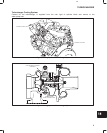
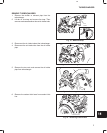
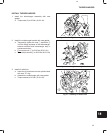
1. Check blades of turbine and compressor for
damage.
2. Rotate the blades by hand, and ensure that they
turn freely without contacting the housing.
3. Check that oil is not leaking at the turbine side.
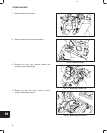
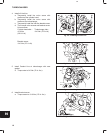
4. Check oil inlet union screws for dirt or debris.
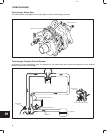
If the union screw is clogged, clean it using
compressed air as shown below.
NOTE: If union screws are clogged, clean or
replace the oil inlet line.
5. Check each part for damage or cracks. Replace
defective parts.
Fig. 27 – Checking Turbocharger Assembly
Fig. 28 – Cleaning Union Screw
TURBINE
SIDE
COMPRESSOR
SIDE
PLUG OPPOSITE SIDE
HOLE WITH FINGER
AIR GUN


