


3-20
CHASSIS
CHASSIS
BLEEDING THE HYDRAULIC BRAKE
SYSTEM
Bleed the brake system if:
• The system has been disassembled.
• A brake hose has been loosened or re-
moved.
• The brake fluid is very low.
• The brake operation is faulty.
A dangerous loss of braking performance
may occur if the brake system is not proper-
ly bled.
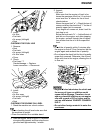
1. Remove:
• Brake master cylinder cap
• Diaphragm
• Reservoir float (front brake)
• Protector (rear brake)
2. Bleed:
•Brake fluid
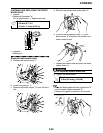
Air bleeding steps:
a. Add proper brake fluid to the reservoir.
b. Install the diaphragm. Be careful not to spill
any fluid or allow the reservoir to overflow.
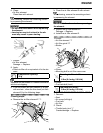
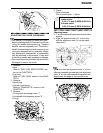
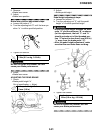
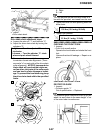
c. Connect the clear plastic tube "2" tightly to
the caliper bleed screw "1".
A. Front
B. Rear
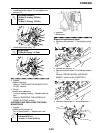
d. Place the other end of the tube into a con-
tainer.
e. Slowly apply the brake lever or pedal sever-
al times.
f. Pull the lever in or push down on the pedal.
Hold the lever or pedal in position.
g. Loosen the bleed screw and allow the lever
or pedal to travel towards its limit.
h. Tighten the bleed screw when the lever or
pedal limit has been reached; then release
the lever or pedal.
i. Repeat steps (e) to (h) until of the air bub-
bles have been removed from the system.
If bleeding is difficult, it may be necessary to let
the brake fluid system stabilize for a few hours.
Repeat the bleeding procedure when the tiny
bubbles in the system have disappeared.
j. Add brake fluid to the level line on the reser-
voir.
Check the operation of the brake after
bleeding the brake system.
3. Install:
• Protector (rear brake)
• Reservoir float (front brake)
• Diaphragm
• Brake master cylinder cap
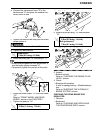
ADJUSTING THE FRONT BRAKE
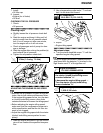
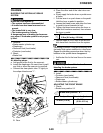
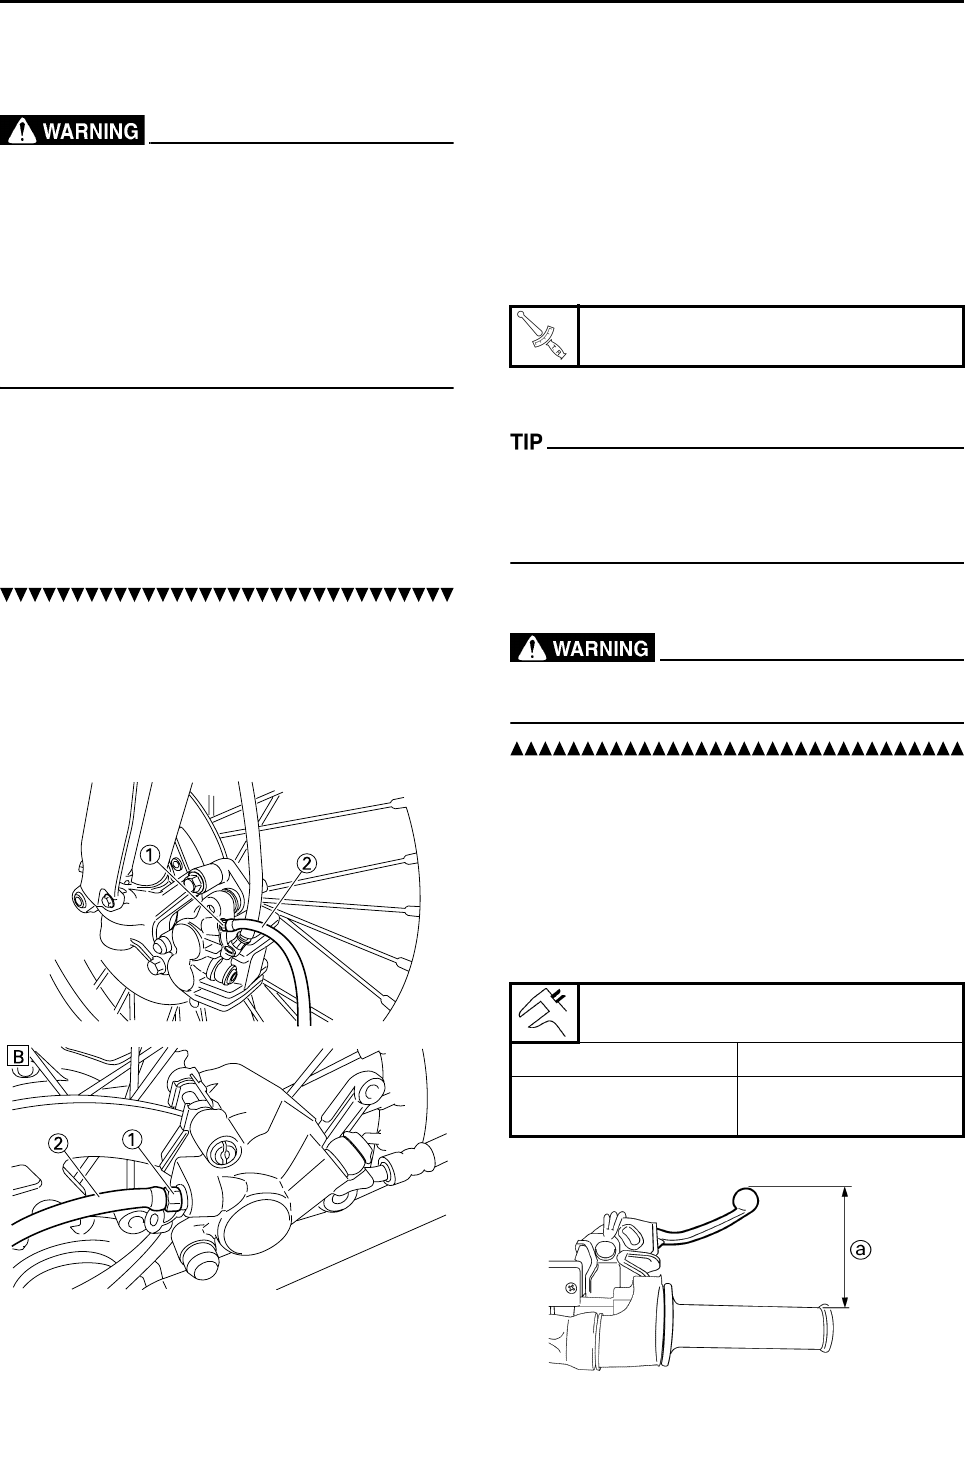
1. Check:
• Brake lever position "a"
Bleed screw:
6 Nm (0.6 m•kg, 4.3 ft•lb)
Brake lever position "a":
Standard position Extent of adjustment
95 mm (3.74 in)
86–105 mm
(3.39–4.13 in)