7-45
ELECTRICAL COMPONENTS
ELECTRICAL COMPONENTS
CHECKING THE COOLANT TEMPERATURE
SENSOR
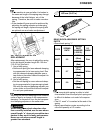
1. Remove:
• Coolant temperature sensor
Refer to "REMOVING THE CYLINDER
HEAD" section in the CHAPTER 4.
• Handle the coolant temperature sensor
with special care.
• Never subject the coolant temperature
sensor to strong shocks. If the coolant
temperature sensor is dropped, replace it.
2. Check:
• Coolant temperature sensor resistance
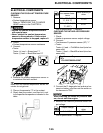
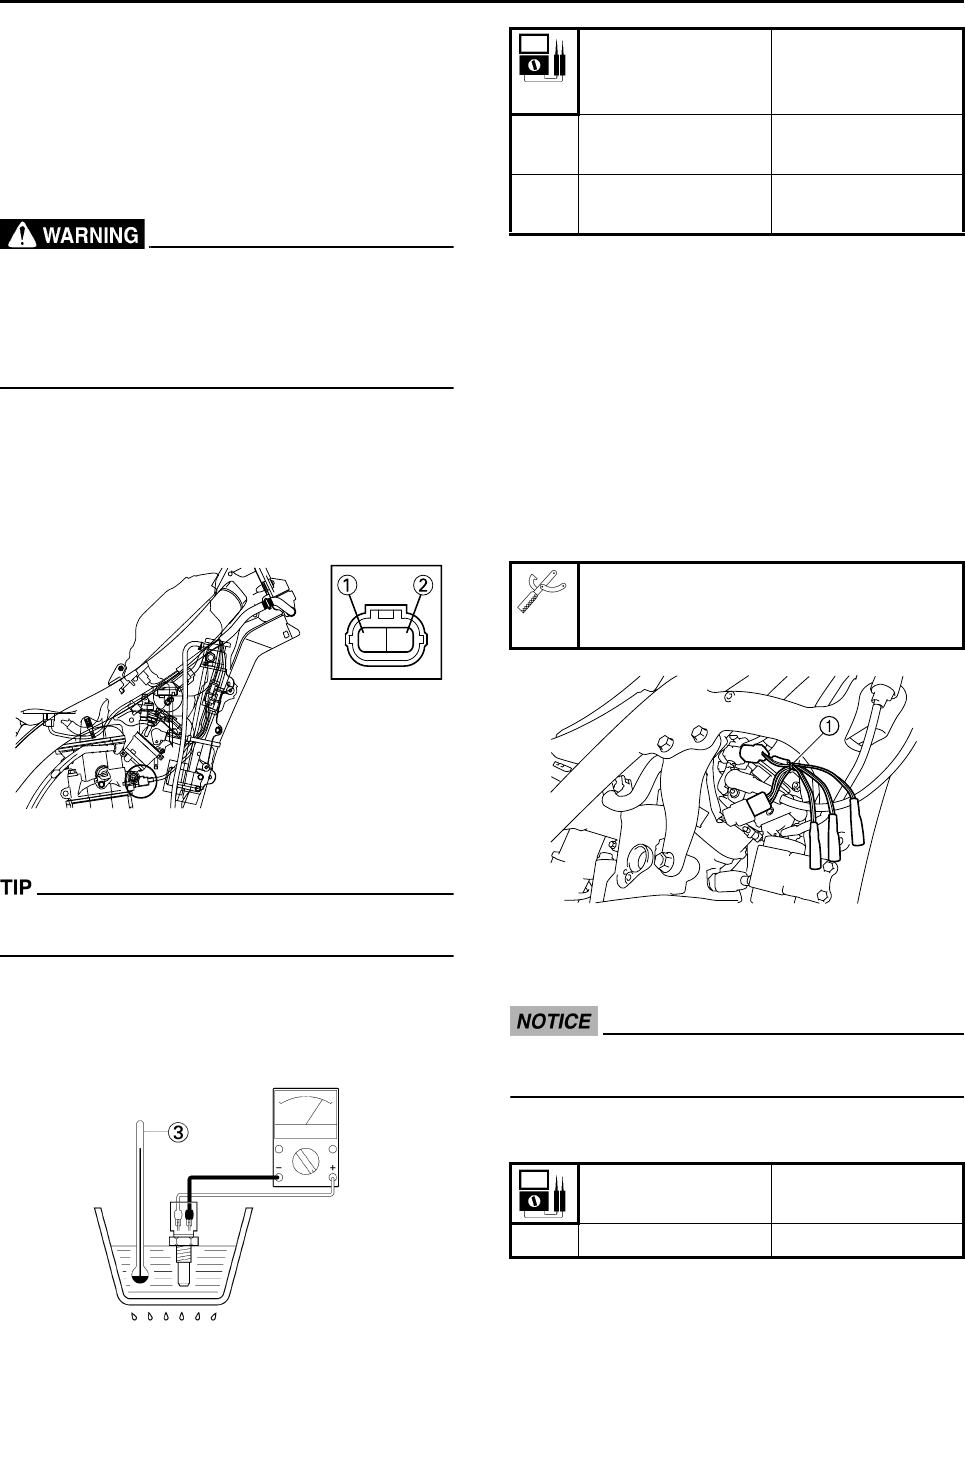
3. Connect:
• Tester
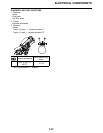
Tester (+) lead → Brown lead "1"
Tester (-) lead → Black/Blue lead "2"
4. Immerse the coolant temperature sensor in
a container filled with coolant.
Make sure the coolant temperature sensor ter-
minals do not get wet.
5. Place a thermometer "3" in the coolant.
6. Slowly heat the coolant, and then let it cool
to the specified temperature indicated in the
table.
Out of specification → Replace.
CHECKING THE INTAKE AIR PRESSURE
SENSOR
1. Check:
• Intake air pressure sensor output voltage
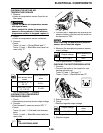
2. Connect:
• Test harness S–pressure sensor (3P) "1"
• Tester
Tester (+) lead → Pink/White lead (wire har-
ness color)
Tester (-) lead → Black/Blue lead (wire har-
ness color)
3. Connect the FI diagnostic tool sub-wire har-
ness to a battery, and then set the switch on
the harness to "ON".
When checking the intake air pressure sen-
sor, do not start the engine.
4. Measure the intake air pressure sensor out-
put voltage.
Out of specification → Replace.
B/L
Br
Coolant tempera-
ture sensor resis-
tance
Tester selector po-
sition
210 — 220 Ω (100
°C, 212 °F)
Ω×100
2.51—2.78 kΩ (20
°C, 68°F)
kΩ×1
Test harness S–pressure sensor
(3P):
YU-03207/90890-03207
Output voltage
Tester selector po-
sition
3.4 — 3.8 V DCV


