11.28
Section 11
Reassembly
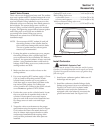
Figure 11-89. Securing Air Cleaner Mounting
Bracket.
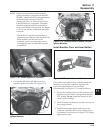
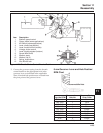
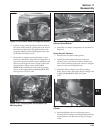
6. Two-Barrel Carburetor Models Only: Attach the
choke return spring to the bottom of the main
control bracket. See Figure 11-90.
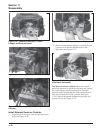
Figure 11-90. Attaching Choke Return Spring (Two-
Barrel Carburetors).
Choke Return
Spring
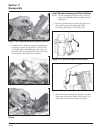
Install Muffler
1. Install the port liners (if equipped). Install the
muffler and attaching hardware to the muffler
bracket. Torque screws to 9.9 N·m (88 in. lb.).
2. Install the hex flange nuts to the exhaust studs.
Torque hex flange nuts to 24.4. N·m (216 in. lb.).
Install Oil Cooler
If so equipped, the oil cooler can now be installed to
the engine. Two different styles are used, see Section 6.
1. Depending on style used, reverse the removal
procedure from Section 9.
2. Secure the cooler or adapter to the oil pan with
the oil filter nipple. Torque the oil filter nipple to
27 N·m (20 ft. lb.).
Install Oil Filter and Fill Crankcase with Oil
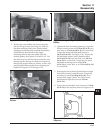
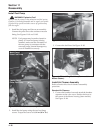
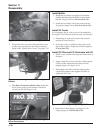
1. Prefill a new oil filter following the instructions in
Section 6.
2. Apply a thin film of clean oil to the rubber gasket
on the oil filter and thread the filter onto the
adapter nipple. See Figure 11-91.
3. Hand tighten the filter until the rubber gasket
contacts the adapter, then tighten the filter an
additional 3/4-1 turn.
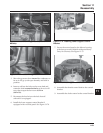
Figure 11-91. Installing and Tightening Oil Filter.
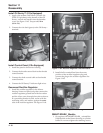
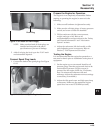
4. Install the oil drain plug(s). See Figure 11-92.
Torque plug(s) to 13.6 N·m (10 ft. lb.).
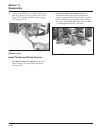
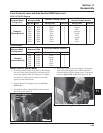
Figure 11-88. Installing Upper Mounting Screws.
5. Torque the valve cover/mounting bracket screws
to the proper specification and torque sequence
listed under “Install Valve Covers” on page 11.19.


