8.27
8
Section 8
Electrical System and Components
Retaining Ring Installation
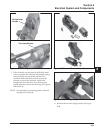
1. Position the retaining ring in the groove in one of
the inner halves. Assemble the other half over the
top and slide on the outer collar.
2. Be certain the drive components are installed in
correct sequence onto the armature shaft.
3. Slip the tool over the end of the armature shaft, so
the retaining ring inside is resting on the end of
the shaft. Hold the tool with one hand, exerting
slight pressure toward the starter. Tap the top of
the tool with a hammer until you feel the
retaining ring snap into the groove. Disassemble
and remove the tool.
4. Squeeze the retaining ring with a pliers to
compress it into the groove.
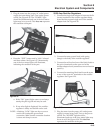
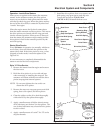
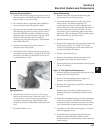
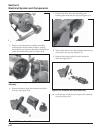
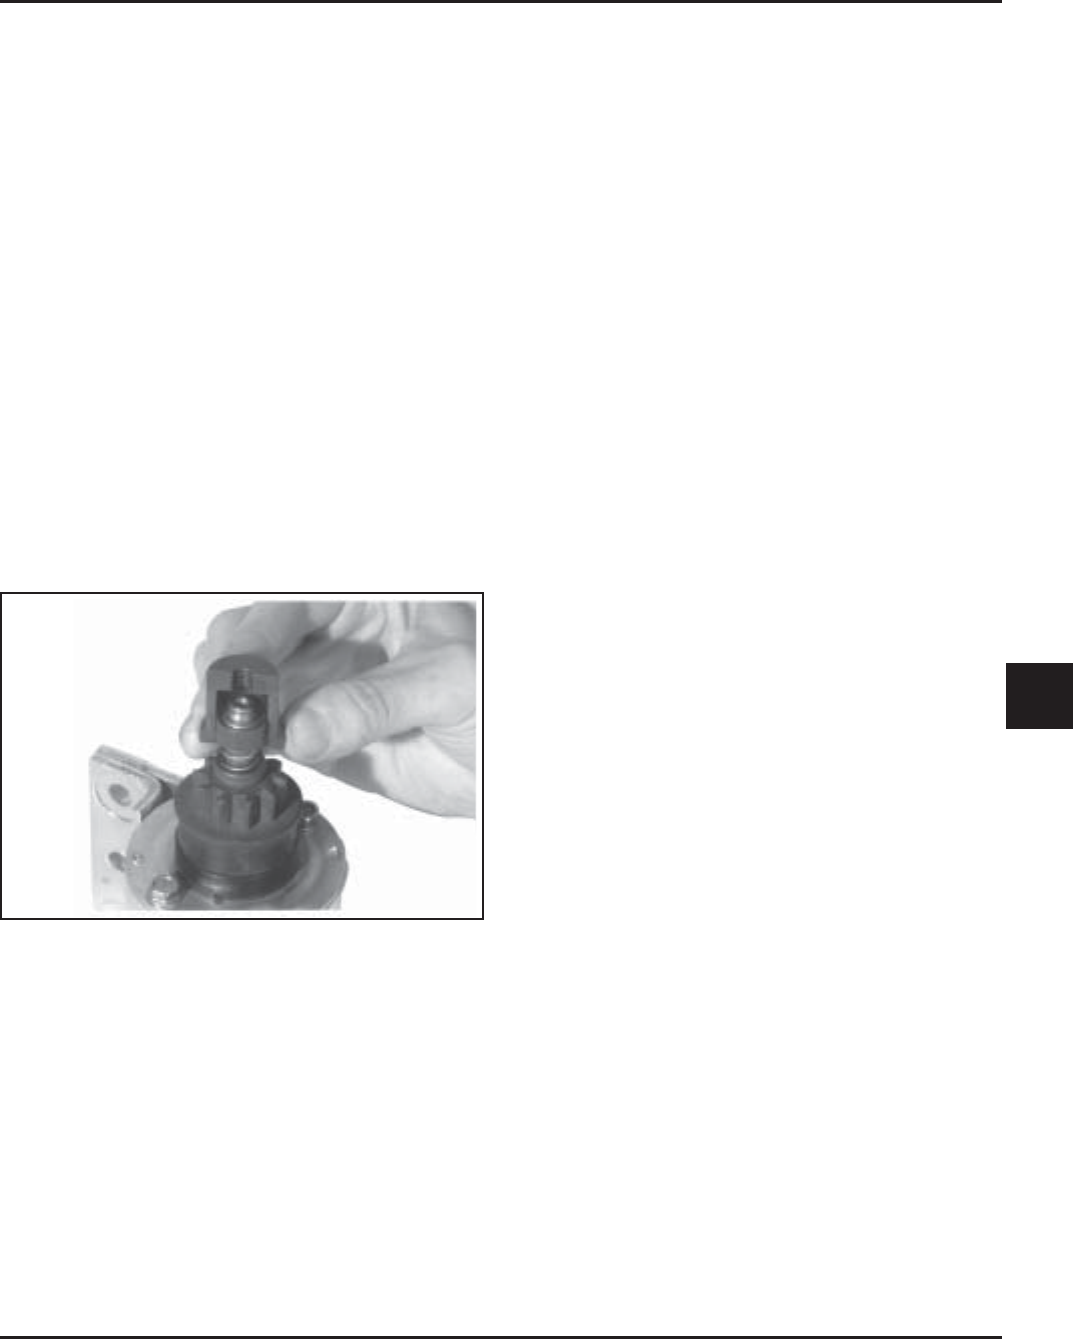
5. Assemble the inner halves with the larger cavity
around the spring retainer (see Figure 8-38). Slide
the collar over them and thread the center screw
in until resistance is felt.
Figure 8-38. Assembling Larger Inner Half Around
Spring Retainer.
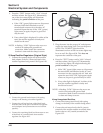
6. Hold the base of the tool with a 1-1/8" wrench
and turn the center screw clockwise with a 1/2" or
13 mm wrench to draw the spring retainer up
around the retaining ring. Stop turning when
resistance increases. Disassemble and remove the
tool.
7. Reinstall the dust cover.
Starter Disassembly
1. Remove the drive components following the
instructions for servicing the drive.
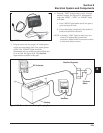
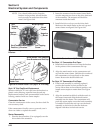
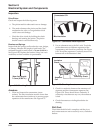
2. Locate the small raised line on the edge of the
drive end cap. On starters with Style ‘‘A’’
commutator end caps, it will be aligned with a
pre-marked line on the starter frame. The frame is
not pre-marked on starters with Style ‘‘B’’ end
caps. Place a piece of masking tape on the frame
and mark a line on the tape in line with the raised
line on the end cap. See Figure 8-41.
3. Remove the thru bolts.
4. Remove the commutator end cap with brushes and
brush springs (Style ‘‘A’’). Style ‘‘B’’ end caps
remove as a separate piece with the brushes and
carrier remaining in the frame.
5. Remove the drive end cap.
6. Remove the armature and thrust washer (if so
equipped) from inside the starter frame.
7. Remove the brush/carrier assembly from the frame
(Style ‘‘B’’ starters).
Style ‘‘A’’ End Cap Brush Replacement
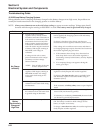
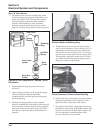
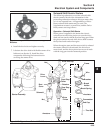
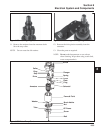
1. Remove the brush springs from the pockets in the
brush holder. See Figure 8-39.
2. Remove the self-tapping screws, negative (-)
brushes, and plastic brush holder.
3. Remove the hex flange nut and fiber washer from
the stud terminal.
Remove the stud terminal with the positive (+)
brushes and plastic insulating bushing from the
end cap.
4. Install the insulating bushing on the stud terminal
of the new positive (+) brushes. Install the stud
terminal into the commutator end cap. Secure the
stud with the fiber washer and hex flange screw.
5. Install the brush holder, new negative (-) brushes,
and self-tapping screws.
6. Install the brush springs and brushes into the
pockets in the brush holder. Make sure the
chamfered sides of the brushes are away from the
brush springs.


