41
Reference
TracBack Navigation
TracBack Navigation (Follow Track)
The second method of navigating to a destination is by using the TracBack feature. TracBack allows
you to retrace your path using the track log automatically stored in the receiver’s memory, which will
eliminate the need to store waypoints along the way. TracBack routes are created by reducing your
track log into a route of up to 30 turns and activating an inverted route along those points. Once
activated, a TracBack route will lead you back to the oldest stored track log point, so it’s good idea to
clear the existing track log at the start of your current trip before you get started.
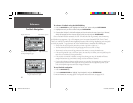
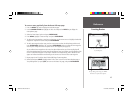
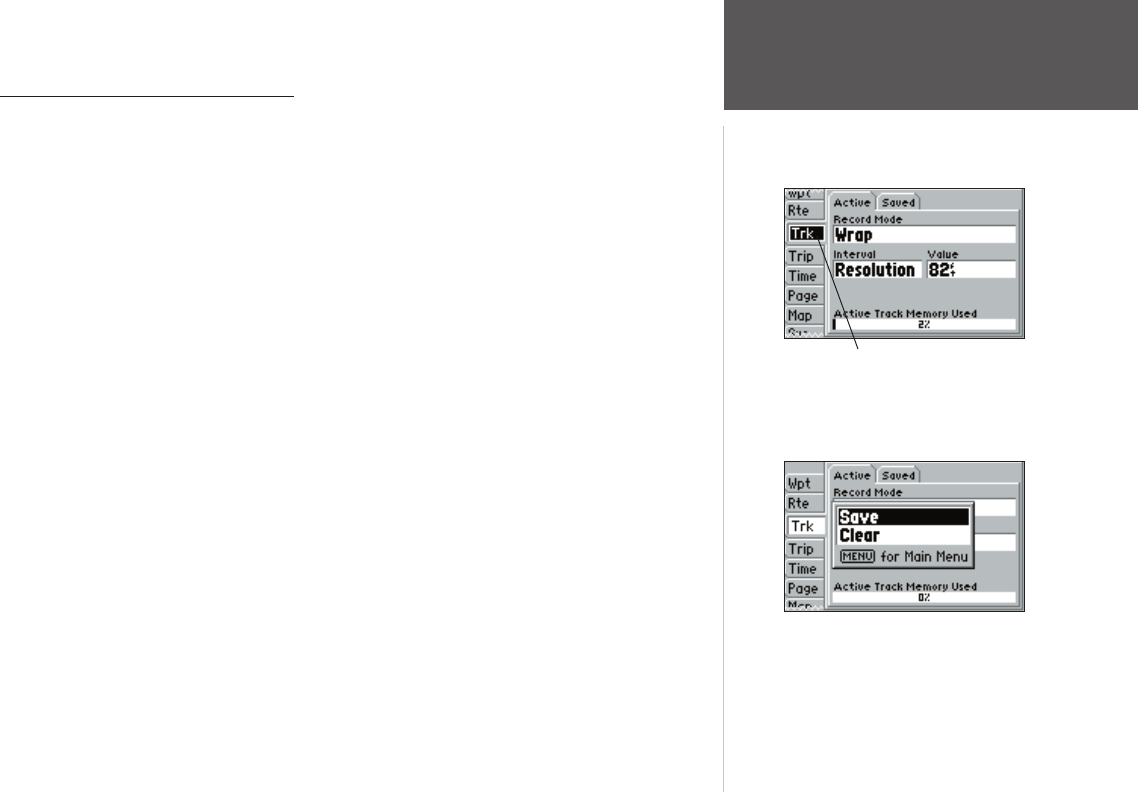
To clear the track log and defi ne a starting point for a TracBack route:
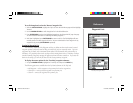
1. Press the MENU key twice to display the Main Menu page.
2. Using the ARROW KEYPAD, highlight the ‘Trk’ tab, then highlight the ‘Active’ tab to the right.
3. Press the MENU key, then use the ARROW KEYPAD to select the ‘Clear’ option and press
ENTER/MARK.
4. Highlight ‘OK’ on the confi rmation screen and press ENTER/MARK.
You must fi rst save the track log before you can use the ‘Follow Track’ feature. The ‘Save’ feature
allows you to store a track from certain times and dates.
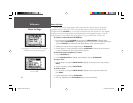
To save a track log:
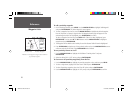
1. From the Main Menu, use the ARROW KEYPAD to highlight the ‘Trk’ tab, then highlight the
‘Active’ tab to the right.
2. Press the MENU key, then use the ARROW KEYPAD to select the ‘Save’ option and press
ENTER/MARK.
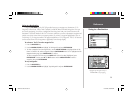
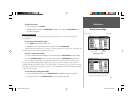
3. From the ‘Save Back Through’ window, highlight the desired time, date, or ‘Entire Log’ and press
ENTER/MARK.
4. The ‘Saved Track’ window appears with the default name, distance and number of points displayed.
Highlight ‘OK’ and ENTER/MARK press to save the track. You may re-name the track and specify
whether or not to show the track on the Map and Highway pages. Press the QUIT key to exit.
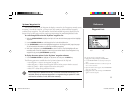
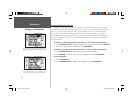
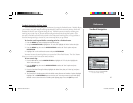
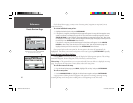
Highlight ‘Save’ and press ENTER/MARK
to save an active track log.
Track Tab
152 Manual Part 2.indd 41 11/27/2002, 2:56:29 PM


