39
LOCATING ANOTHER GMR-GPS USER
During an excursion with another GMR-GPS user, it is possible to locate this user’s position
provided he/she transmits the position, thereby giving you the coordinates of the remote
GMRS-GPS unit. To transmit and receive the coordinates, both GMR-GPS units must set to same
radio channel number and CTCSS subcode number. By saving these coordinates, you will be able
to establish a route to this position using the pointer page compass. To use this feature, apply the
following example:
1. Allow the other user to travel a route to a destination of choice using the guidelines
established for the trial run outlined previously.
2. Along this route, the other user will enter a few waypoints, including his endpoint or
destination.
3. When the other user reaches the destination, the coordinates of this location must be
transmitted to your GMR-GPS unit in order for you to locate this position.
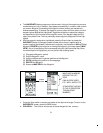
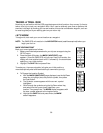
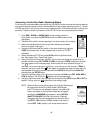
4. To transmit this information, the other user must select the waypoint, press the Mark (M)
button, highlight SEND and press Enter. The MARK SENDING display appears.
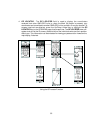
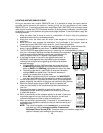
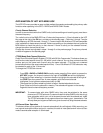
5. The GP LOCATOR page appears on your unit (receiving unit, accompanied by a unique
tone; the information displayed includes the remote unit coordinates
(Latitude and Longitude) and the remote user identification (ID)
name. In addition, the GO TO legend is highlighted (boxed).
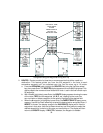
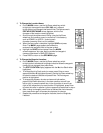
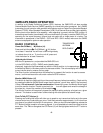
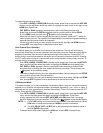
6. If the Satellite signal is lost prior to the location being sent, a
WARNING screen appears when the MARK button is pressed,
indicating loss of signal and suggesting the location be entered
and sent manually.
a. Highlight YES using the Up/Down wheel key, and press Enter;
the MARK page appears with the location information and the
option of SAVEing or SENDing (highlighted with a box) this data.
b. To send the information, press Enter; to save the information,
highlight SAVE and press Enter. The data will be saved in
memory for transmission at a later time.
c. When NO is highlighted and Enter is pressed, the WAYPOINTS
sub-menu page appears with the waypoint in question highlighted.
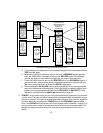
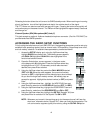
7. On the receiving unit, if you press the Enter button, the map page will
appear, indicating the position of the other user relative to your position.
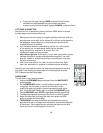
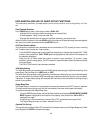
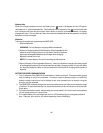
8. Select the Pointer page using the PAGE button; the pointer will
show you the direction to the coordinates that were transmitted to
your unit.
9. Use the pointer page to establish a track to this position. The
compass pointer will eventually establish the direction you must go
to reach this location.
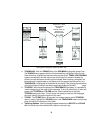
10. Walk in the direction of the compass pointer for at least 10 seconds;
the pointer page will not only show you the direction, but will also
indicate the distance and time to reach this destination.
11. When you are within approximately 10 seconds of your destination, a
message screen appears to advise you that you have arrived at your
destination point.
NOTE: The unit will not guide you to the exact spot, or coordinates
indicated, but it will be accurate to within 10 seconds of
Estimated Time of Arrival (ETA). Therefore, when you are within range of the
position indicated,start looking for the other party.
SENDING
UNIT
RECEIVING
UNIT


