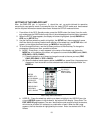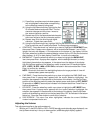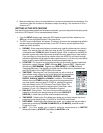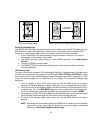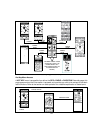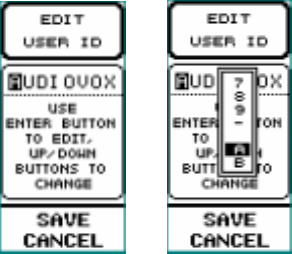
(1) Press Enter; an alphanumeric window appears
with a highlighted number/letter corresponding
to the character presently being used.
(2) Using the Up/Down wheel key, highlight the first
ID character desired and press Enter. The first
character changes and the cursor moves to
the second character position.
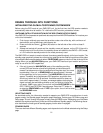
(3) Repeat step (2) for the second desired character;
the cursor moves to the third character position.
(4) Repeat step (2) for the third through eighth
character , if used; then press Enter.
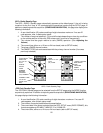
(5) Using the Up/Down wheel key, highlight SAVE at the bottom of the screen and press
Enter to save the user ID code just entered. The Setup page reappears.
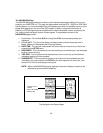
c. CONTRAST - Press the wheel key switch up or down to highlight the CONTRAST item;
then press Enter. A popup menu appears with a contrast level between 1 and 10 high
lighted; the level also appears in the status bar at the bottom of the display. Use the
Up/Down wheel key to select the desired display contrast for the LCD. Set the contrast at
about halfway (4 or 5) for best display. Press Enter to confirm the selection.
d. BACKLIGHT - Press the wheel key switch up or down to highlight the BACKLIGHT
item; then press Enter. A popup menu appears with the backlight duration (or none)
highlighted; the selection also appears in the status bar at the bottom of the display.
Use the Up/Down position of the wheel key switch to select the LCD backlight feature
OFF, 15 SEC, 30 SEC, 1MIN or STAY ON as indicated in the bottom status bar. Press
Enter to confirm the selection.
NOTE: Be mindful that use of the backlighting feature for longer periods of time will
deplete battery power more quickly.
e. PWR SAVE - Press the wheel key switch up or down to highlight the PWR SAVE item;
then press Enter. A popup menu appears with the current selection highlighted; the
selection also appears in the status bar at the bottom of the display. Use the Up/Down
position of the wheel key switch to select the desired power save option at OFF, SHORT
(3 seconds) or LONG (5 seconds) as indicated in the bottom status bar. Press Enter to
confirm the selection.
f. KEY BEEP - Press the wheel key switch up or down to highlight the KEY BEEP item;
then press Enter. A popup menu appears with the current selection highlighted; the
selection also appears in the status bar at the bottom of the display. Use the Up/Down
position of the wheel key switch to turn the key beep ON or OFF as indicated in the bottom
status bar. Press the Enter button to confirm the selection.
g. S/W VERSION - This menu line, when highlighted, indicates the current SoftWare
version incorporated into the unit.
Adjusting the Volume:
This adjustment applies to the radio modes only.
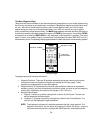
1. With the unit in the RDO ONLY or GPS + RADIO standby mode (standby page displayed), use
the Up/Down wheel key in the up or down position; a VOL bar graph display appears.
19


