


7-6
FUEL INJECTION SYSTEM
FI
NOTE:
NOTE:
EAS00905
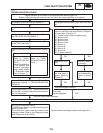
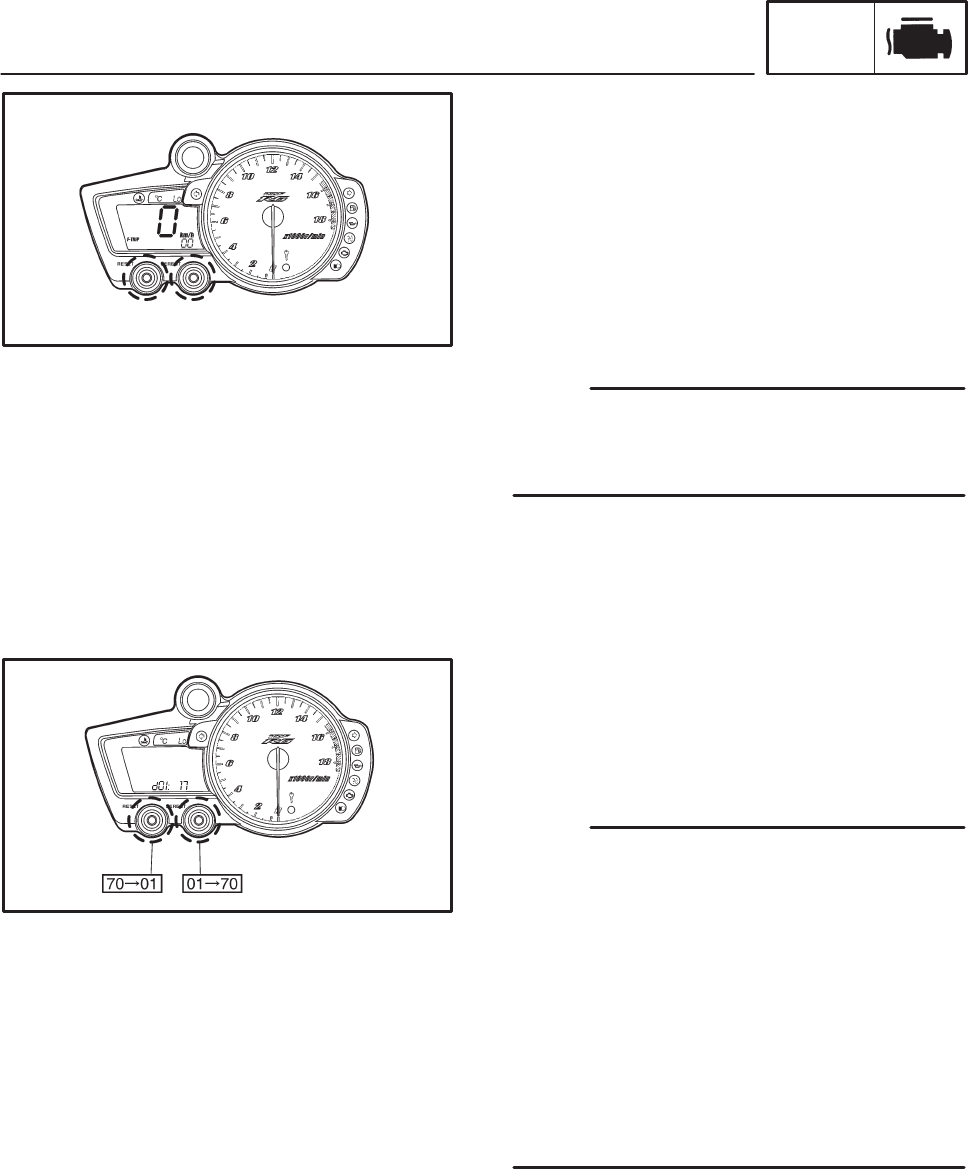
DIAGNOSTIC MODE
Setting the diagnostic mode
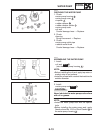
1. Turn the main switch to “OFF” and set the en-
gine stop switch to “ON”.
2. Disconnect the wire harness coupler from
the fuel pump.
3. Simultaneously press and hold the “SE-
LECT” and “RESET” buttons, turn the main
switch to “ON”, and continue to press the but-
tons for 8 seconds or more.
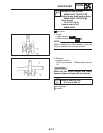
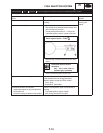
SAll displays on the meter disappear except the
clock and tripmeter displays.
S“dIAG” appears on the clock LCD.
4. Press the “SELECT” button to select the CO
adjustment mode “CO” or the diagnostic
mode “dIAG”.
5. After selecting “dIAG”, simultaneously press
the “SELECT” and “RESET” buttons for 2 se-
conds or more to execute the selection.
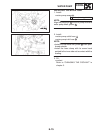
6. Set the engine stop switch to “OFF”.
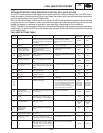
7. Select the diagnostic code number that ap-
plies to the item that was verified with the
fault code number by pressing the “SELECT”
and “RESET” buttons.
SThe diagnostic code number appears on the
clock LCD (01-70).
STo decrease the selected diagnostic code
number, press the “RESET” button. Press the
“RESET” button for 1 second or longer to auto-
matically decrease the diagnostic code num-
bers.
STo increase the selected diagnostic code num-
ber, press the “SELECT” button. Press the
“SELECT” button for 1 second or longer to au-
tomatically increase the diagnostic code num-
bers.
8. Verify the operation of the sensor or actuator.
SSensor operation
The data representing the operating condi-
tions of the sensor appears on the trip LCD.
SActuator operation
Set the engine stop switch to “ON” to operate
the actuator.
* If the engine stop switch is set to “ON”, set it
to “OFF”, and then set it to “ON” again.
9. Turn the main switch to “OFF” to cancel the
the diagnostic mode.