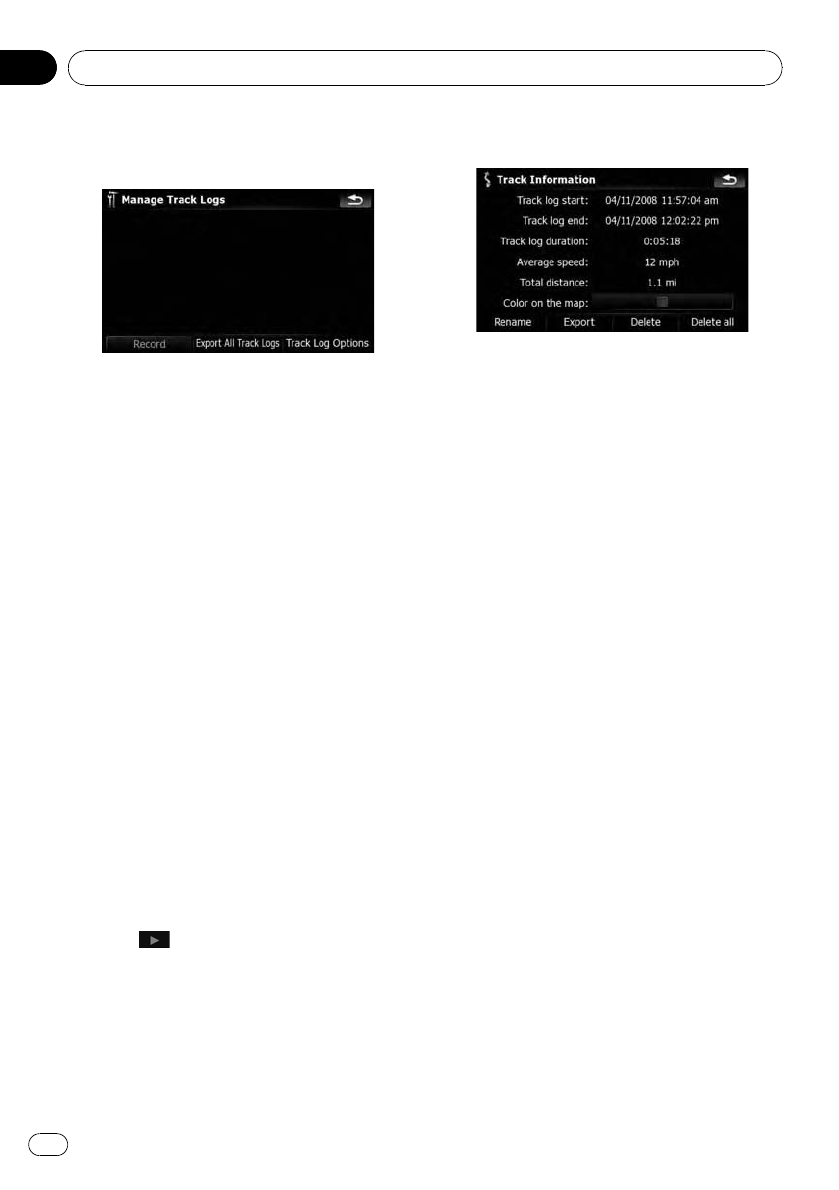
3 Touch [Record] to activate the track log-
ger.
The key then changes to [Stop Recording].
Touching [Stop Recording] allows you to de-
activate the track logger.
Touching [Export all track logs] exports all
track logs currently stored to the external sto-
rage device (USB or SD) at once.
In addition, if you export track logs to the exter-
nal storage devices, you can check the track
logs using [AVIC FEEDS].
p If there is not enough space in the built-in
memory, the oldest track log will be over-
written by the new one.
p If you want to permanently activate the
track logger whenever the GPS signal is
available, switch “Enable Auto-saving” to
“On”.
= For details, refer to Setting track logger
options on this page.
Browsing and replaying the track log
1 Touch [Map Visual] on the “Navi Set-
tings” menu.
The “Map Visual Settings” screen appears.
2 Touch [Manage Track Logs].
A list of track logs already recorded appears.
Touching
enables you to replay the track
log with “Fly over”.
3 Touch the desired track log on the list.
More details about the track log appears.
4 Touch the desired key to operate it.
Available options;
! [Rename]:
Touchthis key to display the screen for en-
tering a new name for the track log. Enter
the name and then touch [Done] to com-
plete the entry.
! [Export]:
Touchthis key to export the currently se-
lected track log to the external storage de-
vice (USB or SD).
! [Delete]:
Touchthis key to delete the track log.
! [Delete all]:
Touchingthis key deletes all track logs.
! Thekey next to “Color on the map:”:
Touchingthis key displays the screen for
changing the color used for the route high-
lighting of the track log. Touch the desired
color on the color list. The color of track
logs is assigned automatically within prede-
fined colors when this setting is estab-
lished.
Setting track logger options
1 Touch [Map Visual] on the “Navi Set-
tings” menu.
The “Map Visual Settings” screen appears.
2 Touch [Manage Track Logs].
3 Touch [Track Log Options].
Customizing preferences
En
154
Chapter
25
